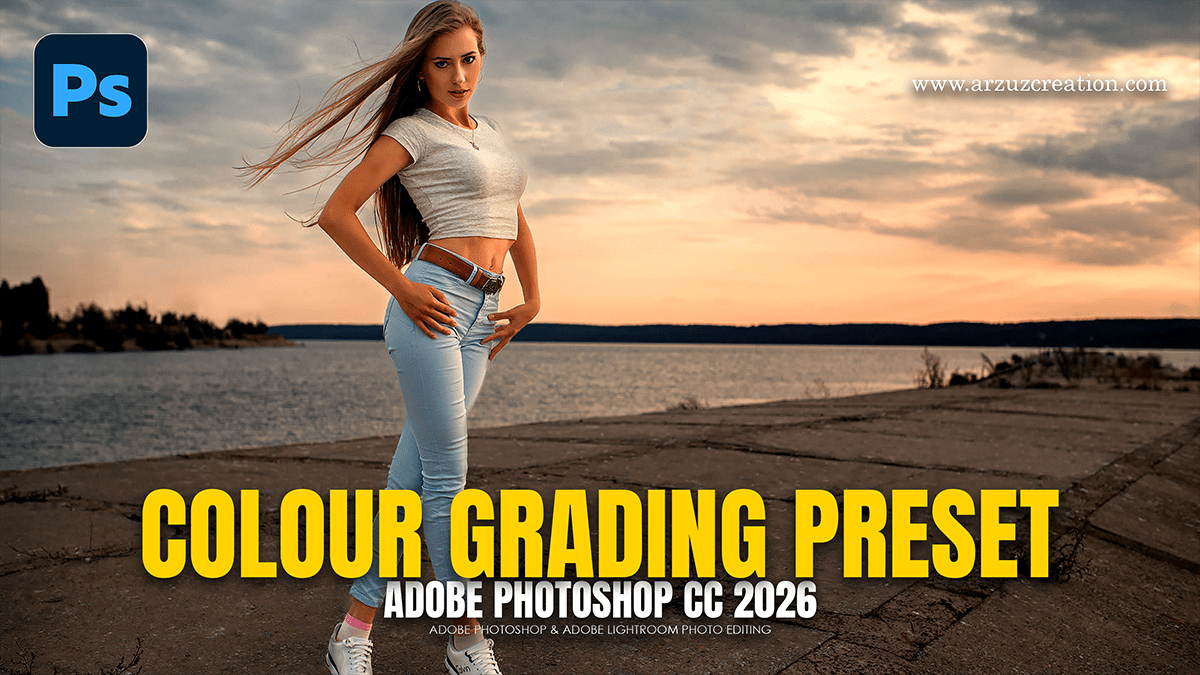
Photoshop: Camera Raw Color Grading Guide,

Therefore, the Color Grading panel in Photoshop’s Camera Raw Filter is one of the most powerful tools for defining the mood of your image. It replaced the old “Split Toning” tab, offering much more precision by allowing you to target Shadows, Midtones, and Highlights individually.
Photoshop: Camera Raw Color Grading Guide,
1. Accessing the Panel:
Open the Filter: In other words, go to Filter > Camera Raw Filter (or press Ctrl+Shift+A / Cmd+Shift+A).
Find the Tab: Therefore, in the right-hand edit stack, click on the Color Grading icon (it looks like a three-way color wheel).
2. Using the Three-Way Wheels:
Therefore, by default, you’ll see three small wheels. These allow you to inject specific colors into different tonal ranges:
Shadows: In other words, it adds a tint to the darkest parts of your photo (e.g., adding teal for a cinematic look).
Midtones: Therefore, Affects the “average” brightness areas, which is excellent for refining skin tones.
Highlights: In other words, it adds a tint to the brightest parts (e.g., adding warm orange/yellow for a sunset feel).
Controls within the wheel:
Photoshop: Camera Raw Color Grading Guide,
Hue: In other words, rotate the handle around the circle to pick a color.
Saturation: Drag the handle away from the center to increase the intensity.
Luminance: In other words, use the slider below each wheel to brighten or darken that specific tonal range.
3. Blending and Balance:
However, these two sliders at the bottom are the secret to a professional grade:
Blending: For instance, this determines how much the colors in the Shadows and Highlights overlap.
Lower values keep the colors more distinct.
Higher values (closer to 100) blend them more smoothly across the image.
Balance: This shifts the priority between your wheels.
For instance, moving it to the left lets the Shadow color dominate more of the image.
Above all, moving it to the right pushes the Highlight color into the midtones.
Photoshop: Camera Raw Color Grading Guide,
4. Advanced “Global” Wheel:
Above all, if you click the fourth icon at the top of the panel (the single large circle), you access the Global adjustment. This applies a uniform tint and luminance shift to the entire image at once, which helps unify the look after you’ve finished your three-way grading.
Pro Tips for 2026:
Smart Objects: Above all, always right-click your layer and select Convert to Smart Object before applying the filter. This allows you to go back and tweak your color grade non-destructively later.
The “Alt/Option” Trick: Hold Alt/Option while dragging the Saturation handle to move it more slowly and precisely.
Resetting: Double-click inside any wheel to reset its values to zero.
