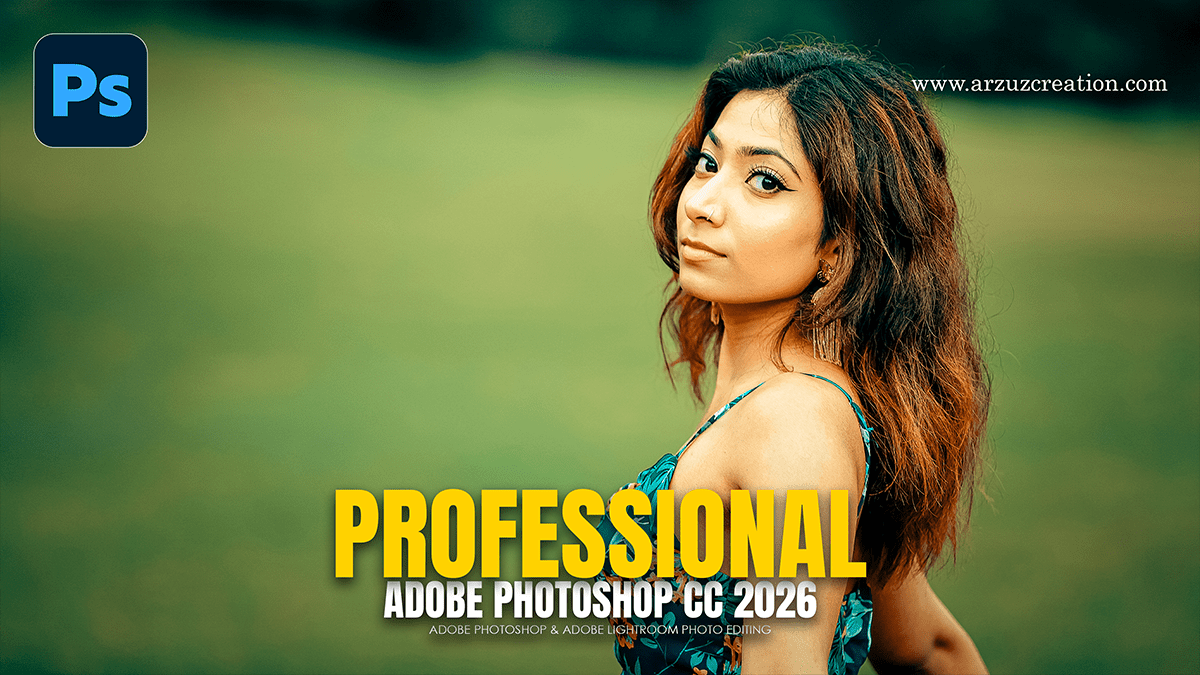
How to Professional Photo Editing in Adobe Photoshop 2026,

Therefore, Professional photo editing in Adobe Photoshop is a balance of technical precision and artistic subtlety. In other words, the goal is usually to enhance the subject’s natural features while maintaining a clean, high-end aesthetic.
How to Professional Photo Editing in Adobe Photoshop 2026,
1. Non-Destructive Foundations:
Therefore, the most important rule in professional editing is to never bake changes directly into your pixels.
Smart Objects: In other words, right-click your image layer and select Convert to Smart Object. This allows you to go back and adjust filters (like Camera Raw) at any time.
Adjustment Layers: Therefore, use the icons at the bottom of the Layers panel for Brightness/Contrast, Curves, and Color Balance. These sit on top of your image rather than changing the base layer.
2. High-End Retouching Techniques:
In other words, avoid “plastic” skin by focusing on texture preservation.
Frequency Separation: This technique splits the image into two layers: one for Color/Tone (Low Frequency) and one for Texture/Detail (High Frequency). This allows you to smooth out skin blotchiness without losing pores or fine lines.
Healing Brush vs. Clone Stamp: However, use the Healing Brush ($J$) for blemishes, as it blends pixels with the surrounding area. Save the Clone Stamp ($S$) for removing distracting objects where you need an exact pixel match.
Dodge and Burn: Create two Curves layers—one brightened, and one darkened. Use a low-opacity white brush on the masks to manually “sculpt” the face, enhancing highlights on the cheekbones and deepening shadows for dimension.
How to Professional Photo Editing in Adobe Photoshop 2026,
3. Color Grading and Correction:
However, Professional photos often have a specific “mood” or cohesive palette.
Camera Raw Filter: However, Press Ctrl+Shift+A (Windows) or Cmd+Shift+A (Mac). Use the Color Mixer to shift specific hues (e.g., making greens more “forest-like” or removing yellow tints from teeth).
Color Lookup (LUTs): Add a Color Lookup adjustment layer to apply cinematic presets that instantly unify the highlights and shadows.
Selective Color: However, this is the secret weapon for skin tones. Adjusting the “Reds” and “Yellows” allows you to remove unwanted redness or add a healthy glow.
How to Professional Photo Editing in Adobe Photoshop 2026,
4. Final Polish:
Global Sharpening: Use Filter > Sharpen > Smart Sharpen at the very end. Keep the radius low (around 0.5 to 1.0 pixels) to avoid halos.
Crop and Composition: Use the Crop Tool ($C$) with the “Rule of Thirds” or “Golden Ratio” overlay enabled to ensure the subject is the focal point.
Common Professional Workflow:
Raw Processing: For instance, adjust exposure and white balance in Camera Raw.
Cleanup: Remove temporary blemishes and distracting background elements.
Skin/Texture: Apply Frequency Separation and Dodge & Burn.
Color Grade: Apply LUTs or Selective Color layers.
Export: Save as a PSD to keep layers, then export a high-quality JPEG or PNG for delivery.
