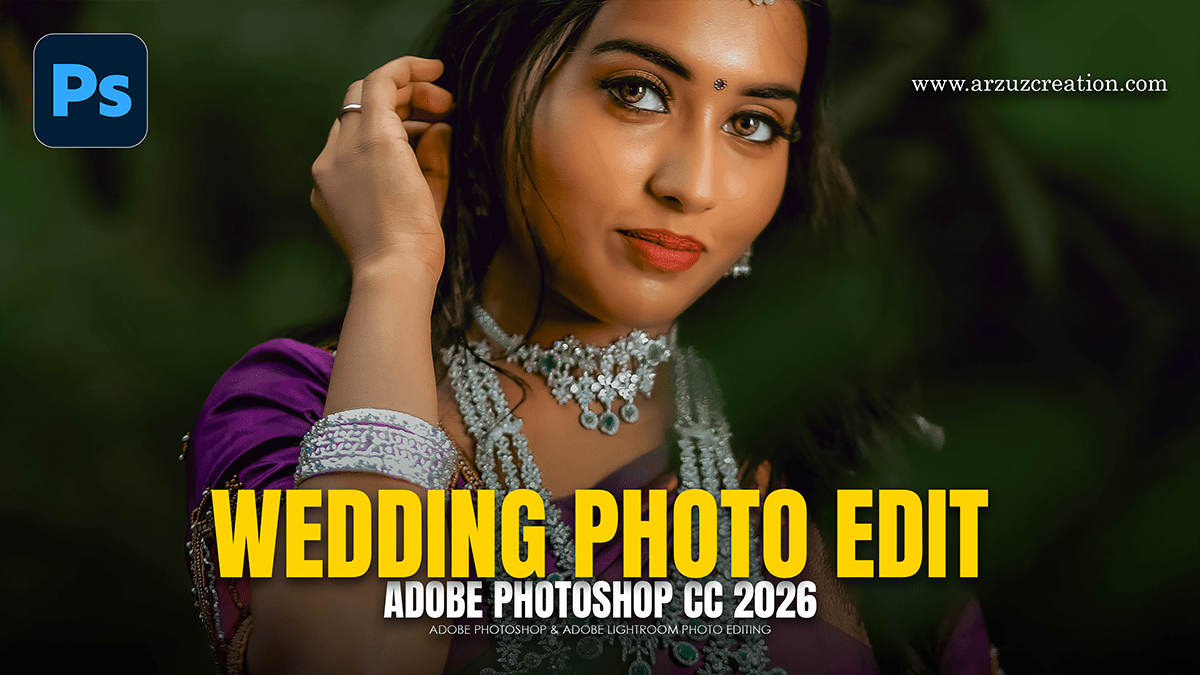
Photoshop: Wedding Photo Color Grading Tutorial,

Therefore, Professional wedding photo color grading in Photoshop requires a balance between technical precision and artistic consistency. The goal is typically to achieve timeless skin tones while maintaining the emotional “mood” of the event.
Photoshop: Wedding Photo Color Grading Tutorial,
1. Non-Destructive Preparation:
Therefore, before applying creative color, the foundation must be neutral.
Camera Raw Filter: Press Ctrl+Shift+A (Windows) or Cmd+Shift+A (Mac). Use the White Balance eyedropper on a neutral surface (like a groom’s shirt or a white flower) to remove color casts.
Exposure & Contrast: Therefore, level out the histogram. Ensure the highlights on the wedding dress retain detail (avoiding “clipping”) while keeping the shadows deep enough for dimension.
2. Advanced Skin Tone Correction:
In other words, Skin tones are the most critical element of wedding photography.
Selective Color Adjustment: Focus on the Reds and Yellows.
In other words, to fix “magenta” skin, increase the Yellow slider in the Reds channel.
However, to add a healthy glow, slightly decrease Cyan in the Reds channel.
Targeted Saturation: In other words, use a Hue/Saturation layer, select the hand tool, click the skin, and adjust the saturation of specifically that range to avoid affecting the background.
Photoshop: Wedding Photo Color Grading Tutorial,
3. Creating the “Signature Look.”
In other words, Modern wedding styles often fall into two categories: “Light & Airy” or “Moody & Cinematic.”
The “Light & Airy” Look
Curves Layer: However, lift the blacks slightly to create a “matte” finish by dragging the bottom-left point of the Curve line upward.
Color Balance: Add a hint of Cyan or Blue to the highlights and Red/Yellow to the midtones for a warm, sun-drenched feel.
The “Dark & Moody” Look:
Color Lookup (LUTs): Apply a LUT like Candlelight or LateSunset at a low opacity (10-30%).
Calibration (Camera Raw): However, shift the Blue Primary Hue slider to the left and the Green Primary Hue to the right to create those deep, desaturated “forest” greens common in outdoor wedding photography.
Photoshop: Wedding Photo Color Grading Tutorial,
4. Finishing Touches:
Gradient Maps: However, create a Gradient Map layer from deep navy to cream. Set the blending mode to Soft Light and opacity to 10%. This binds the colors of the shadows and highlights together for a cohesive look.
The “Orton Effect”: For a romantic, dreamy glow, merge all layers (Ctrl+Alt+Shift+E), apply a Gaussian Blur (around 10px), and set the layer mode to Soft Light at 15% opacity.
Pro Workflow Tip:
In conclusion, Use Smart Objects. Right-click your image layer and select Convert to Smart Object before opening the Camera Raw Filter. This allows you to go back and tweak your color grading settings at any time without losing image quality.
