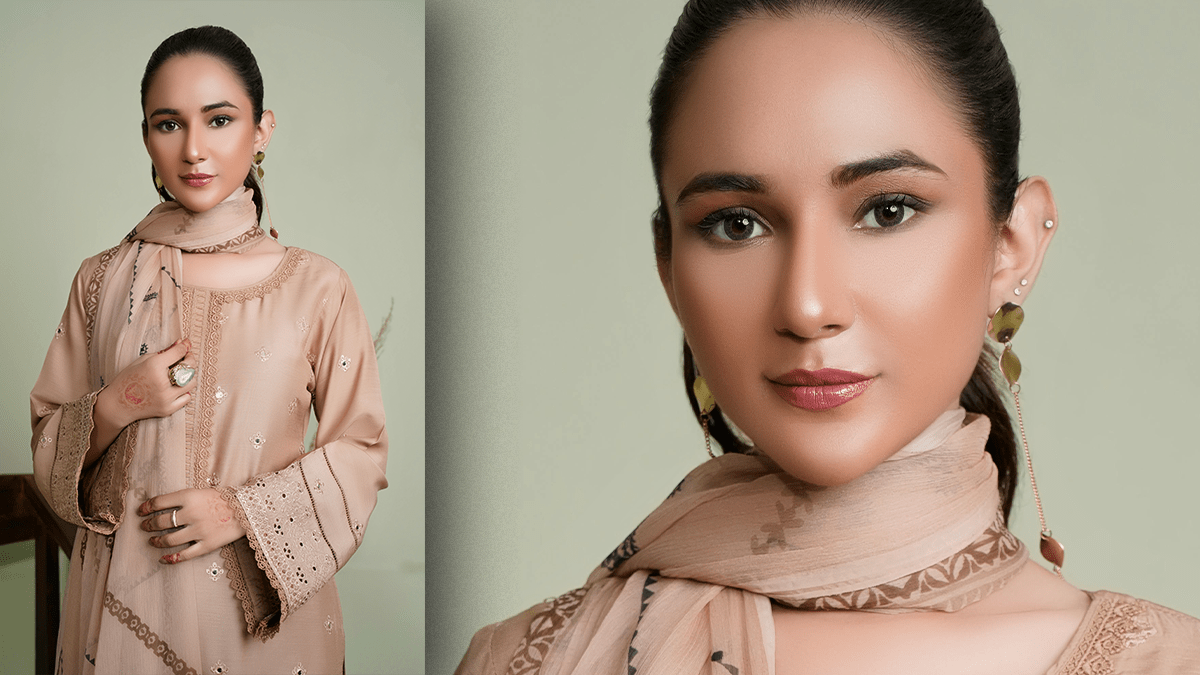
Photoshop 2026 High-End Skin Retouching Tutorial For Beginners,

Therefore, High-end skin retouching in Adobe Photoshop has evolved drastically. While classic, manual gold-standard practices remain unmatched for commercial, editorial, and beauty photography, Photoshop 2026 integrates advanced AI assistance to expedite the tedious parts of the workflow without compromising raw skin texture.
In other words, A truly professional, high-end workflow balances local cleanup, structural smoothing, and micro-contrast adjustments.
Photoshop 2026 High-End Skin Retouching Tutorial For Beginners,
Phase 1: Initial Blemish Cleanup:
Therefore, before touching tones or textures globally, you must address distinct imperfections non-destructively.
- The Set-up: Therefore, Create a new blank layer above your background image and name it
Blemish Cleanup. Ensure your chosen tool is set to Sample All Layers.- The Tools:
- The Remove Tool (Enhanced AI): Therefore, In Photoshop 2026, the Remove Tool uses an on-device Firefly model. Use a small brush to instantly erase severe blemishes, stray hairs, and deep wrinkles. It analyzes the surrounding pore structure much better than old Content-Aware algorithms, minimizing synthetic blurring.
- Healing Brush & Clone Stamp: In other words, For areas close to critical edges (like the eyes, lips, or jawline) where AI might guess incorrectly, revert to the classic Healing Brush Tool (for texture matching) or the Clone Stamp Tool (set to 20%–30% Opacity) to manually blend transitions.
Phase 2: Frequency Separation (The BST Method)
In other words, Frequency Separation splits your image into two distinct components: Low Frequency (colors, tones, shadows, and highlights) and High Frequency (fine textures, pores, and hairs). The modern industry preference heavily leans toward the BST (Better, Smoother Transitions) Method, which utilizes a mixer brush or advanced blurring on the low layer to avoid the classic “plastic AI” look.
Photoshop 2026 High-End Skin Retouching Tutorial For Beginners,
Setting Up the Layers:
- In other words, Duplicate your cleaned image twice. Name the top layer
High Frequency(Texture) and the middle layerLow Frequency(Tones). Group them.- For the Low Frequency Layer: Turn off the High layer. Apply Filter > Blur > Gaussian Blur. Move the radius slider until the fine skin texture just disappears, but the shapes and structures remain visible (typically between $4$ to $9\text{ px}$ depending on image resolution).
- For the High Frequency Layer: Turn the layer back on. Go to Image > Apply Image.
- If working in 8-bit: Set Layer to
Low Frequency, Blending to Subtract, Opacity 100%, Scale 2, Offset 128.- If working in 16-bit: Check Invert, Set Layer to
Low Frequency, Blending to Add, Scale 2, Offset 0.- In other words, Change the High Frequency layer’s blending mode to Linear Light. The image will look completely normal again.
Retouching the Tones:
However, Select the Low Frequency layer. Use the Mixer Brush Tool with the following specific settings:
- Clean the brush after each stroke (toggle the icon in the options bar).
- For instance, Set to Wet: 10%, Load: 15%, Mix: 20%, Flow: 20%.
- However, Gently brush along the transitions of light and shadow (e.g., following the cheekbone, down the bridge of the nose). This flattens patchy skin tones while completely preserving the unmanipulated pore structure sitting safely on the layer above.
Photoshop 2026 High-End Skin Retouching Tutorial For Beginners,
Phase 3: Micro & Macro Dodge & Burn:
For instance, High-end retouching lives and dies by Dodge and Burn. It is the practice of selectively brightening and darkening pixels to create flawless transitions.
[Curves: Brighten (Dodge)] -> Masked Black
[Curves: Darken (Burn)]   -> Masked Black
     |
     +---> Adjusted with a 1% to 2% Flow Brush
- The Setup: Create two separate Curves Adjustment Layers.
- Name one
Dodge, lift the center of the curve slightly to brighten, and invert its mask to black ($\text{Ctrl/Cmd} + \text{I}$).- Name the second
Burn, pull the center of the curve down to darken, and invert its mask to black.- Micro Dodge & Burn: Zoom in to $100\%$–$200\%$. Using a very small, soft Brush Tool (Opacity 100%, Flow 1%–2%), paint white on the masks. Lighten individual dark spots inside a pore or soften deep shadow lines under wrinkles.
- Macro Dodge & Burn: Zoom out to see the whole portrait. Use a much larger brush to contour the face—sculpting the highlights on the forehead, cheekbones, and nose bridge to add dimension and cinematic depth.
Photoshop 2026 High-End Skin Retouching Tutorial For Beginners,
Phase 4: Modern 2026 Workflow Enhancements:
Non-Destructive Texture Control:
Above all, Photoshop 2026 features dedicated Clarity & Dehaze and Grain Adjustment Layers.
- Similarly, If your Frequency Separation or AI cleanup made an area look slightly too uniform, add a Grain Adjustment Layer.
- Above all, Instead of permanently damaging the image pixels, dial in an ultra-fine, low-intensity grain structure. Mask it strictly to the skin to give it an authentic, high-resolution magazine texture.
Smart AI Assistance Balance:
Above all, while plugins like Retouch4me or Adobe’s Neural Filters (Skin Smoothing) are highly popular for high-volume commercial workflows, top-tier editors use them strictly as foundations.
Pro Tip: If you run a Neural Skin Smoothing filter, run it on a Smart Object at a low setting ($40\%$ smoothness), then immediately apply a layer mask so it only influences flat expanses of skin, keeping the structural features (eyes, nostrils, lips, hair) sharp and untouched.
