How to edit photos in Photoshop, Adobe Photoshop tutorial for beginners.

Hello everyone,
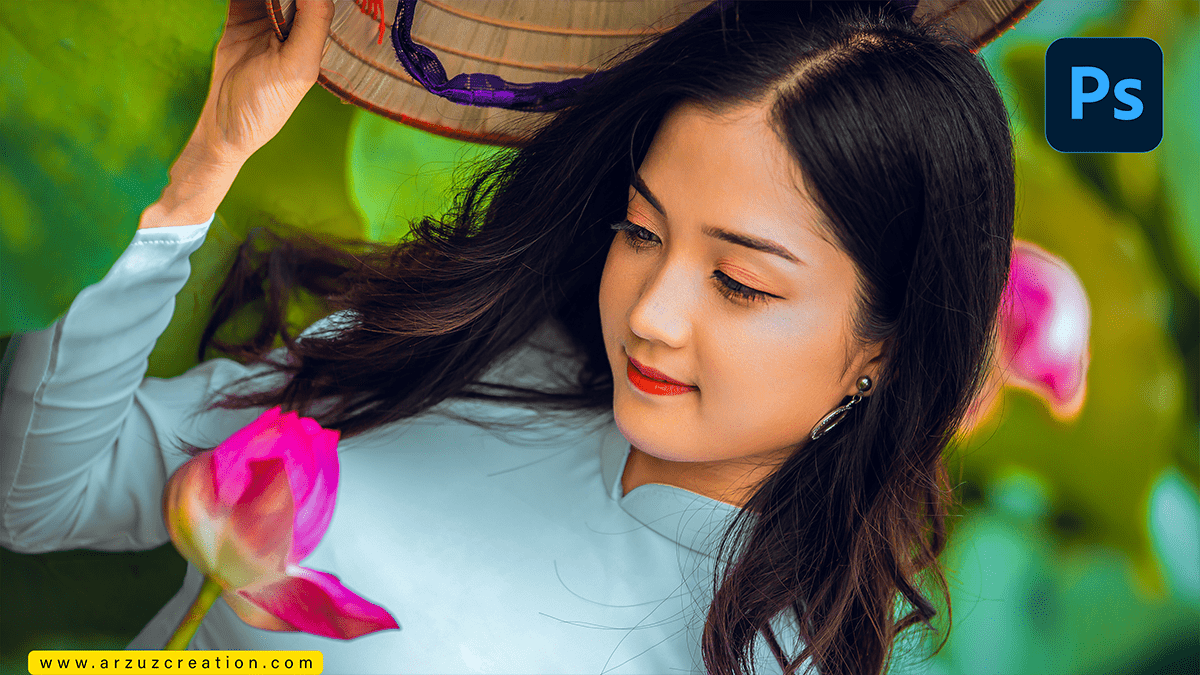
In this Photoshop tutorial, you learn, How to edit outdoor photos in Adobe Photoshop. I will tell you, step by step color grading outdoor portrait photos in camera raw filter.
Import the photo into your preferred photo editing software, such as Adobe Lightroom, Photoshop, or GIMP.
For instance, Adjust the exposure and contrast to bring out the details in the photo. You can also use the highlights and shadows sliders to brighten or darken specific areas of the image.
Adjust the white balance to make the colors look more natural. You can use a white balance preset or manually adjust the temperature and tint sliders until you achieve the desired color balance.
Click the presets button below to download the Photoshop preset file 📂
Use the crop tool to remove any unwanted elements from the photo and to frame the subject in a more pleasing composition.
Enhance the colors and saturation to make them more vibrant and appealing. Be careful not to overdo it, as this can make the photo look unnatural.
Now watch this video 📹 tutorial and click on the video tutorial button to learn the work,
Use the sharpening tool to make the details in the photo more sharp and clear. This is especially important for outdoor photos, as they often have a lot of detail that can get lost in a blurry image.
Finally, adjust the overall brightness and tone of the photo using the global adjustments tool. This will help to create a more balanced and cohesive image overall.
Save your edited photo in a high-quality format, such as JPEG or TIFF, and enjoy your newly enhanced outdoor photograph!
