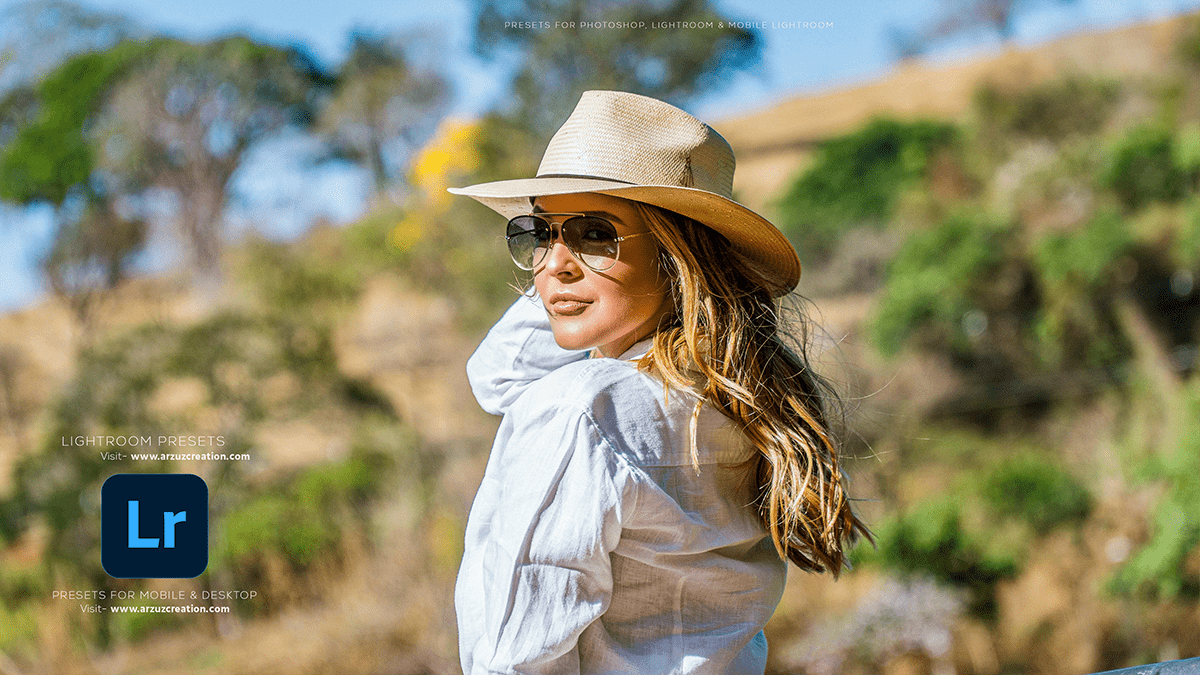
Adobe Lightroom Color Grading Tutorial For Beginners. In other words, How to Color Grading in Adobe Photoshop Lightroom. Lightroom Photo Editing Tutorial. Lightroom Presets.
Therefore, In this Lightroom tutorial, you learn, How to color-grade outdoor portrait photos in Adobe Lightroom.

Adobe Lightroom Color Grading Tutorial For Beginners,
However, Easy Adobe Lightroom Color Grading Tutorial for Enhanced Photo Editing:
Introduction:
Color grading is an essential aspect of photo editing that allows you to enhance the mood, atmosphere, and overall visual appeal of your images. For instance, In this tutorial, we will guide you through the process of color grading using Adobe Lightroom, a popular and user-friendly photo editing software.
Select Your Image:
Above all, Begin by opening the image you want to edit in Adobe Lightroom. Make sure the photo has good exposure and white balance before proceeding with color grading.
Basic Adjustments:
Start by making basic adjustments to the image, such as exposure, contrast, highlights, shadows, whites, and blacks. These settings will help you establish a solid foundation for your color grading.
Click here to download this preset file,
White Balance:
After that, Adjust the white balance to ensure accurate colors in your image. You can use the ‘White Balance’ tool or the ‘Temperature’ and ‘Tint’ sliders to achieve the desired color balance.
Lightroom Photo Editing,
Tone Curve:
The tone curve is a powerful tool for adjusting the overall color tone of your image. Use the ‘Point Curve’ or ‘RGB’ curve to make subtle or dramatic changes to the tonal range of your photo.
HSL/Color/B&W Panel:
The HSL/Color/B&W panel is where you can control the individual colors in your image. Adjust the ‘Hue,’ ‘Saturation,’ and ‘Luminance’ sliders for each color channel to create your desired color grading effect.
Click here to watch this video tutorial,
Split Toning:
Similarly, Split toning allows you to apply different colors to the highlights and shadows of your image. To do this, go to the ‘Develop’ module and navigate to the ‘Split Toning’ panel. Experiment with different colors and intensities for the highlights and shadows to achieve the desired effect.
Presets and Custom Settings:
Lightroom offers a variety of presets that can help you achieve different color grading styles. You can also create your custom settings by saving your adjustments as a preset for future use.
Learn, Professional Photo Editing,
Final Touches:
Once you’re satisfied with your color grading, make any final adjustments to the image, such as vignetting, noise reduction, or sharpening.
Conclusion:
Color grading is an art form that takes practice, but with this tutorial, you should have a solid understanding of how to use Adobe Lightroom for color grading. Experiment with different settings and techniques to find your unique style and enhance your photo editing skills.
