Moody Colour Tone Effects Photoshop Presets Camera Raw Filter Tutorial. In other words, How to Create Moody Colour Tone Effects in Adobe Photoshop Camera Raw Filter. However, Moody Colour Tone Camera Raw Presets Free Download.
Therefore, In this Photoshop tutorial, you learn, How to edit outdoor portrait photos with moody color tone effects in Adobe Photoshop 2024.

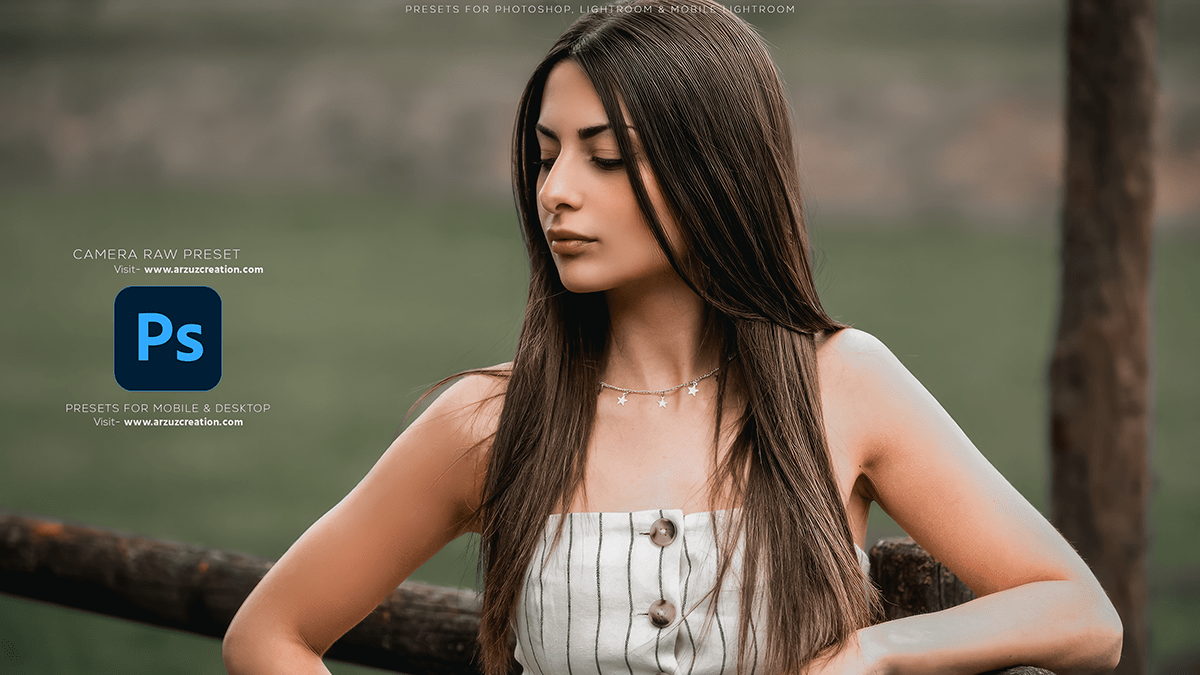
Moody Colour Tone Effects Photoshop Camera Raw Filter Tutorial,
Adobe Photoshop is a powerful and versatile image editing software that offers a wide range of tools and features for enhancing, manipulating, and creating digital images. Here are some basic steps to get started with photo editing in Adobe Photoshop:
Open your image: For instance, Launch Adobe Photoshop and click on “File” > “Open” to select and open the image you want to edit.
Professional Color Grading,
Familiarize yourself with the interface: The Photoshop interface consists of various panels, including the Menu bar, Toolbar, Layers panel, and Properties panel. You can customize the workspace by rearranging or hiding panels as needed.
Use selection tools: To edit specific parts of an image, use selection tools like the Marquee Tool, Lasso Tool, or Magic Wand Tool. You can also refine your selections using the Select and Mask feature.
Apply adjustments: Enhance your image by adjusting color, brightness, contrast, and other properties. You can use adjustment layers like Levels, Curves, or Hue/Saturation to make non-destructive edits.
Professional Photo Editing, Moody Colour Tone Effects,

Apply filters and effects: In addition, Add creative effects to your image using filters like Blur, Noise, or Distort. You can also use layer styles, brushes, or textures to enhance your image further.
Adobe Photoshop Lightroom Photo Editing,
Work with layers: Photoshop uses a layered editing system, which allows you to make changes without affecting the original image. After that, You can create new layers, adjust their opacity, and blend modes to achieve the desired result.
Photoshop Presets Free Download,
Retouch and repair images: Above all, Use tools like the Spot Healing Brush, Healing Brush, or Clone Stamp Tool to remove blemishes, fix distractions, or duplicate elements in your image.
Moody Colour Tone Effects,
Save your work: Once satisfied with your edits, save your image in the desired format, such as JPEG, PNG, or TIFF. You can also save your project as a PSD file to continue editing later.
Remember to always back up your original image before making any edits, and practice using different tools and techniques to improve your skills in Adobe Photoshop.
Moody Color Tone Photoshop Second Step,
To create a moody color tone in a photo using Photoshop, follow these steps:
Open your image in Photoshop.
Duplicate the background layer by right-clicking the layer and selecting “Duplicate Layer.”
Rename the new layer to “Color Tone.”
Lightroom Photo Editing & Color Grading,
Set the blending mode of the “Color Tone” layer to “Color” by clicking on the drop-down menu at the top of the layer panel.
Create a new Hue/Saturation adjustment layer by going to “Image” > “Adjustments” > “Hue/Saturation.”
Adjust the Hue, Saturation, and Lightness sliders to your desired moody color tone. You can experiment with different values to achieve the desired effect.
Lower the opacity of the “Color Tone” layer if the effect appears too strong.
Lightroom Presets Free Download,
To further enhance the moody atmosphere, you can add a Curves or Levels adjustment layer to adjust the brightness and contrast of the image.
If you want to add a desaturated or vintage look, you can apply a black-and-white effect by creating a new layer filled with 50% gray (Shift + Alt + Backspace) and changing its blending mode to “Multiply” or “Soft Light.”
Finally, save your work by going to “File” > “Save As” and choosing the desired file format.
Remember, the key to creating a moody color tone is experimentation and adjusting the settings according to your preference.