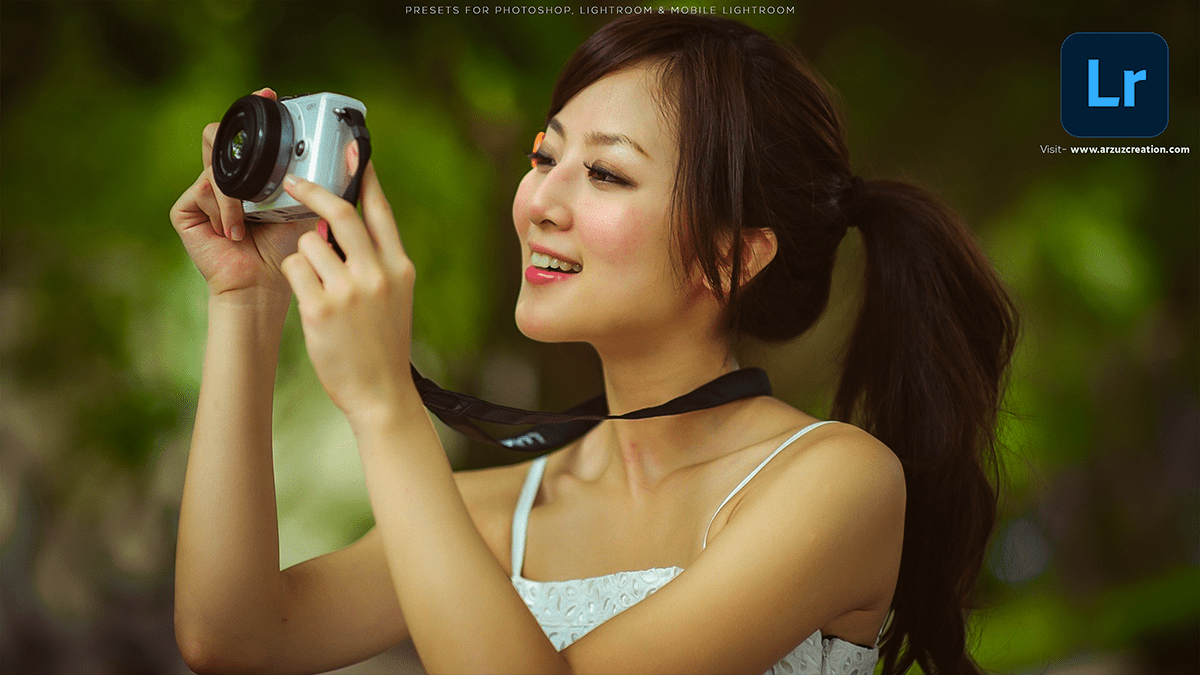
Adobe Lightroom Curves Editing Tutorial,
Therefore, In this Lightroom tutorial, How to do professional photo editing using curves in Adobe Lightroom.
In other words, Lightroom’s Tone Curve is a powerful tool for photo editing that allows you to make precise adjustments to the tonal range of your image. However, Here’s a step-by-step guide on how to use the Tone Curve in Lightroom:

Open the Tone Curve Panel:
- For instance, Open Lightroom and import the photo you want to edit.
- Above all, Navigate to the Develop module by pressing “D” on your keyboard or selecting “Develop” from the top menu.
- In addition, Locate the Tone Curve panel on the right-hand side.
Adobe Lightroom Curves Editing Tutorial, Understanding the Tone Curve:
After that, The Tone Curve is a graph representing the tonal range of your photo:
- Similarly, The horizontal axis represents the tonal range from shadows (left) to highlights (right).
- The vertical axis represents brightness levels, from dark (bottom) to light (top).
- The diagonal line across the graph is the default linear tone curve.
Adobe Lightroom Curves Editing, Types of Curves:
- RGB Curve: Adjusts the overall brightness and contrast.
- Red, Green, Blue Curves: Adjust individual color channels to correct or stylize color balance.
Adjusting the Curve:
- Click to Add Points: Click on the diagonal line to add control points. You can add up to 16 points.
- Drag Points: Drag the points up or down to lighten or darken parts of the image. For example:
- Dragging a point in the shadows (left side) upwards will lighten the shadows.
- Dragging a point in the highlights (right side) downwards will darken the highlights.
- Delete Points: To remove a point, click and drag it off the curve.
Using Curve Presets:
- Lightroom offers several presets for the Tone Curve, accessible from the drop-down menu in the Tone Curve panel. These presets can be a good starting point for your edits.
Fine-Tuning with the Targeted Adjustment Tool:
- Click the Targeted Adjustment Tool icon (a circle with an arrow) in the Tone Curve panel.
- Click and drag directly on the image to adjust the curve based on specific tonal areas you click on.
Editing Specific Color Channels:
- Select the Red, Green, or Blue channels to adjust the tone curve for that specific color. This can be used to correct color casts or create creative color effects.
- Red Channel: Increasing the curve will add red while decreasing it will add cyan.
- Green Channel: Increasing the curve will add green, while decreasing it will add magenta.
- Blue Channel: Increasing the curve will add blue while decreasing it will add yellow.

Resetting the Curve:
- To reset the Tone Curve to its default linear state, click the reset button at the bottom of the Tone Curve panel.
Example Edits:
Here are some common adjustments using the Tone Curve:
- S-Curve for Contrast: Create a slight “S” shape by lifting the highlights (upper right) and dropping the shadows (lower left) to increase contrast.
- Matte Effect: Lift the shadow point (bottom left) slightly upwards to create a matte effect by flattening the darkest areas of the image.
- Color Grading: Adjust the individual color channels to create a stylized color grade. For instance, adding blue to the shadows and yellow to the highlights for a cinematic look.
Tips for Effective Use:
- Make small adjustments: The Tone Curve is very sensitive, and small changes can have a big impact.
- Use before/after views: Press the backslash key () to toggle between the original and edited versions of your photo to see the effect of your adjustments.
By mastering the Tone Curve, you can have greater control over the tonal and color balance of your photos, allowing for more refined and creative edits.
