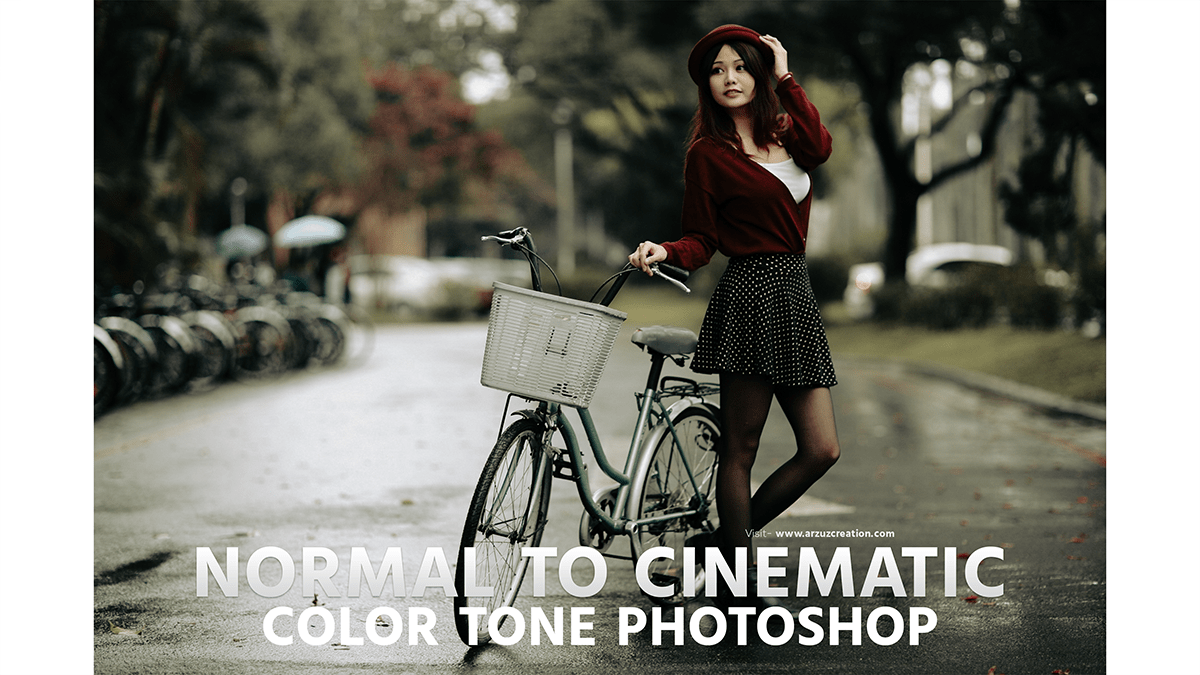
How to Edit Normal Photo to Cinematic in Photoshop 2024,
Creating a cinematic look for your photos involves a combination of techniques related to color grading, aspect ratio, lighting adjustments, and overall styling. Therefore, Here’s a step-by-step guide on how to edit a normal photo to achieve a cinematic look:
Crop to Cinematic Aspect Ratio:
Cinematic aspect ratios are typically wider than standard photo ratios. A common aspect ratio for cinematic images is 2.35:1 or 2.39:1.
- In Photoshop or Lightroom: In other words, Use the crop tool and set a custom aspect ratio. For a 2.35:1 ratio, you can use 1920×817 pixels for example.
How to Edit Normal Photo to Cinematic in Photoshop 2024,

Adjust the Exposure and Contrast:
Cinematic images often have a balanced exposure with enhanced contrast.
- Exposure: However, Ensure your image has the correct exposure. Adjust highlights and shadows to prevent clipping.
- Contrast: For instance, Increase contrast slightly to add depth. Be careful not to overdo it.
How to Edit Normal Photo, Color Grading:
Color grading gives the cinematic feel. This involves adjusting the colors and tones.
- Warm and Cool Tones: Above all, Cinematic images often use complementary warm and cool tones. You can apply a slight teal (cool) to shadows and orange (warm) to highlights.
- Curves: In addition, Use the curves adjustment tool to fine-tune the tones. Lift the blacks slightly to give a faded look and lower the highlights for a softer image.
- HSL Adjustments: After that, Fine-tune individual colors. For example, desaturate greens and enhance blues and oranges.
Add Vignette:
A subtle vignette can draw the viewer’s eye to the center of the image.
- In Lightroom: Therefore, Use the effects panel and adjust the vignette settings.
How to Edit Normal Photo to Cinematic, Sharpening, and Noise Reduction:
Cinematic images often have a fine balance of sharpness and grain.
- Sharpening: Increase sharpness to enhance details but avoid making the image look too artificial.
- Noise Reduction: Apply noise reduction to smooth out any unwanted grain but retain some to maintain a film-like quality.
Add Black Bars (Optional):
Adding black bars at the top and bottom can enhance the cinematic feel.
- In Photoshop: Create a new layer, fill it with black, and then use the marquee tool to create rectangles at the top and bottom of your image. Delete the selected areas to create the bars.
Example Workflow in Lightroom:
- Crop: Set the aspect ratio to 2.35:1.
- Basic Adjustments: Adjust exposure, contrast, highlights, shadows, whites, and blacks to get a balanced image.
- Tone Curve: Lift the blacks and lower the whites slightly to create a softer contrast.
- HSL/Color: Desaturate greens, and enhance blues and oranges.
- Split Toning: Add a slight teal to the shadows and orange to the highlights.
- Effects: Add a subtle vignette.
- Detail: Increase sharpness and apply noise reduction.
Example Workflow in Photoshop:
- Crop: Use the crop tool with a custom aspect ratio of 2.35:1.
- Adjustment Layers: Use curves, color balance, and selective color to adjust tones and colors.
- Vignette: Create a vignette using lens correction or manually with gradient tools.
- Sharpening: Apply a smart sharpener or unsharp mask.
- Black Bars: Add black bars for the letterbox effect.
By following these steps, you can transform a normal photo into a cinematic masterpiece. Experiment with these techniques and adjust according to your style and the specific photo you are working on.
