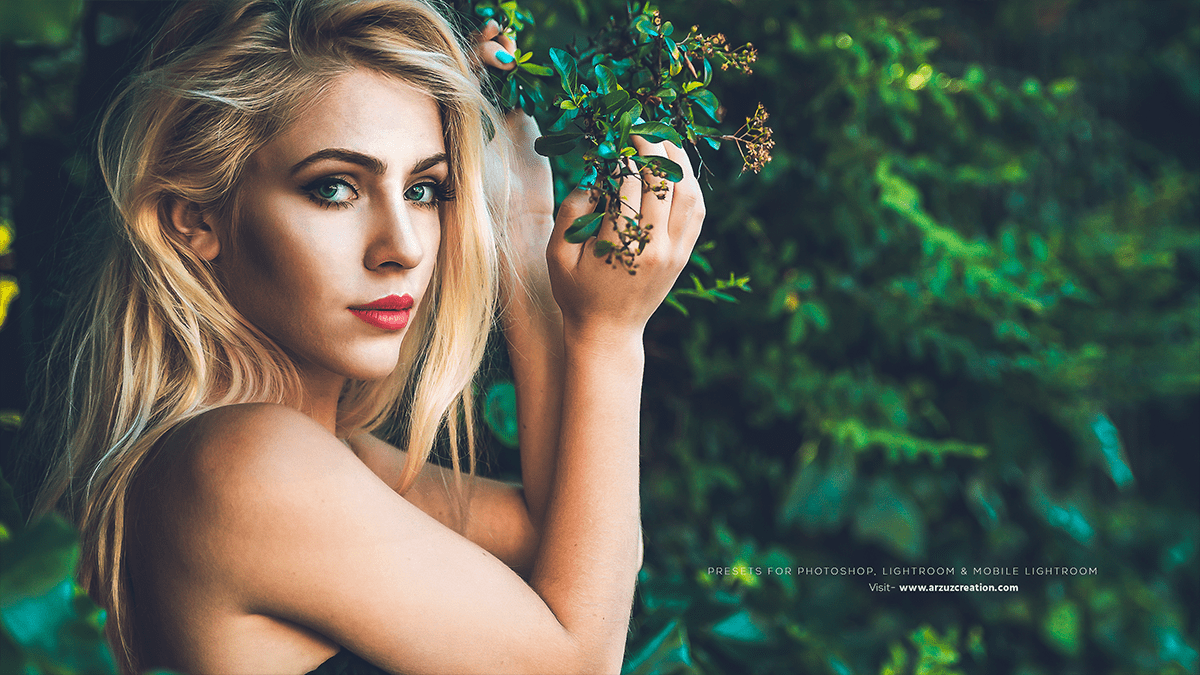
Outdoor Portrait Professional Color Grading,
Color grading outdoor portrait photos in Photoshop can significantly enhance your images’ visual appeal and mood. Here’s a step-by-step guide to help you achieve a polished, professional look:
Step-by-Step Guide to Color Grading Outdoor Portrait Photos in Photoshop,
Open Your Image:
- Therefore, Launch Photoshop and open the outdoor portrait photo you want to edit.
Duplicate the Background Layer:
- In other words, Duplicate the background layer to work non-destructively. Right-click on the background layer and select “Duplicate Layer” or use the shortcut
Ctrl+J(Windows) /Cmd+J(Mac).
Adjust White Balance:
- However, Go to
Image>Adjustments>Color Balanceto correct any color cast. Adjust the sliders for shadows, mid-tones, and highlights to look natural.

Apply Basic Adjustments:
- For instance, Use the
Camera Raw Filter(found underFilter>Camera Raw Filter) to make basic adjustments like exposure, contrast, highlights, shadows, whites, and blacks.
Enhance Colors with Hue/Saturation:
- Above all, Add a Hue/Saturation adjustment layer by clicking on the
Adjustment Layericon at the bottom of the Layers panel and selectingHue/Saturation. Adjust the saturation to make colors pop, but be careful not to overdo it.
Create a Selective Color Adjustment Layer:
- In addition, This allows you to target specific colors in your image. Go to the
Adjustment Layericon again and selectSelective Color. After that, Choose individual colors (reds, yellows, greens, etc.) and adjust the sliders to refine each color’s presence in the image.
Use Gradient Maps for Creative Color Grading:
- Similarly, Add a Gradient Map adjustment layer to create a creative color grade for your photo. This can be found under the
Adjustment Layericon. Choose a gradient that complements your photo’s mood and adjust the layer’s blending mode (e.g.,Soft LightorOverlay) and opacity to blend it seamlessly with your image.

Dodge and Burn for Depth:
- Therefore, Create a new layer and set it to
Soft Lightblending mode. Use a soft brush with low opacity to dodge (brighten) and burn (darken) areas of the photo. This adds depth and dimension to your portrait.
Fine-Tune with Curves:
- Add a Curves adjustment layer to fine-tune the overall tonality and contrast of the image. Adjust the curve to enhance the highlights and deepen the shadows, creating a more dynamic range.
Add a Vignette (Optional):
- To draw attention to the subject, add a subtle vignette. Go to
Filter>Lens Correction, select theCustomtab, and adjust the Vignette settings. Alternatively, use theElliptical Marquee Toolto create a selection around your subject, invert the selection (Shift+Ctrl+IorShift+Cmd+I), and apply aGaussian Blurto the edges.
Sharpen the Image:
- Finally, sharpen the image to enhance details. Go to
Filter>Sharpen>Unsharp Maskand adjust the settings. Be cautious with sharpening to avoid making the image look unnatural.
Tips for Effective Color Grading:
- Consistency: Ensure that the color grading style matches the mood and theme of your photo series.
- Subtlety: Less is often more in color grading. Aim for subtle adjustments that enhance the image without overwhelming it.
- Layer Masks: Use layer masks to apply adjustments selectively, ensuring that only the desired areas are affected.
By following these steps and tips, you can achieve beautifully color-graded outdoor portrait photos that stand out.
