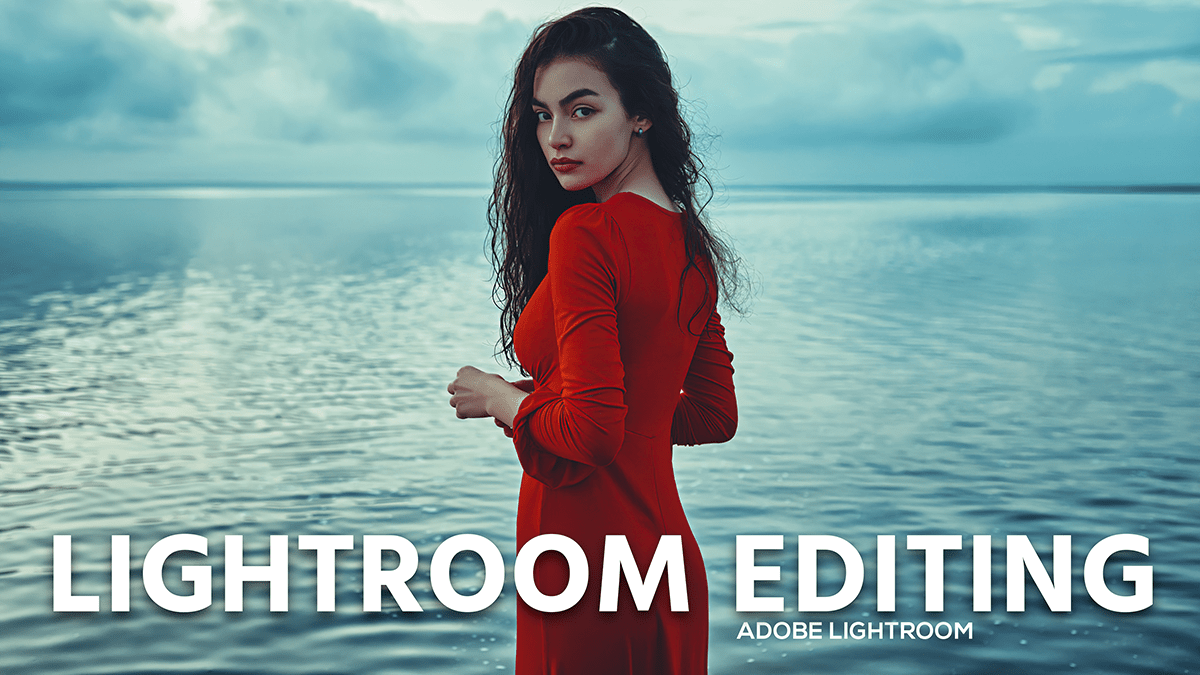
Lightroom Editing 2024 Tutorial,
Therefore, Lightroom is a powerful tool for photo editing. Here are some basic steps and tips to get you started:
Importing Photos:
- Open Lightroom: In other words, Start by opening Adobe Lightroom.
- Import Photos: However, Click on the “Import” button at the bottom left of the Library module. Select the photos you want to edit and import them into Lightroom.
Photo Editing 2024 Lightroom Tutorial,

Basic Adjustments:
- Select a Photo: For instance, Choose the photo you want to edit from the filmstrip at the bottom.
- Go to the Develop Module: Above all, Click on “Develop” at the top right.
Editing Basics:
- Crop and Straighten: In addition, Use the Crop tool to crop and straighten your image. You can access this tool by pressing
R. - Exposure: Adjust the Exposure slider to control the overall brightness of the image.
- Contrast: After that, Increase or decrease the contrast to make your photo pop.
- Highlights and Shadows: Similarly, Adjust the Highlights slider to recover details in bright areas, and the Shadows slider to bring out details in dark areas.
- Whites and Blacks: Set the white and black points using the Whites and Blacks sliders to give your photo a full range of tones.
- Clarity: Therefore, Increase the Clarity slider to enhance mid-tone contrast and bring out the texture.
- Vibrance and Saturation: In addition, Use Vibrance to enhance colors without affecting skin tones too much, and Saturation to increase the intensity of all colors.
Lightroom Photo Editing 2024, Advanced Adjustments:
- Tone Curve: Use the Tone Curve for more precise control over brightness and contrast in different parts of your image.
- HSL/Color: Adjust the Hue, Saturation, and Luminance of individual colors for more detailed color correction.
- Split Toning: Add color to the highlights and shadows for creative effects.
- Detail: Sharpen your image and reduce noise using the Detail panel.
Local Adjustments:
- Adjustment Brush: Use the Adjustment Brush to apply edits to specific areas of your photo.
- Graduated Filter: Apply gradual adjustments to a part of your image, useful for skies and landscapes.
- Radial Filter: Highlight or emphasize a circular area in your image.

Finishing Touches:
- Lens Corrections: Correct lens distortions and vignetting.
- Transform: Adjust the perspective of your image.
- Effects: Add a vignette or grain to your photo for a stylistic touch.
- Calibration: Fine-tune the overall color balance of your image using the Camera Calibration panel.
Exporting Photos:
- Export: Once you’re happy with your edits, select your photo(s) and click on “Export” at the bottom left.
- Export Settings: Choose your export settings, including file format, quality, and destination folder. Click “Export” to save your edited photos.
Lightroom Photo Editing 2024, Tips:
- Presets: Use presets to apply a set of adjustments quickly. Lightroom comes with some presets, and you can create your own or download from other photographers.
- Before/After View: Press the
\key to see the before and after comparison of your edits. - Snapshots: Create snapshots at different stages of your editing process to easily revert if needed.
If you need more specific guidance on any of these steps or want to achieve a particular effect, feel free to ask!
