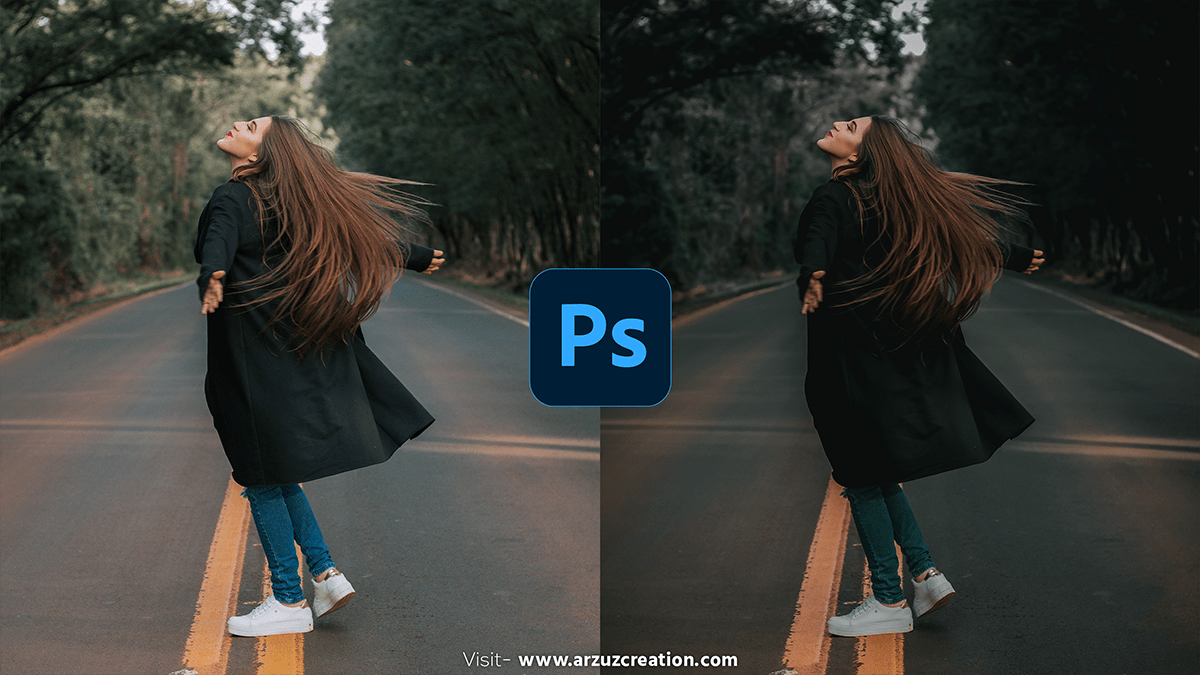
Adobe Photoshop 7.0 Photo Editing Tutorial,

Adobe Photoshop 7.0, though an older version, still offers a variety of tools for photo editing. In other words, Here are some basic steps and tips for editing photos using Photoshop 7.0:
For instance, Open Your Image,
- Therefore, Launch Photoshop 7.0.
- In other words, Go to
File > Openand select the photo you want to edit.
However, Crop and Straighten,
- Above all, Select the
Crop Toolfrom the toolbox (or pressC). - After that, Drag the corners to frame the desired area of the image.
- Similarly, Press
Enterto crop.
Adjust Brightness and Contrast,
- Therefore, Go to
Image > Adjustments > Brightness/Contrast. - In other words, Adjust the sliders to improve the brightness and contrast of your photo.
- However, Click
OKto apply the changes.
Adobe Photoshop 7.0 Photo Editing Tutorial,
In addition, Color Correction,
- For instance, Go to
Image > Adjustments > Levels(or pressCtrl + L). - Above all, Adjust the Input Level sliders to correct the tones.
- In addition, Alternatively, use
Image > Adjustments > Curves(or pressCtrl + M) for more precise control.
Enhance Colors,
- After that, Go to
Image > Adjustments > Hue/Saturation(or pressCtrl + U). - Adjust the
Hue,Saturation, andLightnesssliders. - Use the
Colorizecheckbox to apply a tint to the entire image.
Adobe Photoshop 7.0 Photo Editing Tutorial, Sharpening,
- Go to
Filter > Sharpen > Unsharp Mask. - Adjust the
Amount,Radius, andThresholdsliders. - Click
OKto apply the sharpening effect.
Removing Blemishes,
- Use the
Clone Stamp Tool(or pressS). - Alt-click (Option-click on Mac) on a clean area to sample it.
- Click or paint over the blemish to remove it.
Adobe Photoshop 7.0 Photo Editing Tutorial,
Remove Red Eye,
- Zoom in on the eyes.
- Use the
Elliptical Marquee Tool(or pressM) to select the red-eye area. - Go to
Image > Adjustments > Hue/Saturation. - Select
Redsfrom the dropdown menu. - Decrease the
Saturationand adjust theLightnessas needed.
Add Text or Watermarks,
- Select the
Text Tool(or pressT). - Click on the image where you want to add text.
- Type your text and use the options bar to adjust the font, size, and color.
- Move and position the text as needed.
Save Your Edited Photo,
- Go to
File > Save As. - Choose a file format (JPEG for web use, TIFF, or PSD for high-quality preservation).
- Name your file and select a location to save it.
Adobe Photoshop 7.0 Photo Editing Tutorial, Tips for Efficient Editing:
- Layers: Use layers to keep your edits organized and non-destructive. Create new layers for different adjustments.
- History Panel: Use the History panel (Window > History) to undo multiple steps if necessary.
- Keyboard Shortcuts: Familiarize yourself with Photoshop’s keyboard shortcuts to speed up your workflow.
- Brush Tool: Use the Brush Tool (B) for various retouching tasks. Adjust the hardness and opacity for more control.
- Filters: Experiment with different filters under the
Filtermenu to achieve various effects.
These steps should help you effectively edit photos in Adobe Photoshop 7.0. Even though it’s an older version, it still provides robust tools for basic and intermediate photo editing tasks.