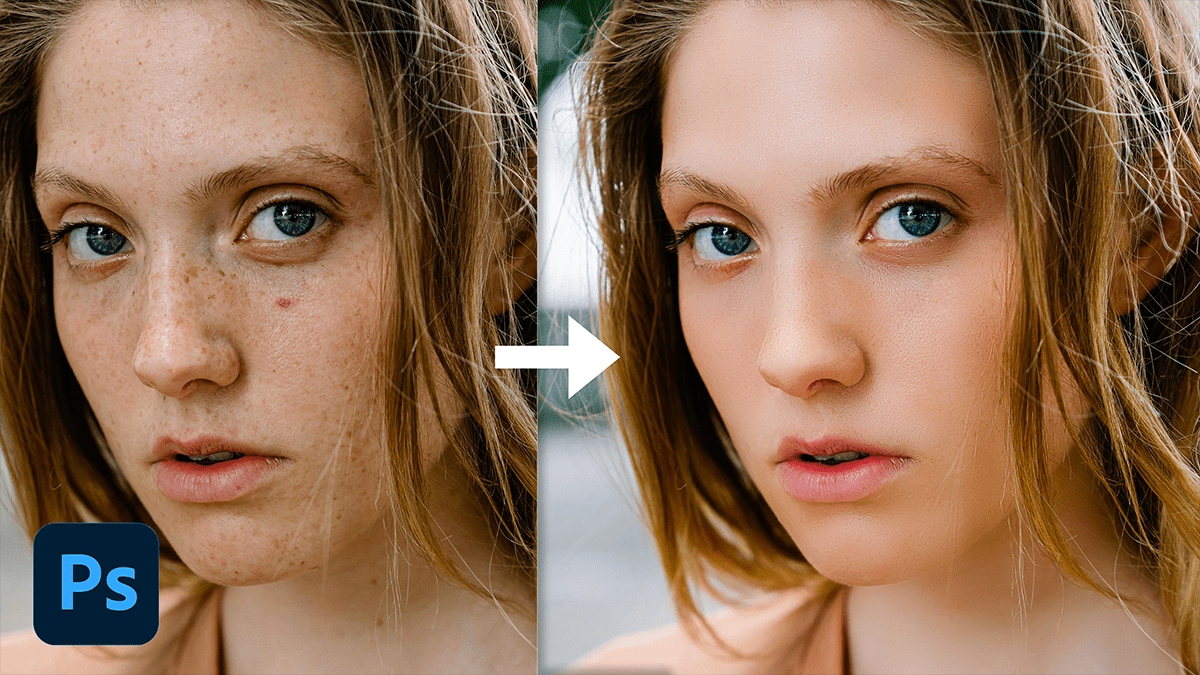
Photoshop Action High-End Skin Retouch,

Therefore, High-end skin retouching in Adobe Photoshop can be streamlined using actions, and automated processes that apply a series of edits with a single click. In other words, Here’s a guide to creating and using an action for high-end skin retouching:
Step-by-Step Guide to Creating a High-End Skin Retouching Action
Create a New Document:
Open Adobe Photoshop and create a new document or open a photo you want to retouch.
Open the Actions Panel:
However, Go to Window > Actions to open the Actions panel.
Create a New Action:
For instance, click on the + icon at the bottom in the Actions panel to create a new action.
Name your action (e.g., “High-End Skin Retouch”) and click Record.
Duplicate the Layer:
Above all, Press Ctrl + J (Cmd + J on Mac) to duplicate your image layer. This will serve as a backup.
Frequency Separation:
Apply Gaussian Blur (Low Frequency):
- In addition, Duplicate the background layer again.
- After that, Go to
Filter>Blur>Gaussian Blur. - Similarly, Set the radius to 2-5 pixels (depending on the image resolution) and click
OK.
High-Pass Filter (High Frequency):
- Therefore, Duplicate the blurred layer.
- In other words, Go to
Filter>Other>High Pass. - However, Set the radius to match the Gaussian Blur and click
OK.
Blending Mode:
- For instance, Set the blending mode of the High Pass layer to
Linear Light.
Group the Layers:
- Above all, Select the two frequency layers and press
Ctrl + G(Cmd + G on Mac) to group them. - In addition, Name the group “Frequency Separation”.
Photoshop Action High-End Skin Retouch,

Dodge and Burn:
Create Curves Adjustment Layers:
- After that, Create two
Curvesadjustment layers, one for dodging (brightening) and one for burning (darkening).
Invert the Masks:
- Invert the layer masks by selecting them and pressing
Ctrl + I(Cmd + I on Mac).
Paint with a Soft Brush:
- Use a soft white brush on the masks to dodge and burn the skin, adding depth and dimension.
Skin Texture Enhancement:
Apply Noise Filter:
- Duplicate the original background layer and move it to the top of the layers panel.
- Go to
Filter>Noise>Add Noiseand apply a small amount of noise. - Reduce the opacity of this layer to blend it with the skin texture.
Final Adjustments:
Sharpening:
- Merge all layers into one by pressing
Ctrl + Alt + Shift + E(Cmd + Option + Shift + E on Mac). - Go to
Filter>Sharpen>Unsharp Maskand adjust the settings for a subtle sharpening effect.
Color Correction:
- Add a
Color BalanceorHue/Saturationadjustment layer to fine-tune the skin tones.
Photoshop Action Free Download,
Stop Recording:
Once you’re satisfied with the process, go back to the Actions panel and click the Stop button to stop recording.
Use the Action:
To apply the action, open a new image, select your action from the Actions panel, and click the Play button.
Tips for High-End Skin Retouching:
Zoom In: Always zoom in to make precise adjustments.
Use a Soft Brush: For dodging and burning, use a soft brush with low opacity.
Subtlety is Key: Avoid over-editing to maintain a natural look.
Once you’ve created the action, you can use it on any photo with a single click, saving you time and ensuring consistency in your retouching process.
