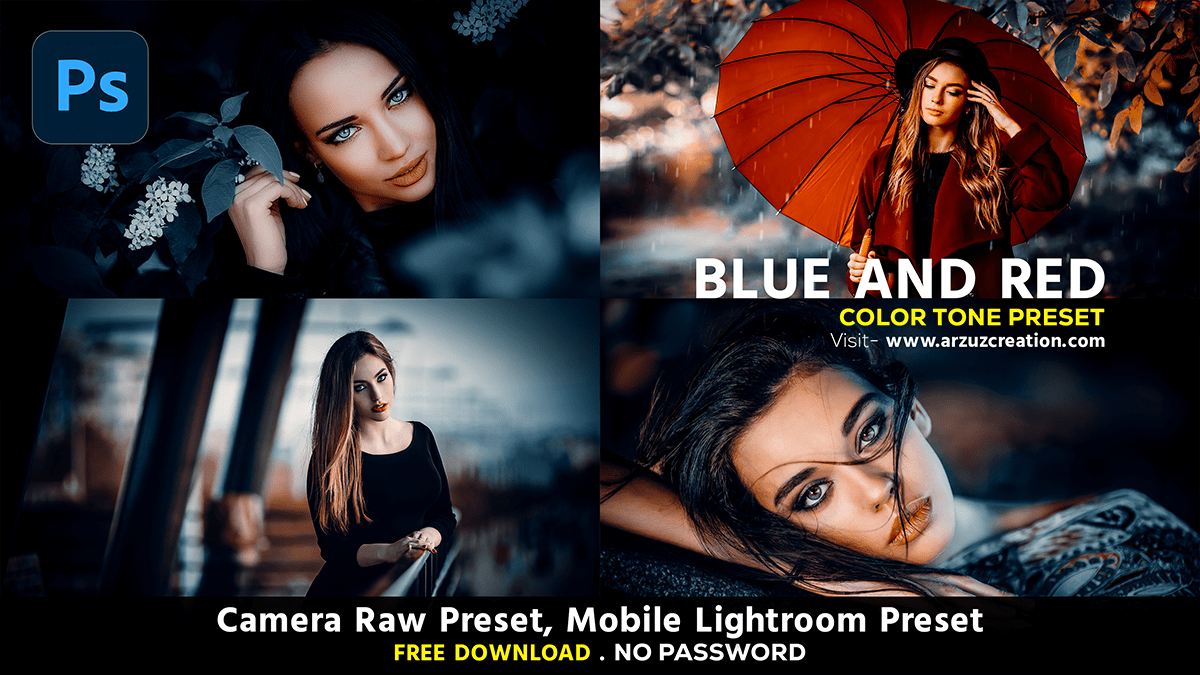
Black and Red Color Grading Photoshop Preset,

Therefore, Color grading in Photoshop using the Camera Raw filter can enhance the visual impact of your images. In other words, Here’s a step-by-step guide to achieve a black and red color grading effect:
Open Your Image in Photoshop:
- However, Start Photoshop and open the image you want to edit.
- Convert the Layer to a Smart Object:
- For instance, Right-click on the image layer in the Layers panel and choose “Convert to Smart Object.” This allows you to make non-destructive edits.
Open the Camera Raw Filter:
- Above all, go
Filter > Camera Raw Filterto open the Camera Raw editor.
Black and Red Color Grading Photoshop Preset,
Adjust Basic Settings:
- In addition, Adjust the basic settings for exposure, contrast, highlights, shadows, whites, and blacks in the Camera Raw interface to set a good foundation for your image. This step is crucial for setting the overall mood.
HSL Adjustments:
- After that, Go to the HSL/Grayscale panel.
- Hue:
- Adjust the red hue to control the tone of the reds in your image.
- Adjust other hues slightly to complement the red tones.
- Saturation:
- Increase the red saturation to make reds more prominent.
- Decrease the saturation of other colors like greens, blues, and yellows to keep the focus on red and black.
- Luminance:
- Adjust the luminance of the reds to control their brightness.
- Decrease the luminance of other colors to darken them.
Black and Red Color Grading Photoshop Preset,
Split Toning:
- Similarly, Go to the Split Toning panel.
- Highlights:
- Set the hue to a red tone and adjust the saturation to apply a subtle red tint to the highlights.
- Shadows:
- Set the hue to a complementary color (often a slight red or magenta) and adjust the saturation to apply this tint to the shadows.
- Balance the highlights and shadows to achieve the desired look.
Adjust the Tone Curve:
- Go to the Tone Curve panel.
- RGB Curve:
- Adjust the overall curve to add contrast by creating an S-curve.
- Red Curve:
- Fine-tune the red channel to emphasize the red tones.
- Blue and Green Curves:
- Adjust these curves slightly to balance the overall color.
Use the Radial or Graduated Filter (Optional):
- Apply a Radial or Graduated Filter to enhance specific areas of the image.
- For example, you can use a Radial Filter to highlight a specific subject with redder or adjust the exposure to make it stand out.
Black and Red Color Grading Photoshop Preset,

Photoshop Presets Free Download 2024,
Fine-Tuning:
- Make additional fine-tuning adjustments in the Basic, HSL, and Split Toning panels as needed.
- You can also use the Detail panel to add sharpening or reduce noise.
Apply and Save:
- Once satisfied with your adjustments, click OK to apply the Camera Raw Filter.
- Save your edited image.
By following these steps, you can create a striking black and red color grading effect using Photoshop’s Camera Raw Filter.
