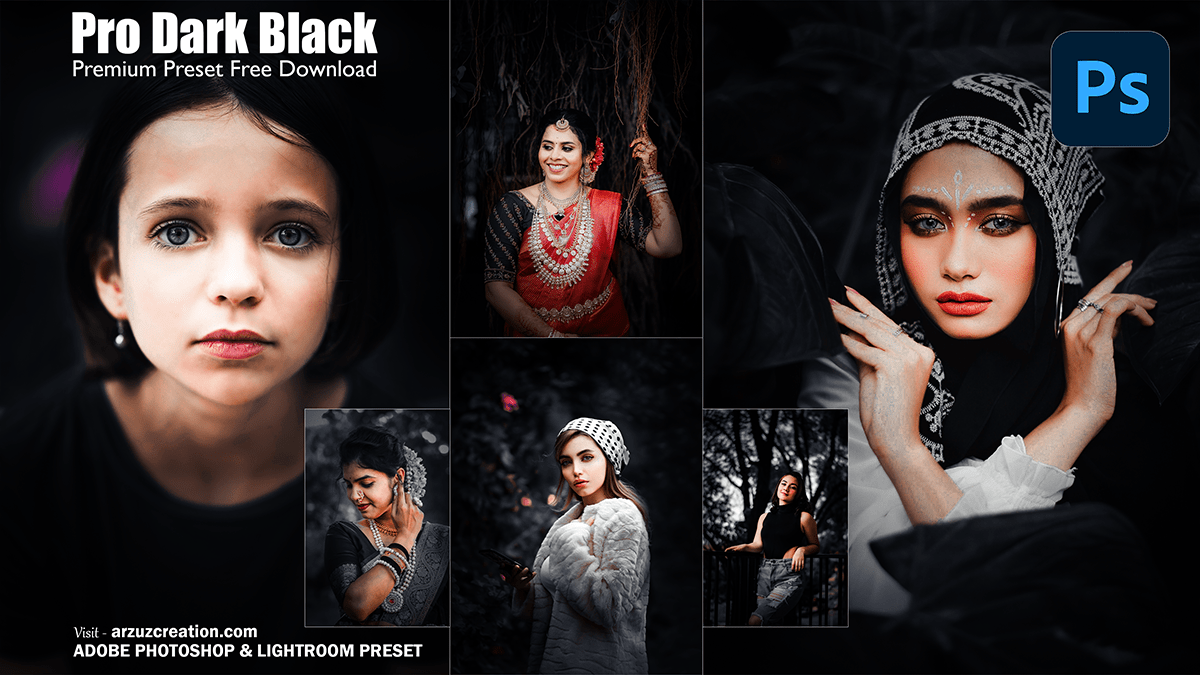
Adobe Lightroom Dark Black Effect Photo Editing,

Therefore, To create a dark black effect in Lightroom, which can give your photos a dramatic and moody look, follow these steps:
Steps for Dark Black Effect in Lightroom:
Basic Adjustments:
- In other words, Start with Exposure: Decrease the exposure slightly to darken the image, but don’t overdo it. You want to darken the image without losing too much detail.
- Contrast: Increase the contrast to make the dark areas richer and more intense.
- Highlights and Shadows: Decrease the Highlights to recover any blown-out areas, and reduce the Shadows for deeper blacks. This will enhance the moody effect.
- Whites and Blacks: Adjust the Blacks slider downwards to intensify the blacks. You can also pull down Whites slightly to reduce any brightness.
Dark Black Effect Photo Editing Lr,
Tone Curve:
- However, In the Tone Curve, create an S-curve by pulling down the lower part of the curve to darken shadows and midtones, and slightly lift the upper part to maintain a little brightness in the highlights.
- For instance, You can also flatten the darkest point of the curve to add more of a matte look to the shadows.
Adobe Lightroom Dark Black Effect Photo Editing,

Color Adjustments:
- Desaturate colors you don’t need: Go to the HSL/Color section and reduce the saturation of blues, greens, and other unnecessary colors to make the blacks stand out more.
- Add a subtle tint: Sometimes adding a slight warm or cool tint to the shadows using the Split Toning feature can help give the black areas more depth and character.
Adobe Lightroom, Clarity, and Texture:
- Above all, Increase the Clarity slider for more definition in the midtones. This sharpens up the details and makes the dark areas more pronounced.
- In addition, Boost the Texture slightly for additional sharpness without making the image too harsh.
Vignetting:
- After that, Apply a slight Vignette in the Effects panel. This darkens the edges of the photo, helping focus attention towards the center.
Lightroom Dark Black Effect Photo Editing Presets,
Final Touches:
- Noise Reduction: If the darkening of shadows introduces noise, adjust the Noise Reduction slider in the Detail panel to smoothen out any unwanted grain.
- Sharpening: Finally, use the Sharpening tool to bring out more details in your subject.
Similarly, After these adjustments, you should achieve a rich dark black effect with a moody and dramatic atmosphere in your photos.
