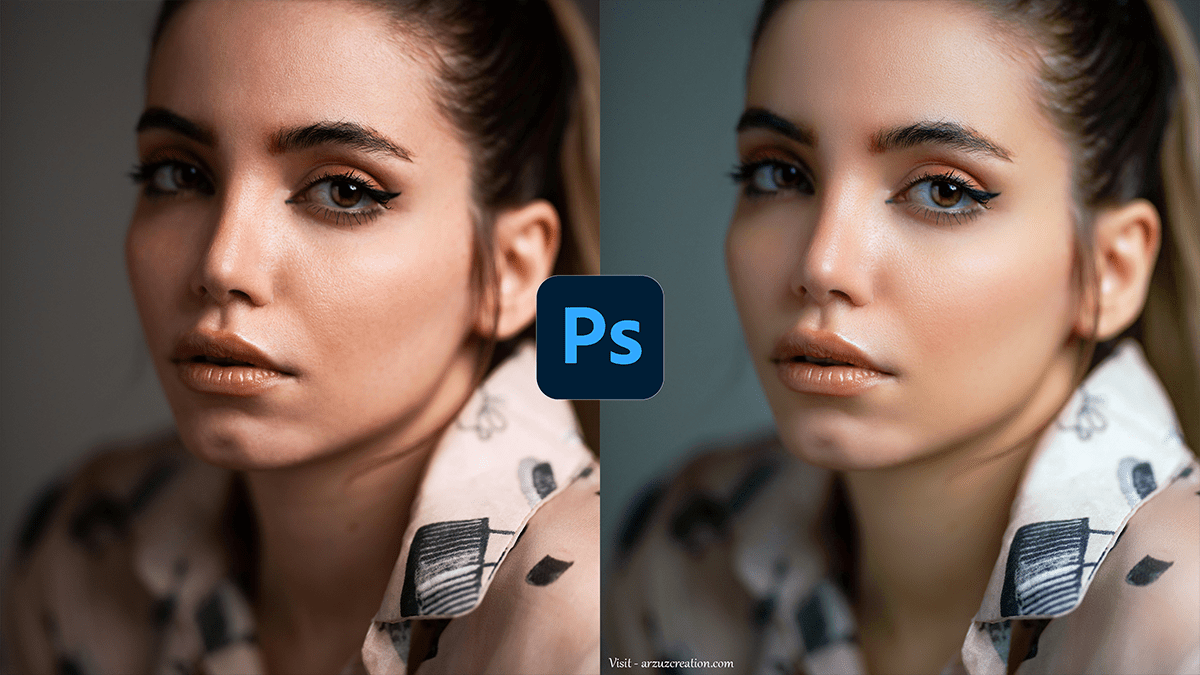
How to Clean Your Face in Adobe Photoshop?
Therefore, To quickly clean your face in Photoshop, here’s a streamlined process using the Spot Healing Brush Tool:

Open Your Image in Photoshop:
- In other words, Drag your image into Photoshop or use File > Open to load it.
Duplicate the Layer:
- However, Press
Ctrl + J(Windows) orCmd + J(Mac) to duplicate the background layer. This allows you to work non-destructively.
Use the Spot Healing Brush Tool:
- For instance, Select the Spot Healing Brush Tool from the toolbar (or press
J). - Above all, In the top menu, ensure Content-Aware is selected. This allows Photoshop to intelligently blend the surrounding pixels.
- After that, Adjust the brush size to be slightly larger than the blemish or spot you’re removing.
How to Clean Your Face, and Remove Blemishes:
- In addition, Click on blemishes, acne, or any unwanted marks. Photoshop will automatically blend the skin texture, creating a clean look.
- Therefore, You can also drag the brush along any unwanted lines or textures.
(Optional) Smooth Skin with the Blur Tool:
- In addition, If you want to soften the skin further, select the Blur Tool (found in the toolbar or press
R). - After that, Lightly brush over the areas where you want smoother skin. Avoid overdoing it, as it can make the skin look unnatural.
How to Clean Your Face, Fine-Tuning with the Clone Stamp Tool:
- After that, For any stubborn areas, use the Clone Stamp Tool (press
S). Sample a clean area of skin by holdingAlt(Windows) orOption(Mac) and clicking, then brush over the problem area.
Adjust Layer Opacity (Optional):
- Similarly, If the edits are too strong, you can adjust the opacity of the duplicated layer for a more natural effect.
In conclusion, This process should give you a quick yet polished result.
To achieve a clean and smooth face in Photoshop, you’ll need to remove blemishes, smooth the skin, and even out the complexion while maintaining natural texture. Here’s a step-by-step guide:

Open Your Image in Photoshop:
- Therefore, Drag the image into Photoshop or use File > Open to load your photo.
How to Clean Your Face, Duplicate the Layer:
- Therefore, Press
Ctrl + J(Windows) orCmd + J(Mac) to duplicate the background layer. Always work on a duplicate layer to preserve the original.
Remove Blemishes (Spot Healing Brush Tool):
- Select the Spot Healing Brush Tool from the toolbar (shortcut:
J). - Make sure Content-Aware is selected in the top menu.
- Adjust the brush size (slightly larger than the blemishes).
- Click on spots, pimples, or unwanted marks to clean up the face. Photoshop will automatically blend the surrounding skin.
Smooth the Skin (Frequency Separation Technique):
Therefore, To maintain natural skin texture while smoothing the skin, use the Frequency Separation technique.
Steps for Frequency Separation:
- Duplicate the layer twice by pressing
Ctrl + J(Windows) orCmd + J(Mac) twice. You should now have two duplicates of the original layer. - Rename the top layer to “Texture” and the middle layer to “Blur”.
- Turn off the visibility of the top layer (click the eye icon).
- Select the Blur layer and apply Gaussian Blur (go to Filter > Blur > Gaussian Blur). Set a radius until the skin texture is blurred out, typically between 2-5 pixels.
- Turn the visibility of the “Texture” layer back on and select it.
- Go to Image > Apply Image.
- Set Layer to “Blur”.
- Blending should be set to Subtract if you’re working in 8-bit mode or Add if you’re in 16-bit mode. Set the Scale to 2 and Offset to 128.
- Change the Blending Mode of the Texture layer to Linear Light.
Now, you can edit the “Blur” layer to smooth out the skin without affecting the texture.
Use the Healing Brush Tool for Fine Details:
- On the Texture layer, use the Healing Brush Tool (
J) to clean up any remaining imperfections in the skin texture. - Sample clean areas by holding
Alt(Windows) orOption(Mac) and click to fix rough patches, pores, or any inconsistencies.
How to Clean Your Face, Adjust Skin Tone (Dodge and Burn):
- Dodge and Burn helps enhance highlights and shadows naturally.
- Create a new layer and fill it with 50% gray by going to Edit > Fill > 50% Gray. Set the blending mode of this layer to Overlay.
- Use the Dodge Tool (to lighten) and Burn Tool (to darken) with a low exposure (about 5-10%) to subtly contour the face and balance the skin tone.
(Optional) Enhance Details with High-Pass Filter:
- Therefore, If you want to enhance sharpness, duplicate the texture layer, apply a High Pass Filter (Filter > Other > High Pass) with a low radius (about 1-2 pixels), and set the blending mode to Overlay or Soft Light. This will sharpen the facial details without overdoing it.
How to Clean Your Face, Final Touches:
- Adjust the Opacity of your adjustments for a natural look.
- If needed, use Curves or Levels to correct the overall tone and lighting of the face.
This method will give you smooth, clean skin while preserving the texture and avoiding the overly airbrushed effect.