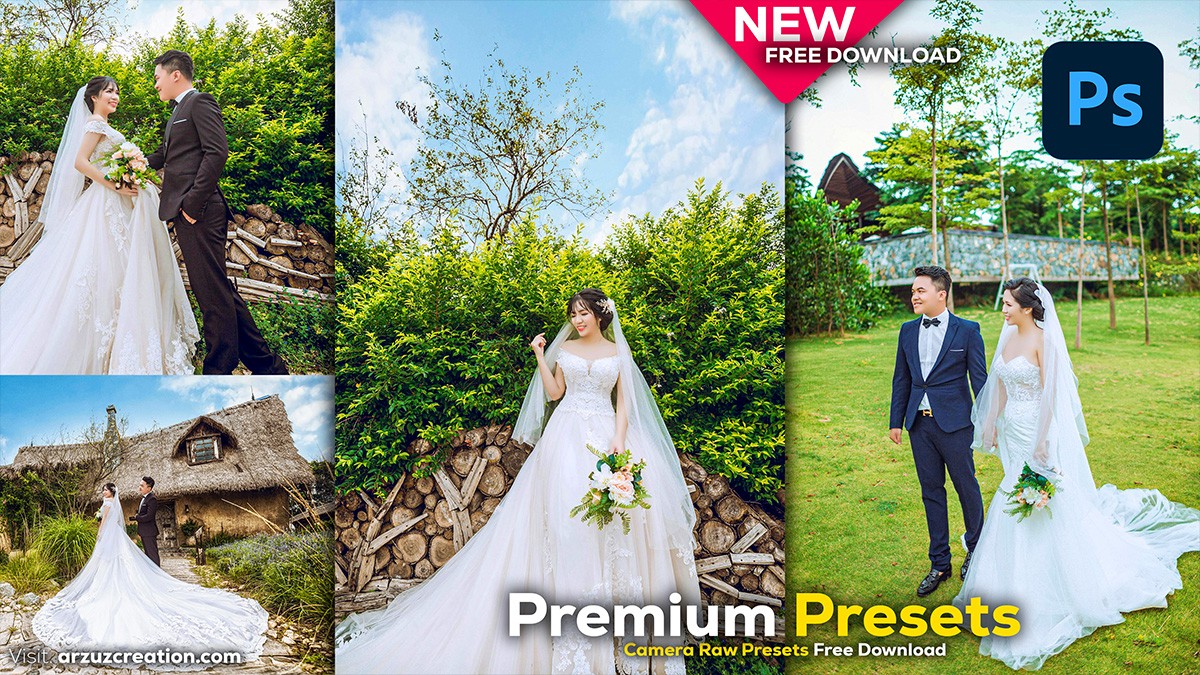
Adobe Photoshop: Wedding Portrait Edit And Retouching,

Professional wedding photo editing in Adobe Photoshop typically involves a series of techniques that enhance the images to look polished, elegant, and consistent with the wedding’s aesthetic. Here’s a step-by-step guide to achieve professional-quality wedding photos using Photoshop:
Basic Adjustments: Exposure, Contrast, and White Balance:
- Open your image in Photoshop and start by adjusting the exposure, contrast, and white balance. These three factors will greatly affect the overall look.
- Use the Camera Raw Filter (Filter > Camera Raw Filter) to make these adjustments easily. Correcting these ensures the skin tones are accurate, and the image is neither too dark nor too bright.
- Tip: For wedding photos, a slightly warmer temperature often works well to create a romantic feel.
Adobe Photoshop: Wedding Portrait, Skin Retouching:
- Therefore, Use the Spot Healing Brush to remove any blemishes or imperfections.
- In other words, For smoother skin, use Frequency Separation:
- Duplicate the image layer twice.
- However, On the first layer, apply a slight Gaussian Blur (Filter > Blur > Gaussian Blur) to blur out the skin texture.
- For instance, On the second layer, apply High Pass Filter (Filter > Other > High Pass) to bring out the texture details.
- However, Blend them using soft light blending mode and work on enhancing skin texture and softness simultaneously.
Teeth Whitening and Eye Enhancement:
- In other words, Use the Dodge Tool to brighten teeth and eyes subtly. Keep the Exposure to about 10-15% for natural-looking results.
- However, The Sponge Tool (set to Desaturate mode) can be used to reduce any yellow tones in the teeth.

Adobe Photoshop: Wedding Portrait, Color Grading:
- For instance, Weddings often require a soft, romantic color grade. You can use the Color Balance and Selective Color adjustments to fine-tune colors.
- Above all, Consider using Gradient Maps for a cohesive look. For example, you can use soft peach or blush tones in highlights and muted shadows to create a dreamy atmosphere.
- Tip: Try adding a warm-toned vignette to keep the focus on the couple, enhancing the romantic feel.
Enhance Lighting:
- Above all, Use Dodge and Burn to emphasize the lighting, adding dimension and focus to the couple.
- Dodge (brighten) areas like the bride’s dress and the groom’s suit where you want to draw attention.
- Burn (darken) shadows to add depth.
- Tip: A subtle Lens Flare or Sun Flare can be added for outdoor wedding photos to enhance the light and give a dreamy feel.
Adobe Photoshop: Wedding Portrait Edit And Retouching,

Adobe Photoshop: Wedding Portrait, Sharpening:
- Therefore, Sharpen the details using the Unsharp Mask (Filter > Sharpen > Unsharp Mask). Keep it subtle, especially around the couple’s faces to ensure clarity without overdoing it.
Fixing Dress Details:
- Above all, Use the Liquify Tool (Filter > Liquify) to subtly fix any imperfections in the dress, veil, or suit.
- In addition, For instance, if the wedding dress looks wrinkled, you can smooth it out using the liquify push/pull tools.
Removing Distractions:
- Therefore, Use the Clone Stamp Tool or Content-Aware Fill to remove unwanted distractions from the background. This is especially important for outdoor shots where elements like random people or objects can detract from the image’s focus.
Wedding Photo Editing Photoshop Presets Free Download,

Vignette and Final Touches:
- In addition, A subtle vignette can focus attention on the couple. Go to Filter > Lens Correction > Vignette to darken the edges softly.
- Make final adjustments to overall contrast, sharpness, and color to ensure everything looks polished.
Export for Web and Print:
- After that, When you’re done editing, save a high-quality version for print using File > Export As and choose the highest quality settings.
- Similarly, For web use, make sure the file is optimized for quick loading without sacrificing too much detail (a good balance is about 80-90% quality in JPEG format).
By following these steps, you can create a polished, professional wedding photo that highlights the couple and captures the romance and elegance of their special day. Would you like help with specific steps or more advanced techniques?
