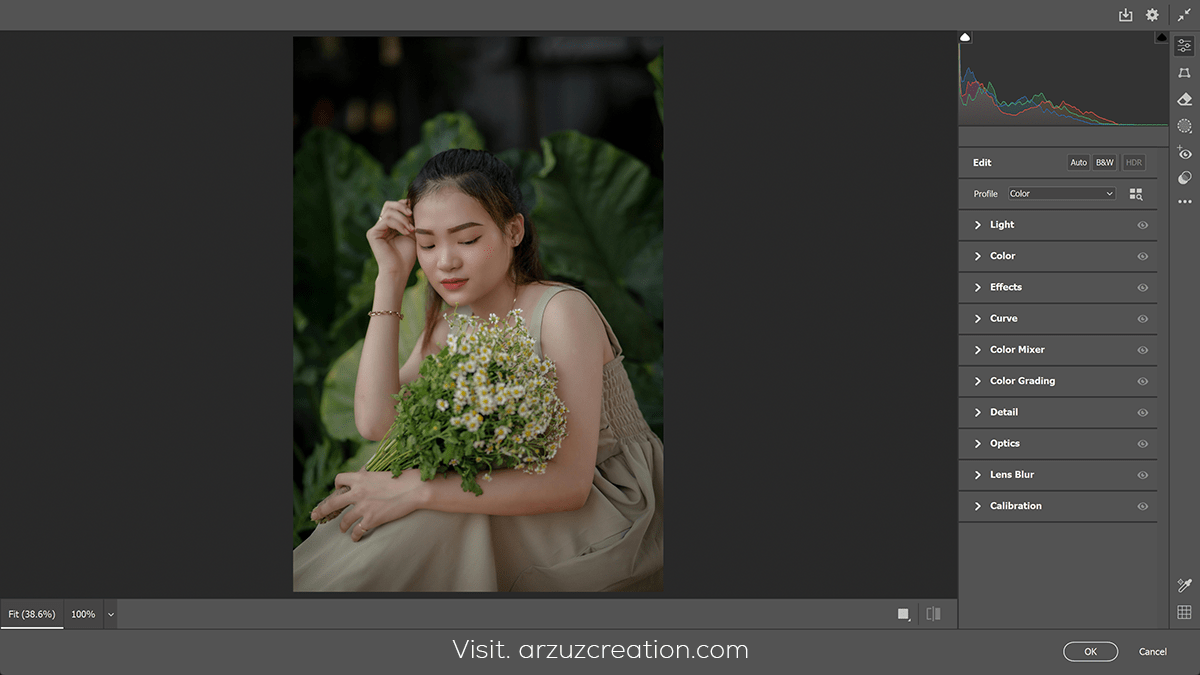
How to Use Camera Raw Filter in Photoshop 2024 – Adobe Photoshop,

Therefore, The Camera Raw Filter in Photoshop is a powerful tool for photo editing, allowing you to make detailed image adjustments. In other words, Here’s how to use it in Photoshop 2024:
Steps to Use the Camera Raw Filter in Photoshop 2024:
- Open Your Image in Photoshop:
- However, Open your image by going to File > Open or dragging your image into Photoshop.
- Convert to Smart Object (Optional):
- For instance, To apply the Camera Raw Filter non-destructively, right-click the image layer and select Convert to Smart Object. This ensures you can adjust your edits later.
- Open the Camera Raw Filter:
- For instance, Go to Filter > Camera Raw Filter in the top menu. This will open the Camera Raw interface, which has a layout similar to Lightroom.
- Adjust Basic Settings:
- For instance, In the Basic tab, you’ll find key adjustment sliders:
- Exposure: Adjusts the overall brightness.
- Contrast: Increases or decreases contrast.
- Highlights: Adjusts the bright areas.
- Shadows: Recovers details in darker areas.
- Whites/Blacks: Adjusts the image’s brightest whites or darkest blacks.
- Texture: Enhances or softens texture details.
- Clarity: Adds midtone contrast for more “pop.”
- Dehaze: Reduces haze or mist in the image.
How to Use Camera Raw Filter in Photoshop 2024,

- Use Tone Curves (Optional):
- Above all, Switch to the Curves panel for more refined control of tonal values. You can adjust brightness and contrast in specific tonal ranges.
- Color Grading (Optional):
- Above all, In the Color Grading tab, you can independently adjust shadows, mid-tones, and highlights to add cinematic or creative color effects.
- Detail Adjustments:
- In addition, Use the Detail tab to adjust sharpening and noise reduction. Increasing sharpening will enhance the details, while noise reduction helps with graininess in higher ISO images.
- Lens Corrections:
- In addition, Under the Lens Corrections tab, you can fix any lens distortion, chromatic aberration, or vignetting.
- Apply Your Edits:
- After that, Once you’re satisfied with your adjustments, click OK at the bottom right of the Camera Raw Filter interface. Your changes will be applied to the image.
Tips:
- Presets: You can save your settings as a preset by clicking on the three-dot menu in the upper-right corner and choosing Create Preset. This can be useful for consistent editing across multiple images.
- Selective Adjustments: Use the Adjustment Brush, Graduated Filter, or Radial Filter inside Camera Raw to make localized adjustments to specific areas of the image.
Let me know if you want more details on specific adjustments or settings!
