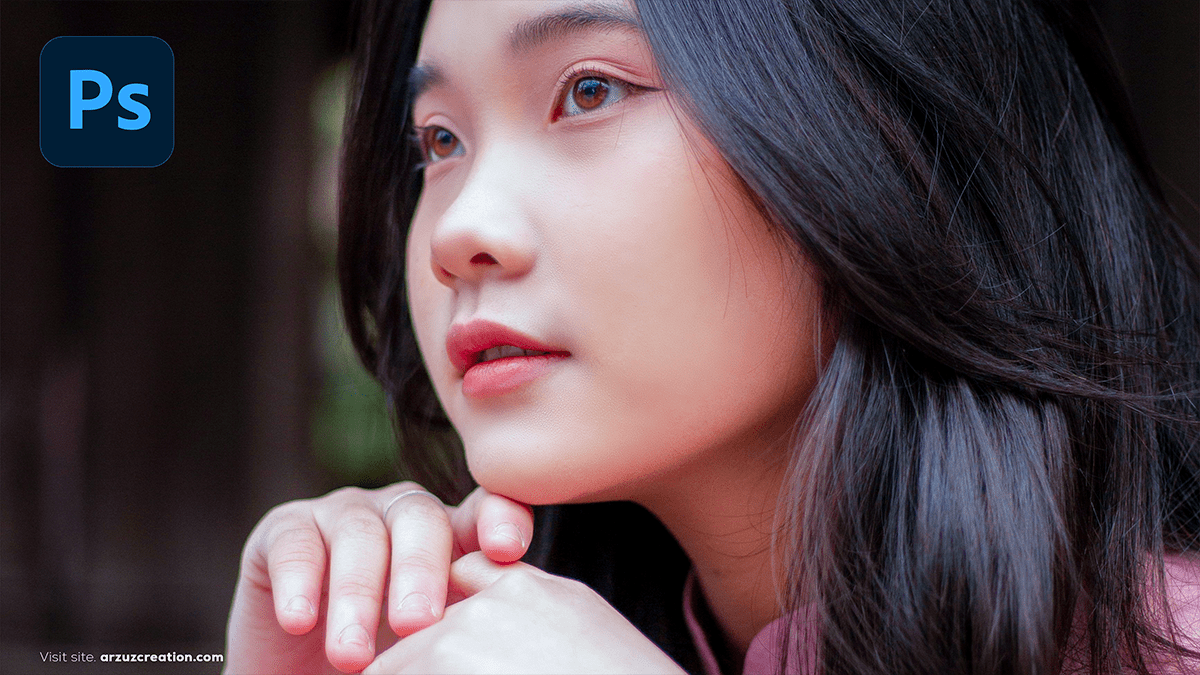
Photoshop Editing: How to Edit Portraits Like a Pro With Photoshop 2024,

Therefore, Editing portraits like a pro in Photoshop involves a combination of techniques that enhance the subject’s features while maintaining a natural look. In other words, Here’s a step-by-step guide for professional portrait retouching:
1. Start with Basic Adjustments:
- Exposure and White Balance: Therefore, Use the Camera Raw Filter (Filter > Camera Raw Filter) to adjust the exposure, contrast, and white balance. Ensure that the lighting and tones look natural.
- Crop and Composition: However, Adjust the crop to improve its composition. Use the Rule of Thirds or other composition techniques.
2. Skin Retouching:
- Spot Healing Brush Tool: Use this tool to remove blemishes, acne, or other small imperfections. Make sure to use a soft brush with a size slightly larger than the imperfection.
- Frequency Separation: This is a more advanced technique to separate the texture and color of the skin. Here’s a simplified process:
- However, Duplicate your layer twice. Name one “High-Frequency” (for skin texture) and the other “Low Frequency” (for skin color and tones).
- For instance, Apply Gaussian Blur to the Low-Frequency layer (around 3–5 pixels, depending on the image) to blur out fine details but keep the overall structure.
- However, On the High-Frequency layer, go to Image > Apply Image, and subtract the Low-Frequency layer. This step isolates the fine details.
- For instance, Now use tools like the Clone Stamp and Mixer Brush on the Low-Frequency layer to even out tones and use the Healing Brush on the High-Frequency layer to remove imperfections in texture.
3. Dodge and Burn:
- For instance, Use Dodge and Burn tools to enhance the highlights and shadows, contouring the face subtly.
- Above all, Create a new layer and set it to Soft Light blending mode.
- In addition, Use a soft, low-opacity brush (5-10%) to paint with white (dodge) or black (burn) to shape the face, emphasize the cheekbones, and add dimension.
4. Enhance Eyes:
- Brighten the Eyes: Use the Dodge Tool on the whites of the eyes to brighten them up. Be subtle—overdoing this can make the eyes look unnatural.
- Sharpen the Iris: Select the Iris using the Elliptical Marquee Tool, and go to Filter > Sharpen > Unsharp Mask to bring out details in the iris.
- Eye Color Enhancement: If you want to enhance or change the eye color, use the Hue/Saturation Adjustment Layer. Select the color of the iris and adjust the hue slightly for a vibrant look.
5. Whiten Teeth:
- Above all, Use the Lasso Tool to select the teeth area and create a Hue/Saturation Adjustment Layer.
- In addition, Reduce the yellow tones by dragging the Yellow Saturation slider to the left.
- After that, Lighten them by adjusting the Lightness slider, but be careful not to over-whiten.
Photoshop Editing: How to Edit Portraits Like a Pro With Photoshop,
6. Photoshop Editing: How to Edit Portraits, Smooth Hair:

- In addition, Use the Clone Stamp Tool or Spot Healing Brush to remove stray hairs.
- After that, To add shine or enhance volume, use the Dodge Tool on the highlights of the hair with a low opacity setting.
7. Add Final Touches:
- Sharpen the Overall Image: Apply sharpening to the final image. Go to Filter > Sharpen > Unsharp Mask or use the High Pass Filter method by duplicating the layer, setting the duplicate layer to Overlay or Soft Light, and applying the High Pass Filter (Filter > Other > High Pass) to bring out details.
- Add Vignette: A subtle vignette can draw attention to the face. Use Lens Correction (Filter > Lens Correction) or Gradient Fill to create a soft vignette around the subject.
8. Photoshop Editing: How to Edit Portraits, Color Grading:
- In addition, Use Color Lookup Tables (LUTs) or manually adjust Curves, Selective Color, and Gradient Maps for a stylized look.
- After that, Adjust the skin tones by using Selective Colors and targeting reds and yellows to ensure the skin looks natural.
9. Finishing and Export:
- Similarly, Use Dodge and Burn again to balance the final image.
- However, Export the image using the best settings for web or print. Go to File > Export > Export As and select the appropriate resolution and file format (JPEG for web, TIFF for print).
In conclusion, These steps will help you create professional-quality portrait edits while keeping the final result natural and polished. If you’re working with multiple images, consider creating actions in Photoshop to streamline your workflow.
