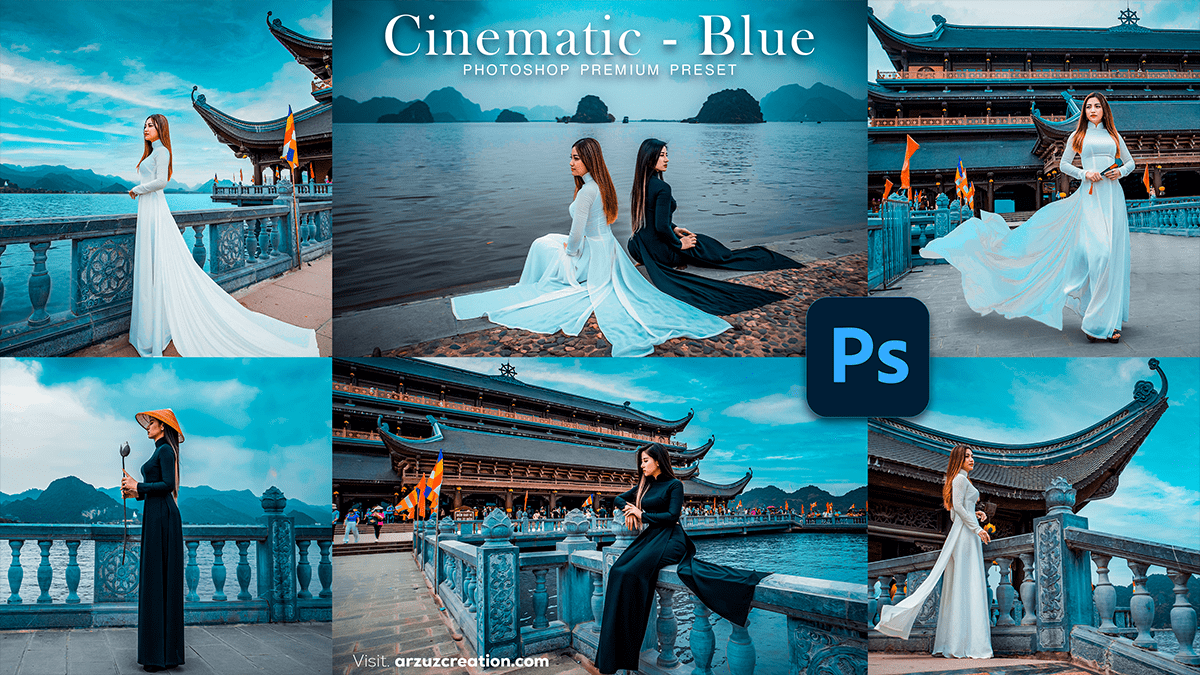
Photoshop Editing: Cinematic Blue Tone Photo Editing Preset 2024,

Therefore, Creating a cinematic blue tone in Photoshop adds a dramatic, moody atmosphere to your images, ideal for urban scenes, landscapes, and portraits. In other words, Here’s a step-by-step guide:
Step 1: Basic Adjustments:
- Open your Image: Start by opening the photo you want to edit.
- Convert to Smart Object (optional): Right-click the layer > Convert to Smart Object. This keeps adjustments non-destructive.
- Adjust Exposure: Go to
Image>Adjustments>Brightness/ContrastorCurves. Lower the brightness slightly and add contrast to enhance the shadows.
Method 2: Photoshop Editing: Cinematic Blue Tone, Apply the Blue Tone:
- Create a New Adjustment Layer:
- However, Go to
Layer>New Adjustment Layer>Color Balance.
- Shift Midtones & Shadows:
- However, Increase the Cyan-Blue in Shadows and Midtones sliders to create a cooler tone.
- After that, For instance, If the blue looks too saturated, you might need to add some green magenta in the Mid-tones.
- Fine-Tune the Highlights:
- For instance, Add a bit of yellow to balance the cooler tones for the highlights.
Photoshop Editing: Cinematic Blue Tone Photo Editing Preset 2024,

Photoshop Editing: Cinematic Blue Tone, Photoshop Presets Free Download,
Step 3: Add Contrast & Fade:
- Curves Adjustment Layer:
- Above all, Go to
Layer>New Adjustment Layer>Curves. - In addition, Create an “S” curve by pulling down the shadows slightly and raising the highlights. This adds contrast.
- Fade Effect:
- Above all, Pull up the bottom of the curve line in the Shadows area for a subtle “fade” effect in the darkest parts.
Method 4: Color Grading with Gradient Map:
- Apply Gradient Map:
- In addition, Go to
Layer>New Adjustment Layer>Gradient Map. - After that, Choose a dark blue-to-light blue gradient. Set the layer’s Blend Mode to Soft Light and reduce the opacity (around 10-30%) to blend it softly.
Step 5: Final Touches:
- Vignette (optional):
- In addition, Go to
Filter>Lens Correction, then click on the Custom tab. Drag the Vignette Amount slider left to darken the edges.
- Selective Color Adjustments:
- After that, Use the Selective Color adjustment layer to tweak individual colors for better harmony.
This process will give your image a polished cinematic blue tone with rich shadows and moody highlights. Would you like to see more details about this tutorial?
