How to Do a Color Correction in Photoshop?,
Therefore, you’re right to specify “Adobe Photoshop” as the tools and techniques are generally the same within the application. In other words, here’s a more detailed breakdown of color correction methods in Adobe Photoshop:
Therefore, you can achieve color correction in Adobe Photoshop using various tools and adjustment layers. These methods offer different levels of control and are suitable for various scenarios:
How to Do a Color Correction in Photoshop?, Adjustment Layers for Non-Destructive Editing:

Therefore, using adjustment layers is generally recommended as they allow you to make color corrections without permanently altering the original image data. This means you can always go back and fine-tune or remove the adjustments later. You can access adjustment layers by clicking the Adjustment Layer icon at the bottom of the Layers panel (it looks like a circle half-filled with black and white) or by going to Layer > New Adjustment Layer.
Here are some key adjustment layers for color correction:
- Color Balance: In other words, this tool lets you adjust the overall mixture of colors in an image for the shadows, midtones, and highlights independently. It’s useful for correcting color casts or creating specific color moods. You can access it via Image > Adjustments > Color Balance or as an adjustment layer.
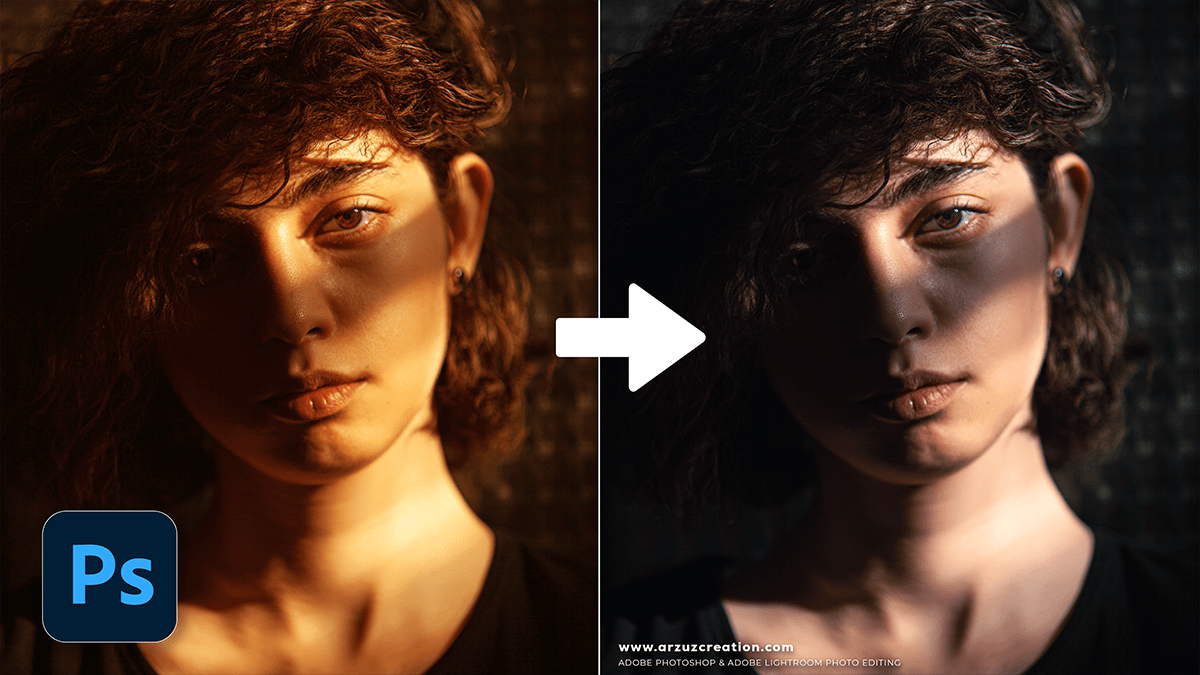
- Photo Filter: Applying a color filter to your image can warm it up (using orange or yellow filters) or cool it down (using blue or cyan filters). You can also choose from preset filters or select a custom color. Find it under Image > Adjustments > Photo Filter or as an adjustment layer.
- Curves: In other words, this is a powerful tool for making precise tonal and color adjustments. The Curves dialog box displays a graph representing the tonal range of your image. By manipulating points on the curve, you can adjust the brightness, contrast, and color balance for the entire image or individual color channels (Red, Green, Blue). Access it via Image > Adjustments > Curves or as an adjustment layer.
Adobe Photoshop Photo Editing Tutorial,
- Levels: Similar to Curves, Levels allows you to adjust the tonal range of an image by setting the black point, white point, and midtones. It uses a histogram to visualize the tonal distribution. You can adjust the input and output levels for individual color channels as well. Find it under Image > Adjustments > Levels or as an adjustment layer.
- Hue/Saturation: This adjustment lets you modify the hue (the actual color), saturation (the intensity of the color), and lightness of specific color ranges or the entire image. It’s useful for fine-tuning individual colors or creating special color effects. Access it via Image > Adjustments > Hue/Saturation or as an adjustment layer.
- Black & White: This adjustment layer allows you to convert a color image to grayscale while providing control over how individual colors are converted to different shades of gray.
- Selective Color: This tool lets you adjust the amounts of cyan, magenta, yellow, and black in specific color ranges (Reds, Yellows, Greens, Cyans, Blues, Magentas, Whites, Neutrals, Blacks). It’s useful for making subtle color corrections within specific areas.
- Color Lookup: This adjustment layer allows you to apply preset or custom color grading looks to your image using lookup tables (LUTs).
How to Do a Color Correction in Photoshop?
Adobe Camera Raw,
However, if you are working with raw files, or even JPEG and TIFF files (you might need to adjust preferences in Photoshop to enable this), Adobe Camera Raw offers a dedicated interface with a comprehensive set of tools for color correction and tonal adjustments. It typically opens automatically when you open a raw file. Key color correction controls in Camera Raw include:
- White Balance: Adjust the color temperature and tint to make white areas appear neutral. You can use presets, the eyedropper tool to sample a neutral area, or adjust sliders manually.
- Basic Panel: Controls like Temperature, Tint, Exposure, Contrast, Highlights, Shadows, Whites, Blacks, Vibrance, and Saturation offer global color and tonal adjustments.
- Color Mixer: Provides more precise control over individual color ranges (Hue, Saturation, Luminance).
- Color Grading: Allows you to apply color tints to shadows, midtones, and highlights separately.
How to Do a Color Correction in Photoshop?
Automated Color Correction,
However, Photoshop also offers some automated color correction options under the Image > Auto Color, Image > Auto Tone, and Image > Auto Contrast menus. While these can sometimes provide a quick fix, they often lack the precision of manual adjustments using adjustment layers or Camera Raw.
To effectively color correct in Photoshop, it’s often best to:
- Analyze your image: However, identify any color casts or areas that need adjustment.
- Choose the appropriate tool: Select the method that offers the level of control you need.
- Work non-destructively: However, use adjustment layers whenever possible.
- Make gradual adjustments: Avoid making drastic changes that can lead to unnatural-looking results.
- Use reference points: For instance, when correcting white balance, try to identify a neutral white or gray area in your image.
- Trust your eyes: For instance, ultimately, the goal is to achieve a visually pleasing and accurate result.
Do you have a specific color correction issue you’d like to address, or would you like a more detailed explanation of any of these tools?
