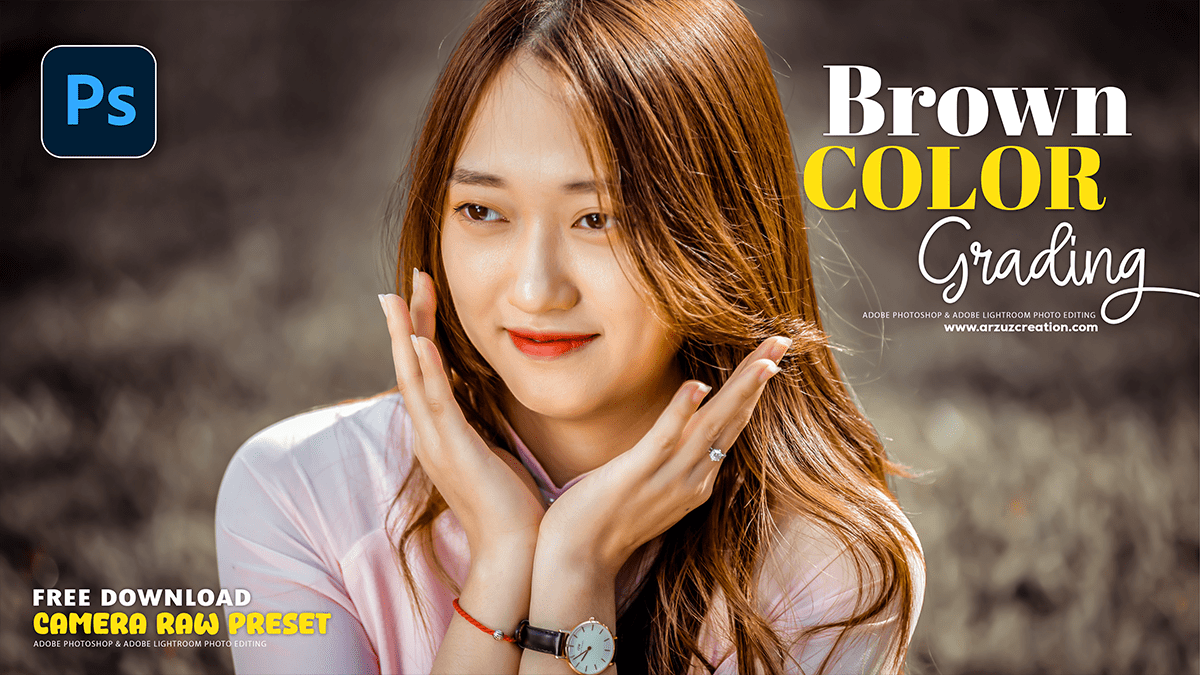
Brown Color Grading Photo Editing in Adobe Photoshop 2025,
Therefore, Creating a brown color-graded photo in Adobe Photoshop can be done in several ways, often by adjusting the tones of highlights, midtones, and shadows. One of the most effective methods involves using the Camera Raw Filter and its built-in Color Grading tool.

Brown Color Grading Photo Editing in Adobe Photoshop 2025,
Using the Camera Raw Filter:
- Therefore, Open your image in Photoshop. For best results, it’s recommended to work with a RAW file, but a high-quality JPEG will also work.
- Go to Filter > Camera Raw Filter to open the Camera Raw editing interface.
- In the Camera Raw window, navigate to the Color Grading tab (it looks like three overlapping color wheels).
- Therefore, You will see separate color wheels for Shadows, Midtones, and Highlights. By manipulating these, you can introduce brown tones into specific areas of your image.
- In other words, To apply a brown tone, click and drag the small circle in the center of a color wheel towards the orange or brown area of the wheel.
- However, Drag the circle outward to increase the saturation of the color and inward to decrease it.
- Above all, The Luminance slider below each wheel controls the brightness of the selected tone.
- Therefore, You can also adjust other settings in the Camera Raw Filter to refine the look:
- However, In the Basic tab, you can decrease the Saturation and Vibrance to create a more muted, desaturated brown look.
- In other words, Use the Tone Curve to further shape the contrast and brightness of your image, which can help in achieving the desired moody or vintage feel.
Brown Color Grading Photo Editing in Adobe Photoshop 2025,
Alternative Methods:
However, In addition to the Camera Raw Filter, you can achieve brown color grading with other Photoshop tools:
- Photo Filter Adjustment Layer: You can add a Photo Filter adjustment layer and select a warming filter, like “Warming Filter (85),” to add a warm, brown tint to the entire image. This method is quick and easy for a simple, overall effect.
- Hue/Saturation Adjustment Layer: This is a versatile method. By creating a Hue/Saturation adjustment layer, you can individually target specific colors in your image and shift their hue towards brown. For instance, you could select the “Greens” or “Yellows” and shift their hue towards the oranges and reds, and decrease their saturation to create a more subdued, brown palette.
Camera Raw Presets Free Download,
- Curves Adjustment Layer: A Curves adjustment layer offers precise control over the tonal range. You can manipulate the individual Red, Green, and Blue channels to introduce a color cast. For a brown tone, you can often lift the red channel curve slightly in the shadows and midtones, and slightly lower the blue channel curve.
Color grading is an art of experimentation, and the best results often come from combining different techniques and layers to achieve a unique and personalized look.