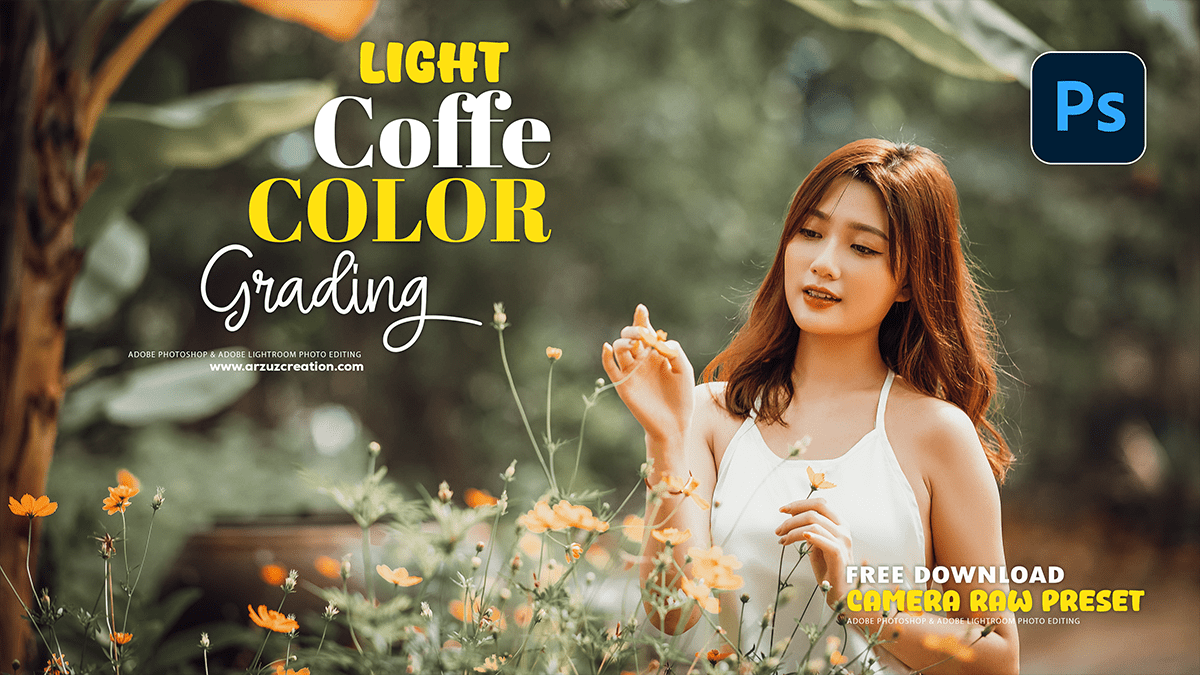
Coffee Look Colour Grading Photo Editing in Adobe Photoshop,
Therefore, Creating a “coffee look” in Adobe Photoshop is a popular color grading technique that adds warmth, a vintage feel, and a rich, brown-toned aesthetic to a photo. This look can be achieved through a combination of adjustment layers and filters. In other words, Here’s a general guide to get you started:

Coffee Look Colour Grading Photo Editing in Adobe Photoshop,
The “Coffee Look” Characteristics:
- Warm Tones: Therefore, The overall image is shifted towards warm colors, primarily browns, yellows, and oranges.
- Muted Colors: The saturation is often reduced, giving the photo a less vibrant and more subdued feel.
- Increased Contrast: In other words, Shadows are deepened, and highlights can be slightly faded to create a dreamy, vintage effect.
- Sepia/Brown Tint: Therefore, A distinct sepia or brown color cast is applied to the image.
Camera Raw Presets Free Download,
Step-by-Step Guide in Photoshop:
- Start with the Basics:
- Therefore, Open your photo in Adobe Photoshop.
- In other words, As a best practice, work non-destructively by creating a copy of your background layer or using adjustment layers. This way, you can always go back and make changes.
- Adjust the Overall Tone with Curves:
- Therefore, Add a Curves adjustment layer. This is one of the most powerful tools for color grading.
- Create an “S” curve: Click on the middle of the curve and drag it down slightly to darken the shadows. Then, click on a point in the highlights and drag it up slightly to brighten the highlights. This increases the overall contrast.
- Add a brown tint: In the Curves adjustment panel, change the channel from RGB to Red. Drag the lower left point (the shadow point) of the red curve up slightly to add red to the shadows. Change to the Blue channel and drag the lower left point down slightly to remove blue from the shadows, which will introduce more yellow/brown.
Adobe Photoshop Adjustment Layer Photo Editing,
- Use a Photo Filter:
- Therefore, Add a Photo Filter adjustment layer.
- In other words, Choose a warming filter, such as “Warming Filter (85)”.
- However, Adjust the density slider to control the intensity of the warm, amber tone. This is a quick and effective way to add a sepia-like color cast.
- Desaturate and Mute Colors:
- Therefore, Add a Hue/Saturation adjustment layer.
- However, Slightly decrease the Saturation slider to mute the colors and create a more subdued, vintage look. Don’t overdo it, or the image will look gray and lifeless.
- In other words, You can also try a Black & White adjustment layer and change the blending mode to “Soft Light” or “Overlay” for a different effect.
Color Correction Tutorial For Beginners,
- Refine with Selective Color:
- In other words, Add a Selective Color adjustment layer. This gives you precise control over specific colors in your image.
- Above all, Select “Neutrals” from the dropdown menu and adjust the sliders to add a brown tint to the mid-tones. You can experiment with adding yellow, red, and a little black.
- However, You can also target other colors, like yellows, reds, or greens, to further refine the look. For example, you might want to make any remaining greens look more olive-toned.
- Add a Texture (Optional but Recommended):
- Above all, A classic “coffee look” often includes some subtle texture.
- In other words, You can create a new layer and fill it with a subtle noise/grain using Filter > Noise > Add Noise. Set the blending mode to “Soft Light” or “Overlay” and reduce the opacity.
- However, Alternatively, you can find a coffee-stained or vintage paper texture online and place it as a new layer over your image. Set the blending mode to “Multiply,” “Overlay,” or “Soft Light” and adjust the opacity. This can add a very realistic and aged effect.
Coffee Look Colour Grading Photo Editing in Adobe Photoshop,
- Final Touches:
- Above all, Use a Vignette to draw attention to the center of the image. You can do this with a Radial Filter in Adobe Camera Raw or by creating a new layer and painting a black oval around the edges with a soft brush, then setting the blending mode to “Soft Light” and adjusting the opacity.
- In addition, Use the Dodge and Burn tools (on a new, gray layer set to Overlay) to selectively lighten or darken certain areas, adding more depth and dimension.
Key Tips:
- Experiment with Blending Modes and Opacity: Above all, The blending mode and opacity of your adjustment layers are crucial for fine-tuning the effect.
- Use Adjustment Layers: Always use adjustment layers instead of directly editing the image. This gives you maximum flexibility and allows you to go back and make changes at any time.
- Don’t Overdo It: The goal is a subtle, cohesive look. Too many adjustments can make the image look muddy or unnatural.
