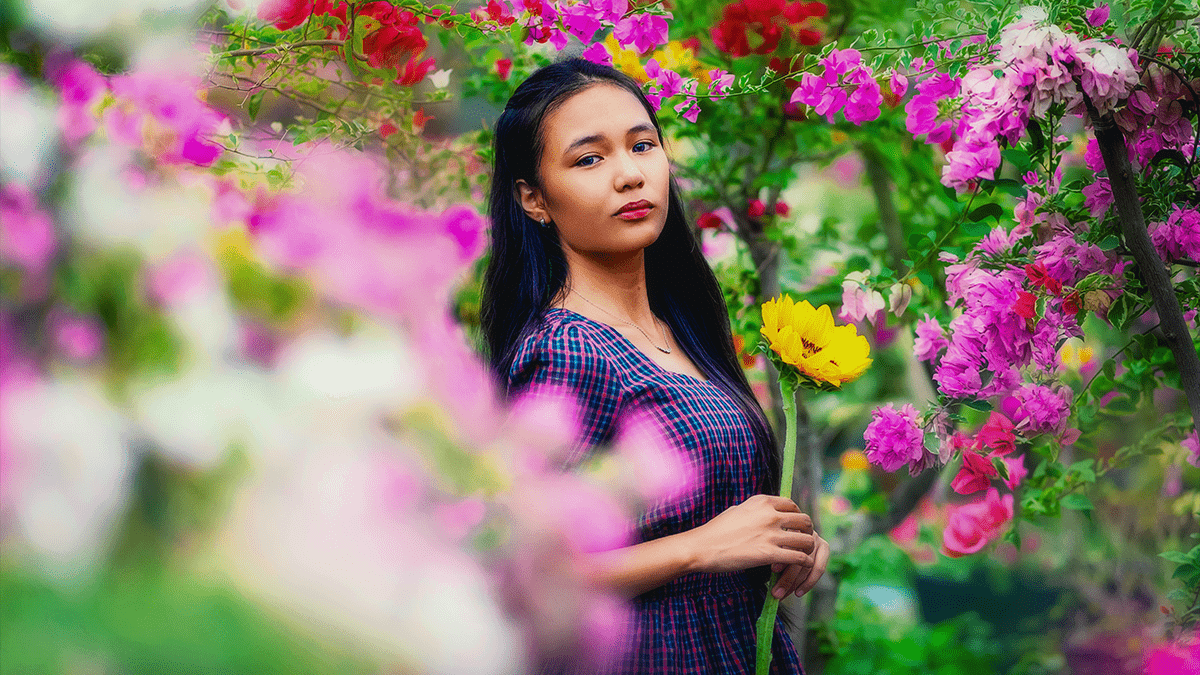
Adobe Photoshop: Professional Outdoor Photo Editing Tutorial,
Therefore, Editing outdoor photos in Adobe Photoshop is a common practice for photographers of all levels to enhance and perfect their shots. Here’s a breakdown of key techniques and best practices to help you get started:
Adobe Photoshop: Professional Outdoor Photo Editing Tutorial,

The Foundation: Initial Adjustments and Organization:
Start with a good image: While Photoshop is powerful, it’s not magic. The best results come from a well-composed and properly exposed photo.
Work with layers: Layers are crucial in Photoshop. They allow you to apply edits non-destructively, meaning you can always go back and adjust or remove a change without affecting the original image. You can also use layers to apply different effects to different parts of the photo.
Duplicate your image: It’s a good practice to duplicate your original image layer before you begin editing. This serves as a backup and allows you to compare your “before” and “after” results easily.
Basic corrections first: Before getting into more creative edits, start with fundamental adjustments like:
Straightening and Cropping: Use the Crop tool to straighten horizons or to improve the overall composition of your photo.
Removing distractions: Use tools like the Spot Healing Brush, Healing Brush, or Clone Stamp to remove unwanted elements like power lines, twigs, or other small distractions.
Adobe Photoshop: Professional Outdoor Photo Editing Tutorial,
Core Outdoor Photo Editing Techniques:
- Adjusting Tone and Exposure:
- Curves: Therefore, The Curves adjustment layer is one of the most powerful tools in Photoshop. You can use it to precisely control the contrast and brightness of your image. A common technique for an “outdoorsy” or “faded” look is to raise the shadows and lower the highlights slightly on the curve.
- Levels: Therefore, Use the Levels adjustment layer to set the black, white, and mid-tones of your photo. This can help to add contrast and make the image “pop.”
- Exposure: The Exposure adjustment can be used to fix underexposed or overexposed photos, especially those taken in harsh lighting conditions like backlight.
Color Grading Camera Raw Presets Free Download,
- Color Correction and Grading:
- Hue/Saturation: Use this adjustment to modify the hue, saturation, and lightness of specific colors in your image. This is particularly useful for making greens in a landscape more vibrant or adjusting the color of the sky.
- Color Balance: This tool is great for making broad color adjustments, like giving a scene a warmer or cooler feel.
- Selective Color: A more advanced tool that allows you to make precise adjustments to specific color ranges in your image (e.g., adding more yellow to the sky without affecting other parts of the photo).
- Vibrance vs. Saturation: Vibrance is a smart adjustment that boosts the saturation of muted colors more than already saturated colors, which is great for outdoor scenes with a mix of colors. Saturation, on the other hand, boosts all colors equally.
Learn Adobe Photoshop Alienment,
- Enhancing Details and Atmosphere:
- Dodging and Burning: This classic darkroom technique involves selectively lightening (dodging) and darkening (burning) areas of a photo. It’s excellent for emphasizing light and shadow, creating a sense of depth and drama.
- Focus Stacking: For landscape photography, focus stacking is a great technique to ensure that both the foreground and the background are sharp. It involves taking multiple photos with different focal points and blending them in Photoshop.
- Orton Effect: This technique creates a soft, dreamy glow. It’s often applied as a final touch to landscape and nature photos to give them a more ethereal and artistic look.
Adobe Photoshop: Professional Outdoor Photo Editing Tutorial,

Key Principles for Success:
- Subtlety is key: The goal of a good edit is to enhance the photo, not to make it look unnatural. Go for a “natural but better” look. Don’t overdo it with saturation, contrast, or other effects.
- Use Adjustment Layers and Masks: Whenever possible, use adjustment layers with layer masks. This allows you to apply an effect to only a specific part of the photo and gives you complete control and flexibility. For example, you can use a mask to apply a brightness adjustment to only the face of a person in a portrait.
- Master the Camera Raw Filter: Photoshop’s Camera Raw filter (or Adobe Lightroom, which shares a similar interface) is a powerful tool for making global adjustments to your image’s tone, color, and detail before you start working with layers.
- Learn from others: Therefore, Watch tutorials on YouTube and read articles from professional photographers. This will expose you to new techniques and workflows that you can adapt to your own style.
