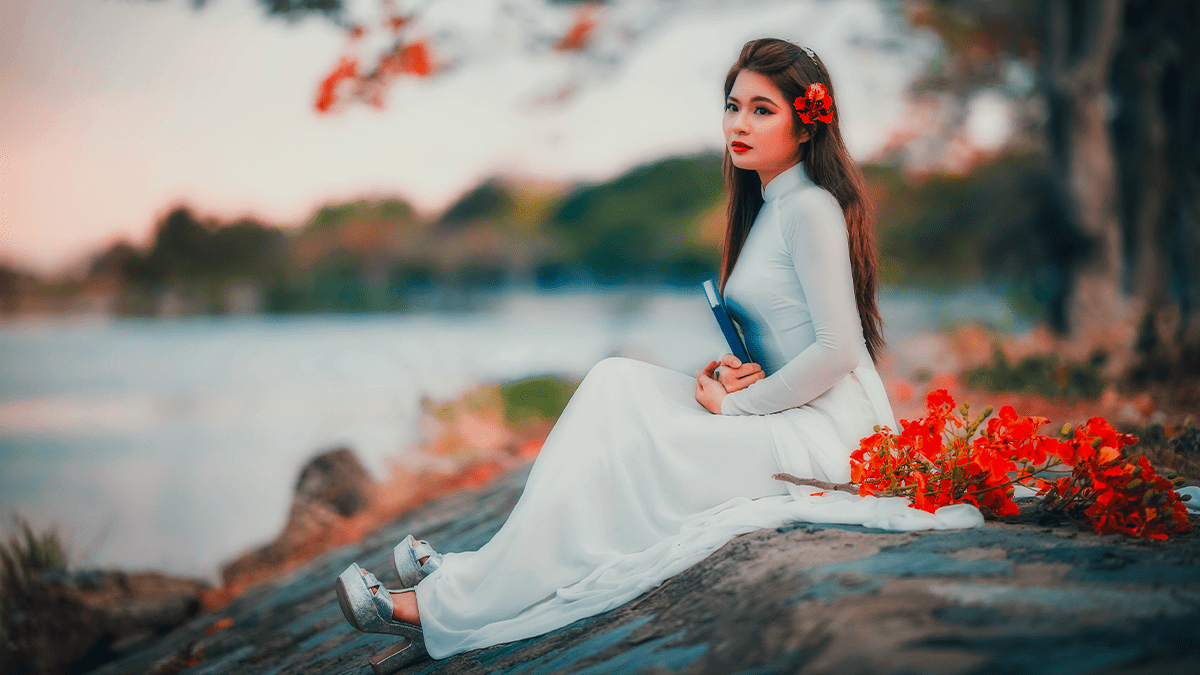
Wedding Photo Professional Color Correction in Adobe Lightroom,
Therefore, Professional color correction of wedding photos in Adobe Lightroom is a multi-step process that focuses on consistency, accuracy, and creating a cohesive look across a large gallery of images. Here’s a breakdown of the key techniques and a general workflow.

Wedding Photo Professional Color Correction in Adobe Lightroom,
1. The Importance of a Solid Workflow:
Therefore, A professional workflow is crucial for efficiency when dealing with hundreds or thousands of photos.
- Cull First: Before you begin editing, go through your images and cull them. This means selecting only the best shots, deleting blurry or poorly composed photos, and flagging your favorites. This saves you significant time by not editing images that won’t be delivered to the client. Many photographers use Lightroom’s flag or star rating system for this.
- Batch Process with Presets: To ensure a consistent look and feel across the entire wedding, use presets. Start by editing one or a few key photos from each distinct lighting scenario (e.g., getting ready, outdoor ceremony, reception hall). Once you have a look you like, save those adjustments as a preset. You can then apply this preset to all the photos in that particular batch, which will get you 90% of the way there.
- Synchronize Settings: Lightroom’s “Sync” function is a game-changer for wedding photographers. After editing one photo, you can select other images from the same scene and sync the adjustments. This applies your white balance, exposure, and other settings to all selected photos at once, saving immense time.
Camera Raw Presets Free Download,
2. Core Color Correction Steps:
In other words, The goal of color correction is to make the colors in the photos look accurate and natural. This is typically done in the Develop module of Lightroom.
- White Balance: This is the most critical step for professional color correction. Your goal is to neutralize any color casts caused by different light sources (e.g., warm indoor lighting, cool outdoor shade).
- Therefore, Use the White Balance Selector tool (the eyedropper) to click on a neutral gray or white area in the image, such as a white wedding dress, a shirt, or a wall.
- Fine-tune with the Temperature and Tint sliders. The Temperature slider adjusts the yellow/blue tones, while the Tint slider adjusts the green/magenta tones.
- Therefore, Be mindful of a bride’s wedding dress, as it can often have color casts from the surrounding environment.
Adjustment Layer Photo Editing in Lightroom,
- Exposure and Tone: Therefore, After correcting the colors, you need to adjust the overall brightness and contrast.
- Exposure: Use the Exposure slider to brighten or darken the overall image.
- Highlights, Shadows, Whites, and Blacks: These sliders give you more precise control over the tonal range.
- Highlights: Recover detail in overexposed areas (like a bright sky or a white dress).
- Shadows: Brighten up dark areas to reveal details without making the whole photo look flat.
- Whites: Control the brightest parts of the image.
- Blacks: Control the darkest parts of the image.
Wedding Photo Professional Color Correction in Adobe Lightroom,
- Color Grading and HSL (Hue, Saturation, Luminance):
- HSL Panel: This panel is essential for making targeted color adjustments.
- Hue: Change the specific color (e.g., make greens more yellow or blue). This is useful for adjusting skin tones or making the foliage look more vibrant.
- Saturation: Adjust the intensity of a specific color.
- Luminance: Adjust the brightness of a specific color. For example, you can increase the luminance of the reds and oranges to brighten up skin tones.
- Color Grading Panel: This allows you to add specific color casts to the shadows, midtones, and highlights. This is a great way to add a cohesive mood or style to your images.
- HSL Panel: This panel is essential for making targeted color adjustments.
3. Advanced and Stylistic Edits:
In other words, Once the foundational color correction is done, you can add your unique style.
- Tone Curve: This is one of the most powerful tools in Lightroom. It provides an advanced way to adjust contrast and tones, allowing you to create classic S-curves for contrast or specific effects like a “matte” look by lifting the black point.
- Vibrance and Saturation: However, Use the Vibrance and Saturation sliders in the Basic panel to make the colors “pop.”
- Vibrance is generally preferred as it intelligently increases the intensity of muted colors without oversaturating skin tones.
- Saturation increases the intensity of all colors equally and can easily lead to an unnatural look.
- Sharpening and Noise Reduction: These are crucial final steps.
- Sharpening: Adjust the sharpening to bring out fine details in your photos. Be careful not to overdo it, as it can add an unnatural “halo” effect.
- Noise Reduction: Reduce the grainy noise that can appear in low-light images (especially those shot at high ISO).

Wedding Photo Professional Color Correction in Adobe Lightroom,
4. Presets and Beyond:
- Third-Party Presets: In other words, Many professional photographers sell their own sets of presets that are designed specifically for wedding photography. Brands like Noble Presets, Archipelago, and G-Presets are popular choices for achieving a consistent aesthetic.
- AI-Powered Editing: However, Services like Aftershoot and Imagen AI use artificial intelligence to cull and edit your photos based on your personal style, which can significantly speed up the workflow for high-volume shoots.
