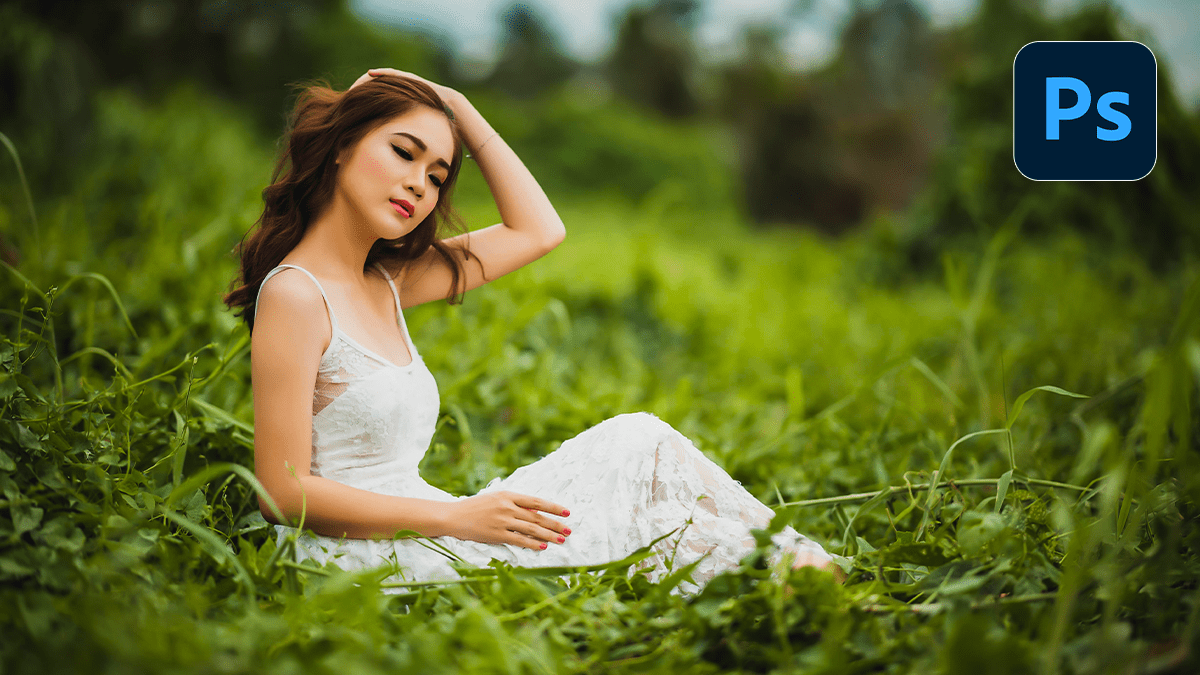
Color Grading in Adobe Camera Raw Filter 17.5,
Therefore, Color grading in the Camera Raw Filter in Photoshop is a powerful way to add a creative and stylized look to your images. In other words, it goes beyond basic color correction and allows you to adjust the colors in the shadows, midtones, and highlights independently.
Color Grading in Adobe Camera Raw Filter 17.5,

The Color Grading Panel:
Therefore, the primary tool for color grading in Camera Raw is the Color Grading panel. In other words, you can access it by opening the Camera Raw Filter (Filter > Camera Raw Filter) and then clicking on the Color Grading icon (which looks like a color wheel).
Key Components and How to Use Them:
In other words, the Color Grading panel offers a few different views to give you flexibility:
- 3-Way View: This is the most common and intuitive view. It provides three separate color wheels for:
- Shadows: Controls the color of the darkest parts of your image.Midtones: Controls the color of the middle tones.Highlights: Controls the color of the brightest parts of your image.
- Individual Views: You can also choose to view and adjust each tonal range (Shadows, Midtones, or Highlights) individually. This view provides separate sliders for Hue and Saturation, which can be useful for making precise adjustments.
- Global View: This view provides a single color wheel that applies a color grade to the entire image, affecting all tonal ranges equally. This is great for a quick, overall color shift.
Camera Raw Presets Free Download 2025,

Other Important Sliders:
However, in addition to the color wheels, the Color Grading panel has two crucial sliders at the bottom:
- Blending: This slider controls how the colors you’ve applied to the shadows, midtones, and highlights blend into each other.
- Lower values: Provide more separation between the tonal ranges, creating a more distinct color grade.
- Higher values: However, create a smoother, more blended transition between the colors.
- Balance: This slider determines the balance of the effect between the lighter and darker parts of the image.
- Sliding to the left (negative values): Emphasizes the color in the shadows.
- Sliding to the right (positive values): Emphasizes the color in the highlights.
Color Grading in Adobe Camera Raw Filter 17.5,
Tips for Effective Color Grading:
- Start with a good base: Before you begin color grading, it’s a good idea to make basic adjustments to your image using the other panels in Camera Raw, such as the
Basicpanel (for exposure, contrast, and white balance) and theCurvepanel. This ensures you have a solid foundation to work from. - Use the 3-Way view for cinematic looks: A common cinematic color grading technique is to add a cool tone (like blue or cyan) to the shadows and a warm tone (like orange or yellow) to the highlights. The 3-Way view makes this easy to achieve.
- Work non-destructively: When using the Camera Raw Filter in Photoshop, it’s best to convert your layer to a Smart Object first (
Layer > Smart Objects > Convert to Smart Object). This allows you to reopen the Camera Raw Filter and make changes to your color grade at any time without losing quality. - Experiment and practice: The best way to learn color grading is to experiment. Try different color combinations and see how they affect the mood and feel of your image.
