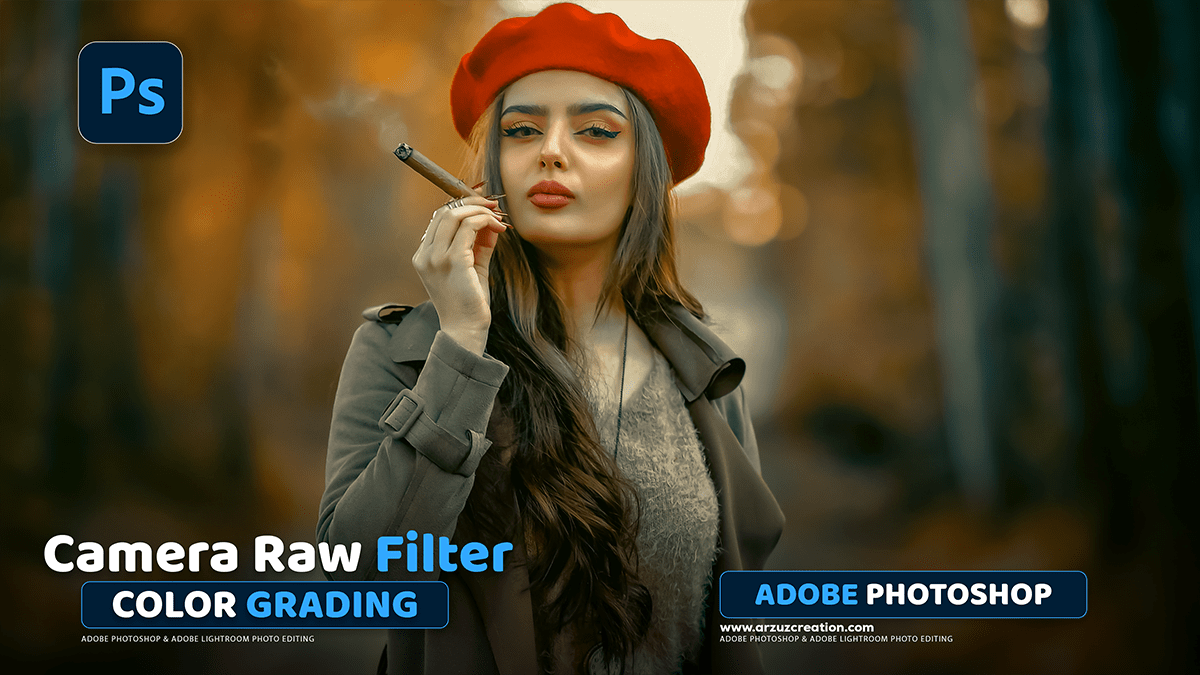
Camera Raw Filter 17.5 Photo Editing Tutorial,
Therefore, The Adobe Photoshop Camera Raw Filter is a powerful, non-destructive editing tool that gives you access to the extensive controls of the Adobe Camera Raw (ACR) interface directly within Photoshop. In other words, It’s often used for global and local adjustments to tone, color, detail, and geometry of an image.
Camera Raw Filter 17.5 Photo Editing Tutorial,

Key Features for Photo Editing:
Therefore, The Camera Raw Filter provides a comprehensive environment for image correction and enhancement, comparable to the Develop Module in Adobe Lightroom. Key features include:
- Non-Destructive Editing (as a Smart Filter): When applied to a Smart Object in Photoshop, the filter’s settings remain editable. You can re-open the filter dialog box at any time to tweak adjustments without losing image quality or altering the original layer’s pixels.
- Comprehensive Tonal and Color Control (The Basic Tab):
- White Balance: In other words, Precise control over Temperature (warm/cool) and Tint (green/magenta) to correct color casts.
- Tone Sliders: Adjust Exposure, Contrast, Highlights, Shadows, Whites, and Blacks for detailed control over the image’s dynamic range.
- Presence: Sliders like Clarity, Dehaze, and Vibrance/Saturation allow you to enhance image depth, remove atmospheric haze, and control color intensity.
Camera Raw Presets Free Download,
- Detail and Sharpening: Therefore, Dedicated panels for Sharpening and Noise Reduction (Luminance and Color) to bring out fine details and clean up image grain.
- Color Mixer: Tools for selective color adjustments, including the Hue, Saturation, and Luminance (HSL) of specific color ranges in the image.
- Color Grading: Allows you to introduce specific color casts into the Shadows, Midtones, and Highlights of an image for creative color grading effects.
- Masking and Local Adjustments: Provides advanced tools for making selective edits to specific areas of the image, including:
- AI-Powered Masks: Automatically select the Subject, Sky, Background, or specific People elements.
- Manual Masks: Tools like the Brush, Gradient, and Radial Gradient for precise, localized adjustments.
- Effects: However, Includes options for Grain (to add a film-like texture) and Post Crop Vignetting (to darken or lighten image edges).
- Optics and Geometry: Tools to automatically or manually correct Lens Distortion, Chromatic Aberration, and adjust image perspective.

How to Use the Camera Raw Filter in Photoshop
In other words, The most common and recommended way to use the Camera Raw Filter in Photoshop is as a Smart Filter to ensure non-destructive editing:
1. Prepare the Layer:
- Open your image in Adobe Photoshop.
- However, In the Layers panel, right-click on the image layer (usually the Background layer or a duplicate of it).
- In other words, Choose Convert to Smart Object. This container allows filters to be applied non-destructively.
2. Apply the Filter:
- In other words, Go to the Filter menu in the top bar.
- However, Select Camera Raw Filter… (Shortcut:
Ctrl + Shift + AorCmd + Shift + A). - In other words, The Adobe Camera Raw dialog box will open, covering the entire Photoshop workspace.
Camera Raw Filter 17.5 Photo Editing Tutorial,

3. Edit Your Photo:
- Basic Adjustments: Start in the Basic tab (the icon that looks like a gauge or thermometer) to set the overall white balance, exposure, and contrast.
- Refine Details: Move to the Detail tab (the triangle icon) to sharpen edges and reduce noise.
- Creative Edits: However, Use the Color Mixer (color wheel icon) and Color Grading (split wheel icon) for more artistic control over the colors.
- Local Adjustments: However, Select one of the Masking tools (the circle and dotted outline icon) to create selections for isolated edits, like brightening a face or adding contrast to the sky.
4. Apply Changes:
- However, Once you are happy with your edits, click OK.
- The filter will be applied to your Smart Object layer in Photoshop. You will see it listed as a Smart Filter below the layer.
- However, To go back and re-edit the settings, simply double-click on the “Camera Raw Filter” listing under the layer in the Layers panel.
