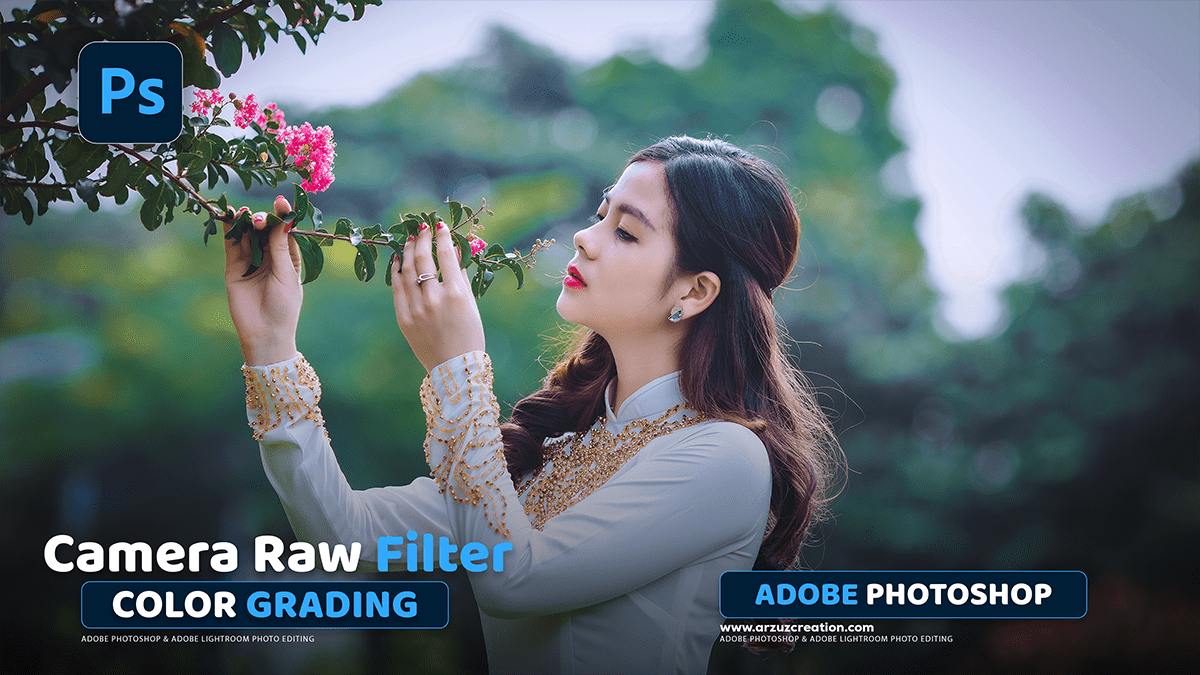
Outdoor Professional Photo Editing in Adobe Photoshop Tutorial,

Therefore, Outdoor professional photo editing in Adobe Photoshop involves a range of techniques to enhance and refine images, often starting with RAW files for maximum quality. A typical workflow focuses on global adjustments, local enhancements, and creative color grading.
Outdoor Professional Photo Editing in Adobe Photoshop Tutorial,
Therefore, here is a general outline of the steps and key tools professional photographers use:
I. Initial Adjustments (Often in Adobe Camera Raw or Lightroom)
In other words, before even opening the image fully in Photoshop, many photographers start with non-destructive edits in a RAW processor like Adobe Camera Raw (ACR) or Lightroom (which uses the same engine) for the foundational adjustments:
- Lens Corrections & Profile: Apply lens correction profiles to fix distortions, chromatic aberration, and vignetting.
- White Balance: Adjust the overall color temperature and tint to ensure accurate colors (e.g., set it to “Daylight” or fine-tune the sliders).
- Exposure and Tone: Adjust the overall exposure, and use the Highlights, Shadows, Whites, and Blacks sliders to recover detail in the brightest and darkest areas.
- Contrast & Presence: Adjust Contrast, and use Clarity (mid-tone contrast) and Dehaze (to remove atmospheric haze or add fog).
- Vibrance & Saturation: Fine-tune the intensity of colors. Vibrance is generally preferred as it protects skin tones and enhances less saturated colors more, resulting in a more natural look.
Outdoor Professional Photo Editing in Adobe Photoshop Tutorial,

II. Core Editing in Adobe Photoshop:
In other words, once the foundational edits are complete, the image is opened in Photoshop for more precise and local work.
1. Retouching and Cleanup:
- Layer Duplication: Always work on a duplicate layer or a new, empty layer for non-destructive healing/cloning.
- Spot Removal: Use the Spot Healing Brush Tool, Healing Brush Tool, or Clone Stamp Tool to remove dust spots, unwanted objects, or minor distractions. The Content-Aware Fill feature is also powerful for larger removals.
- Frequency Separation / Dodging and Burning (For Portraits): For outdoor portraits, these techniques are used to smooth skin texture while maintaining detail (frequency separation) and selectively lighten/darken areas for dimension and contour (dodging and burning).
Camera Raw Presets Free Download 2025,
2. Local Adjustments and Masking:
However, this is where Photoshop truly shines, allowing you to target specific areas of the image.
- Adjustment Layers: Always use Adjustment Layers (e.g., Curves, Levels, Hue/Saturation, Color Balance) for non-destructive editing.
- Layer Masks: Use Layer Masks with Adjustment Layers to apply the effect only to a specific area (e.g., brighten a dark foreground, saturate the sky, or change the color of foliage). Painting black on a white mask hides the effect, and painting white reveals it.
- Selections: Use tools like the Quick Selection Tool, Lasso Tool, or Select Subject/Sky (AI-powered selections) to create precise selections that can be turned into masks.
Outdoor Professional Photo Editing in Adobe Photoshop Tutorial,

3. Color Grading and Mood:
- Color Balance: Used to shift the color cast in the shadows, midtones, and highlights independently to achieve a specific mood or to correct color issues.
- Selective Color: However, it provides precise control over individual color ranges, allowing you to adjust the luminosity and presence of, say, the blues in the sky or the greens in the trees.
- Lookup Tables (LUTs): Applying a LUT via a Color Lookup adjustment layer is a quick way to apply a professional-grade color style (cinematic, matte, etc.).
4. Sharpening and Final Output:
- Sharpening: Perform a final, subtle sharpening. A common professional technique is High Pass Sharpening applied to a new layer with a blend mode like Overlay or Soft Light for controlled, non-destructive sharpening.
- Cropping and Resizing: However, crop the image for the final composition and resize it to the required specifications for web or print.
- Save: Save your layered master file as a PSD or TIFF, and then export a final copy as a JPEG for sharing (usually with the sRGB color profile).
