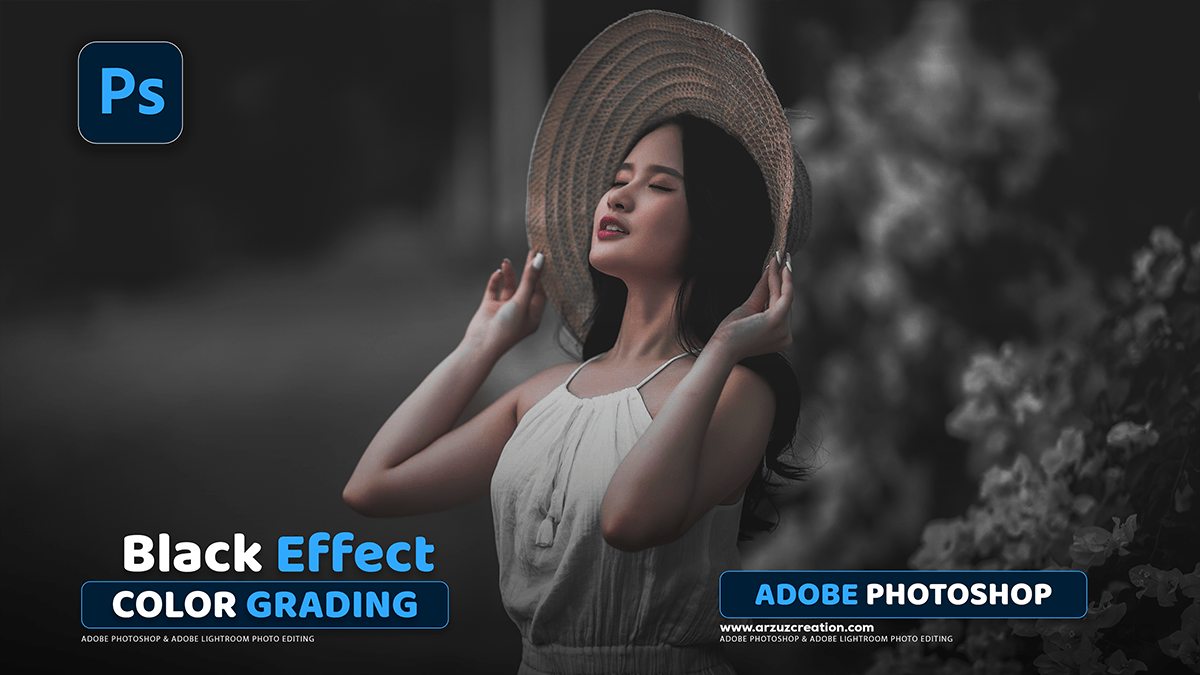
Professional Black Color Grading: Camera Raw Filter Photoshop,
Therefore, the “professional black color grading” for an outdoor portrait typically refers to a dark, moody, or cinematic style with deep blacks, strong contrast, and often a subtle color shift (like a cool blue/cyan in the shadows or a warm orange in the highlights).
Professional Black Color Grading: Camera Raw Filter Photoshop,

Therefore, here is a general professional workflow in Adobe Photoshop using Adjustment Layers for a non-destructive edit:
I. Initial Adjustments (in Camera Raw Filter or a separate initial layer)
- Open in Camera Raw Filter (or use a Curves/Levels layer): Go to Filter > Camera Raw Filter or use a Curves Adjustment Layer in Photoshop.
- Adjust Exposure & Contrast:
- However, Slightly lower the overall Exposure if the image is too bright.
- Increase Contrast for the punch.
- Refine Tones (for a “Black” look):
- Lower Highlights and Whites to recover detail and deepen the bright areas.
- Lower Shadows (to deepen them) or slightly raise the Blacks (to “fade” them for a matte look, often called “crushing the blacks”). This is a key stylistic choice for the “black/moody” feel.
Adobe Photoshop Adjustment Layer Photo Editing,
II. Color Grading for the “Black” Aesthetic:
Therefore, use non-destructive Adjustment Layers for maximum control:
1. Curves Adjustment (for Advanced Contrast & Color Split-Toning)
Therefore, create a Curves Adjustment Layer to fine-tune the color and contrast:
- Overall Contrast (RGB Channel): Create a subtle S-curve to boost contrast.
- However, drag the bottom point slightly up (for matte blacks/faded shadow details).
- However, drag the top point slightly down (to protect highlights).
- Color Split-Toning:
- Blue Channel: Create a subtle S-curve on the blue channel. Drag the shadows point up to introduce a subtle blue/cyan into the dark areas (a classic cinematic look).
- Red Channel: Drag the highlights point up slightly (or the shadow point down) to introduce a subtle red/orange into the highlights, which complements the blue/cyan shadows and keeps skin tones warm.
Professional Black Color Grading: Camera Raw Filter Photoshop,
2. Color Lookup or Photo Filter (Optional Color Wash)
- Color Lookup (3D LUT): Add a Color Lookup Adjustment Layer. You can experiment with LUTs like “Filmstock_50.3dl” or “Kodak 5218 35” and reduce the opacity significantly (e.g., 20-40%) to apply a subtle filmic tone.
- Photo Filter: Use a Photo Filter Adjustment Layer and choose a Cooling Filter (80 or 82), or a Cyan color, with a low density (e.g., 10-20%) to add a cool cast, then blend with the curves.
3. Selective Color (Refining the Blacks)
Therefore, create a Selective Color Adjustment Layer to specifically target and intensify the blacks:
- In other words, Select Blacks from the dropdown menu.
- However, adjust the Black slider: Push it up slightly to intensify the darkest areas.
- In other words, adjust Cyan, Magenta, or Yellow sliders to tint the darkest areas. For a cooler black tone, slightly increase Cyan or Blue (by dragging Yellow towards -10).
Professional Black Color Grading: Camera Raw Filter Photoshop,
III. Final Touches (Dodging & Burning and Vignette)
- Dodge & Burn (Local Contrast): Create a new Curves Adjustment Layer and set the blend mode to Soft Light or Overlay.
- Burn: In other words, duplicate the Curves layer, pull the curve down to darken, and invert the mask (Ctrl/Cmd + I). Paint with a soft white brush over areas you want to darken (e.g., edges, background, deep shadows) to add drama.
- Dodge: Create another Curves layer, push the curve up to lighten, and invert the mask. Paint with a soft white brush over areas you want to brighten (e.g., eyes, key facial features) to make the subject pop.
- Vignette:
- Therefore, add a Lens Correction Filter (Filter > Lens Correction) and use the Vignette slider to darken the edges. OR
- Therefore, use a Curves Adjustment Layer, pull the curve down to darken, and use a large, soft black brush on the mask to reveal the darkening only on the edges of the photo.
In other words, remember to keep the skin tones natural and warm, as the contrast with the deep, moody background and shadows is what makes this style so appealing.
