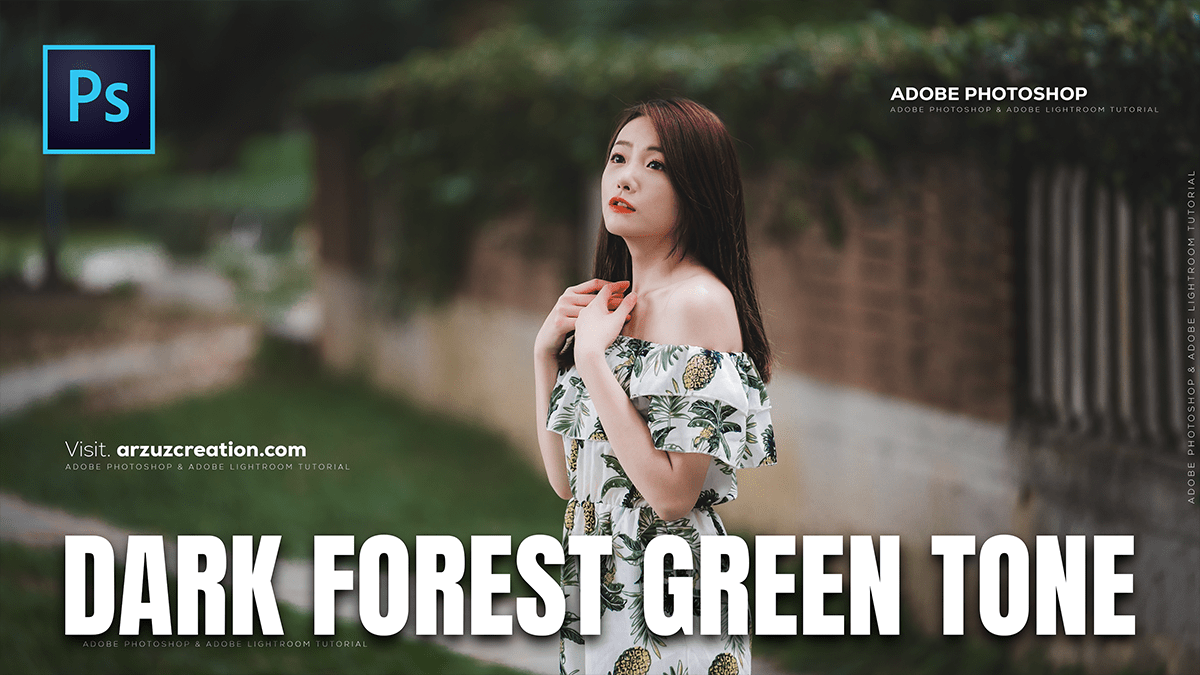
Dark Forest Green Colour Grading in Adobe Photoshop 2025,

Therefore, That’s a popular and beautiful aesthetic! A “green moody” tone, often called dark forest green or jungle green, typically involves desaturating or deepening the greens, adding contrast, and sometimes incorporating a slight blue/teal shift.
In other words, Here is a step-by-step guide to creating a moody green color tone in Lightroom:
Dark Forest Green Colour Grading in Adobe Photoshop 2025,
🌿 Core Steps for Green Moody Tone:
1. Basic Adjustments (Light Panel)
Therefore, The moody look starts with high contrast and deep shadows.
- Contrast: Increase slightly (+20 to +40) for punch.
- Highlights: Decrease (- -50 to -100) to recover sky/bright areas.
- Shadows: Increase slightly (+20 to +50) to lift the darker areas (optional, adjust for desired ‘mood’).
- Blacks: However, Decrease significantly (-30 to -50) to deepen the shadows and add mood.
2. Tone Curve (Crucial for Mood)
In other words, This is where the signature “matte” or “lifted black” look comes from.
- Point Curve: However, Use the RGB or Channel curves.
- Lift the Blacks: In other words, Drag the bottom-left point upward slightly. This prevents blacks from being pure black and gives them a matte, vintage, or filmic look.
- Add Contrast (S-Curve): However, Add a point near the bottom (shadows) and drag it down, and a point near the top (highlights) and drag it up to create a soft ‘S’ shape.
Dark Forest Green Colour Grading in Adobe Photoshop 2025,
3. Color Mixing (HSL/Color Mixer)
However, This is the most critical step for the green color shift. Focus on the Green and Yellow sliders.
- Hue:
- Green: Move towards Blue (+40 to +100) to shift bright greens to a deep blue-green/teal.
- Yellow: For instance, Move towards Green (-20 to -60).
- Saturation:
- Green: Decrease slightly or moderately (-20 to -50) to mute the color and make it moody.
- Yellow: Decrease moderately (-30 to -60) as foliage is often a mix of green and yellow.
- Luminance:
- Green: For instance, Decrease significantly (- -40 to -100) to darken the greens, which is essential for the “moody” look.
- Yellow: Above all, Decrease slightly to moderately (-20 to -50).
Dark Forest Green Colour Grading in Adobe Photoshop 2025,
4. Color Grading / Split Toning (Optional but Effective)
Above all, This adds a final color overlay to the shadows and highlights.
- Shadows: Add a cool tone, often a blue or cyan (Hue: 200-240, Saturation: 5-15).
- Highlights: Leave neutral or add a very slight warm tone (Hue: 30-60, Saturation: 2-8).
5. Effects
- Vignette: Decrease the amount (-10 to -30) to darken the edges and draw focus to the center.
- Grain: Above all, Increase slightly (Amount: +10 to +30, Size: 20-30) for a subtle film look.
Dark Forest Green Colour Grading in Adobe Photoshop 2025,
💡 Quick Tips for Consistency:
- Start with a good photo: The best photos for this look have a lot of green foliage/nature and a subject in focus.
- Adjust per image: These are starting points. Every photo’s lighting and original color will require slight adjustments to the sliders, especially in the Color Mix panel.
- Save as a Preset: Once you have a look you love, save it as a custom preset so you can apply it instantly to other photos!
Would you like me to find a specific YouTube video tutorial that demonstrates these steps in real time?