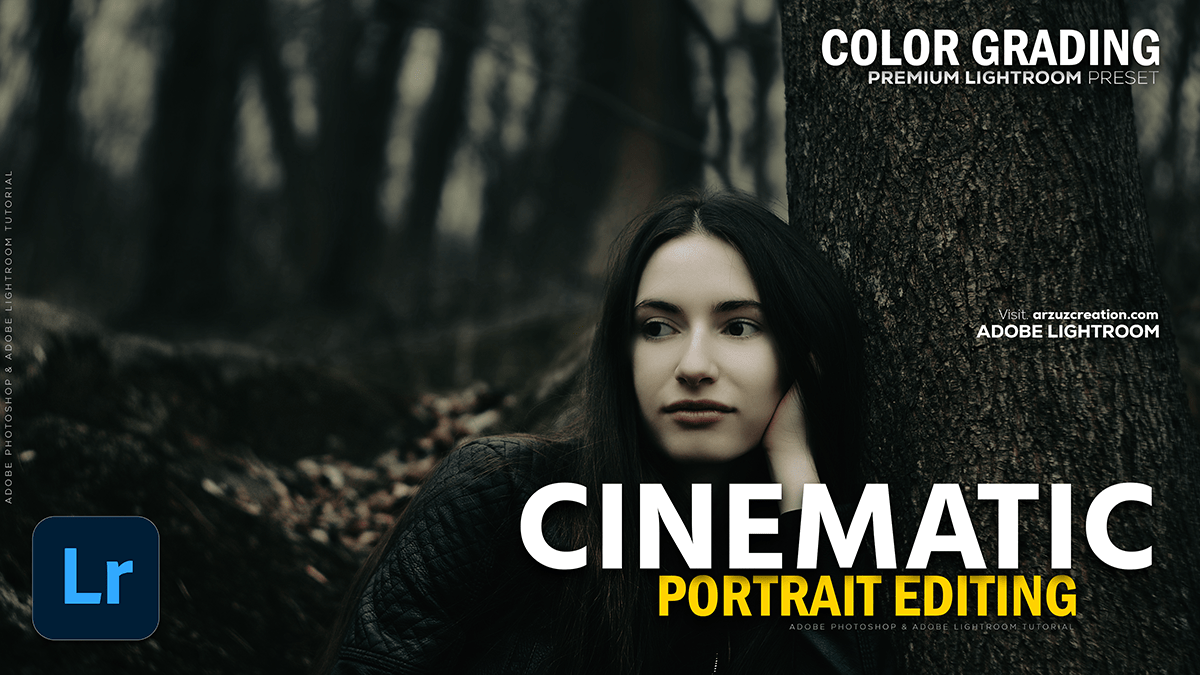
Creating a Cinematic Look in Outdoor Photos in Lightroom 2025,
Therefore, that’s a fantastic effect to go for! Creating a cinematic look in outdoor photos in Lightroom often involves manipulating tone, color, and texture to emulate the feel of film or a high-budget movie.
In other words, here is a breakdown of the key steps and techniques you can use in Lightroom:

Creating a Cinematic Look in Outdoor Photos in Lightroom 2025,
🎬 Cinematic Editing Essentials in Lightroom:
1. Tone Curve and Contrast:
Therefore, A hallmark of the cinematic look is often less pure black and less pure white (a “matte” or “lifted” look), which gives the image a film-like quality and increases the perceived dynamic range.
- Tone Curve (RGB Channel):
- Therefore, create an “S-Curve” for contrast: Pull the bottom-left point down (shadows) and the top-right point up (highlights).
- Lift the Blacks (Matte Look): In other words, drag the bottom-left point up slightly from the very corner. This prevents shadows from being pure black.
- Lift the Whites (Soft Highlights): Drag the top-right point down slightly from the very corner. This softens the highlights.
- Basic Panel Adjustments:
- Contrast: Increase it slightly (+10 to +30) to give the image punch.
- Highlights: In other words, Decrease (e.g., -20 to -60) to recover detail in the sky or bright areas.
- Shadows: Increase (e.g., +20 to +50) to reveal detail in darker areas, further contributing to the cinematic/HDR feel.
- Blacks: In other words, Decrease (e.g., -10 to -30) to deepen the black points (even if slightly lifted by the Tone Curve).

Creating a Cinematic Look in Outdoor Photos in Lightroom 2025,
2. Color Grading (The Key Step)
Therefore, this is where the distinct “movie look” comes from, often using a complementary color scheme like Teal and Orange.
- Split Toning / Color Grading Panel:
- Shadows: Add a cool tone (blues, teals, or cyans). This is the foundation of the Teal & Orange look. Start with Hue around 180-220 and Saturation around 10-30.
- Highlights: In other words, add a warm tone (yellows, oranges, or reds). Start with Hue around 30-50 and Saturation around 10-30.
- Balance: Adjust the balance slider to favor the shadows (more cool) or highlights (more warm).
- HSL / Color Mixer:
- Desaturation: Gently desaturate colors, especially primary colors like Blue and Green, to make the image feel less like a standard photo and more stylized (e.g., Saturation of Blue: -10 to -30).
- Tweak Hues: Shift the hues to fit your desired look. For example, shift Greens towards yellow (for a warmer look) or towards aqua (for a cooler, stylized look).
Creating a Cinematic Look in Outdoor Photos in Lightroom 2025,
3. Texture and Atmosphere:
In other words, Film often has grain and a certain softness.
- Clarity: A slight increase in Clarity (e.g., +5 to +15) can add a sense of rugged detail, or a slight decrease (e.g., -5 to -15) can create a softer, more atmospheric or hazy feel.
- Dehaze: Use sparingly. Increasing Dehaze (+5 to +15) can deepen colors and contrast, while decreasing it (-5 to -15) can add a soft, foggy, or dreamy atmosphere.
- Grain: In the Effects panel, add a subtle amount of Grain to mimic the look of actual film stock. (Amount: 10-25, Size: 20-35).
4. Framing and Focus:
- Vignette: Add a subtle Post-Crop Vignette in the Effects panel to darken the edges and draw the viewer’s eye to the center, just like a movie camera lens might.
- Cropping: Often, cinematic images are cropped to a wider aspect ratio (like 2.35:1 or 16:9) to match a movie screen. You can select a cinematic ratio in the Crop Tool.
Creating a Cinematic Look in Outdoor Photos in Lightroom 2025,
💡 Quick Tip: Create a Preset:
However, once you achieve a look you love, save it as a Preset! This allows you to apply the base cinematic look to future outdoor photos with a single click, saving time while maintaining a consistent visual style across your work.
In conclusion, would you like me to find a specific YouTube tutorial for a “dark and moody” or “teal and orange” cinematic outdoor edit?