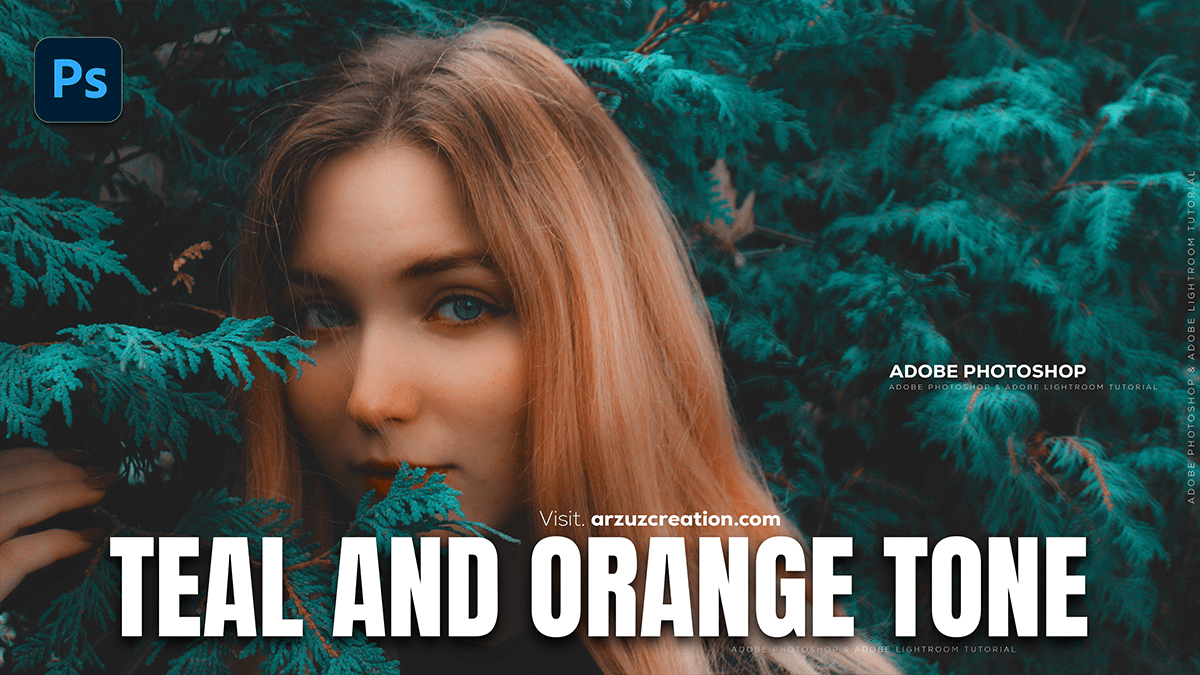
Teal and Orange- Colour Grading Camera Raw Filter Photoshop

The Teal and Orange (or Orange and Teal) look is a highly popular cinematic color grading effect in Lightroom. It uses complementary colors to create high contrast and appealing skin tones.
Here is a breakdown of the key areas in Lightroom you will use to achieve this look:
Teal and Orange- Colour Grading Camera Raw Filter Photoshop
🎨 Key Lightroom Tools for Teal Tones:
The effect relies on shifting the Blues and Aquas toward Teal (Cyan/Blue-Green) and often shifting the Reds, Oranges, and Yellows toward a warmer Orange.
1. Color Grading (or Split Toning)
This is the most direct way to introduce the colors into your shadows and highlights.
- Shadows: Add a Teal/Cyan hue.
- Hue: Around 180 – 240
- Saturation: 10 – 30 (adjust to taste)
- Highlights: Add a Warm Orange/Yellow hue (to complement the teal and often enhance skin tones).
- Hue: Around 30 – 60
- Saturation: 10 – 25 (adjust to taste)
- Balance: Adjust the slider to favor either the Shadows (Teal) or Highlights (Orange).
Teal and Orange- Colour Grading Camera Raw Filter Photoshop
2. HSL / Color Mixer Panel:
This panel gives you granular control over specific colors in your image.
- Blues & Aquas (The Teal):
- Hue: Shift the Blue and Aqua sliders towards the left (Cyan/Teal). Try -20 to -100 on the Blue hue.
- Saturation: Increase the saturation of the Blue and Aqua.
- Luminance: Adjust the brightness of the Blue (often decreasing it for a deeper, moodier teal).
- Reds, Oranges, & Yellows (The Orange):
- Hue: Shift Red, Orange, and Yellow toward a warmer Orange hue (adjusting slightly left or right). This helps with the skin tones.
- Saturation: Adjust the saturation, usually slightly increasing Orange.
Teal and Orange- Colour Grading Camera Raw Filter Photoshop
3. Camera Calibration (For a Stronger Effect)
This panel affects all colors globally and can create a very dramatic color shift.
- Blue Primary Hue: Shift this slider toward the left (-50 to -100). This globally pushes the blue channel toward a Cyan/Teal, providing the core of the effect.
- Red Primary Hue: Shift this slider to the right (+20 to +50) to add warmth to reds and oranges.
Teal and Orange- Colour Grading Camera Raw Filter Photoshop
💡 Pro Tip: The “Faded” Look:
Many popular teal and orange photos also have a soft, “filmic” or faded look. You can achieve this using the Tone Curve:
- Switch to the Point Curve mode (the little square icon in the bottom right of the curve panel).
- Lift the Shadows: Click and drag the bottom-left point of the curve up slightly. This “crushes” the blacks and gives the image that signature faded, matte look.
- Drop the Highlights: You can also drag the top-right point down slightly to reduce the intensity of the whites.
Do you have a specific photo you are trying to edit, or would you like to know more about applying this look to a certain type of photo (like a portrait or a landscape)?
