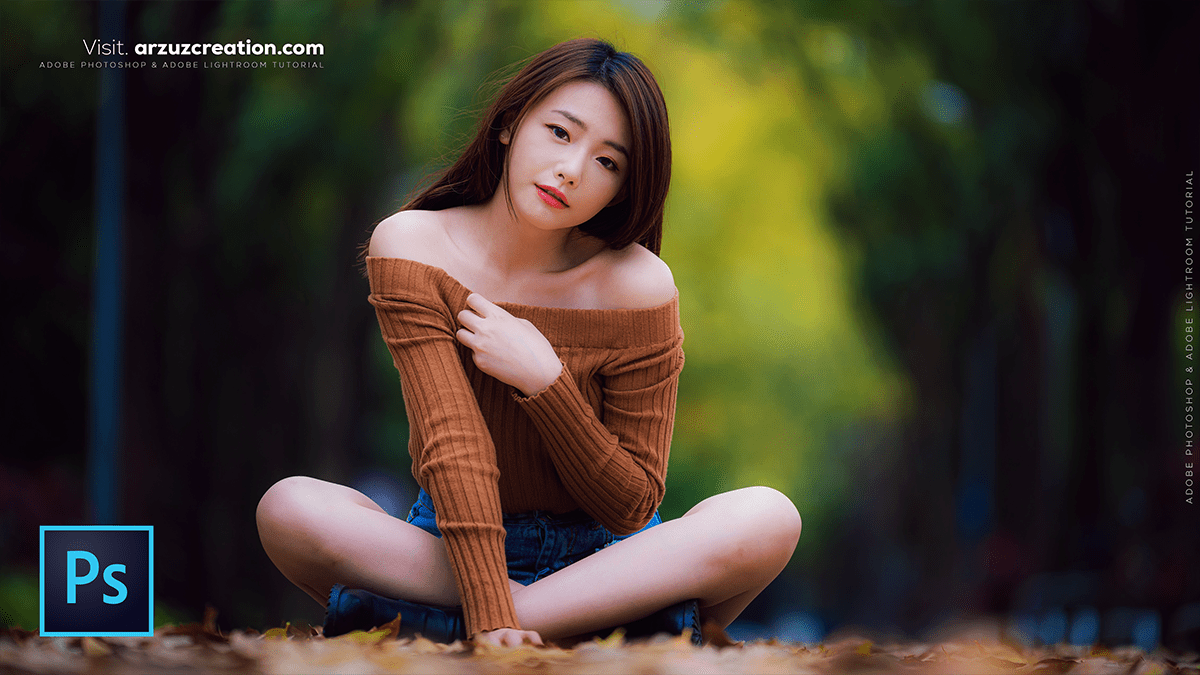
How to Edit an Outdoor Portrait Photo in Adobe Photoshop 2025,
Therefore, Editing outdoor portraits in Photoshop is all about balancing the unpredictable nature of outdoor light (which can be too harsh or too flat) with the fine details of your subject.
Therefore, Here is a professional workflow to take an outdoor portrait from “snapshot” to “polished.”

How to Edit an Outdoor Portrait Photo in Adobe Photoshop 2025,
1. Initial Adjustments (Camera Raw)
Therefore, If you shot in RAW, the Camera Raw filter (or the initial window that opens) is your most powerful tool for fixing lighting issues common to the outdoors.
- Shadows & Highlights: Outdoor sun often creates harsh shadows or blown-out skies. Pull the Highlights slider down to recover sky detail and push Shadows up to reveal the subject’s face.
- White Balance: Natural light changes temperature depending on whether you’re in open shade (blue/cool) or direct sun (yellow/warm). Use the eyedropper tool on a neutral white/gray area to neutralize the tones.
- Texture & Clarity: Increase these slightly for the background (like trees or brick), but keep them low on the skin to avoid making it look gritty.
2. Clean Up & Retouching
Therefore, Once in the main Photoshop workspace, focus on removing distractions that often occur in nature (stray hairs, photobombing branches, or skin blemishes).
- Spot Healing Brush: Perfect for removing small blemishes or dust spots.
- Patch Tool: Use this for larger areas, like removing a distracting sign in the background or reducing dark circles under the eyes.
- Content-Aware Fill: If you need to expand your frame or remove a large object (like a trash can), select the area and go to Edit > Content-Aware Fill.
How to Edit an Outdoor Portrait Photo in Adobe Photoshop 2025,
3. Skin & Depth Techniques
Therefore, To give the portrait a high-end feel, use these two classic techniques:
- Frequency Separation: This allows you to smooth skin tones on one layer while keeping the natural skin texture on another. It prevents the “plastic” look often seen in amateur edits.
- Dodge and Burn:
- Dodge (O): Brighten the iris of the eyes and the “T-zone” of the face to make the subject pop.
- Burn (O): Darken the edges of the hair and the jawline to add depth.
4. Color Grading for Outdoor Mood
Therefore, This is where you give the photo a specific “vibe,” like a warm sunset or a moody forest look.
- Curves Layer: Create an “S-Curve” (lifting the top right and lowering the bottom left) to add professional contrast.
- Color Balance: Add a hint of Cyan/Blue to the shadows and Yellow/Red to the highlights to mimic a “Golden Hour” feel.
- Selective Color: Use this to target the greens in the background. Often, outdoor greens can be too neon; shifting “Greens” toward “Yellow” or “Cyan” makes them look more natural and expensive.
How to Edit an Outdoor Portrait Photo in Adobe Photoshop 2025,
5. Adding “Optical” Effects
- Lens Blur: If your background isn’t blurry enough, go to Filter > Blur Gallery > Field Blur. Use a mask to keep the subject sharp while softly blurring the background foliage.
- Vignette: Add a subtle Radial Gradient (black to transparent) around the edges of the photo to lead the viewer’s eye directly to the subject’s face.
Pro Tip: Always work on Adjustment Layers rather than the original image layer. This “non-destructive” workflow allows you to lower the opacity if an effect looks too strong later on.
Would you like me to walk you through a specific step, such as how to set up Frequency Separation?