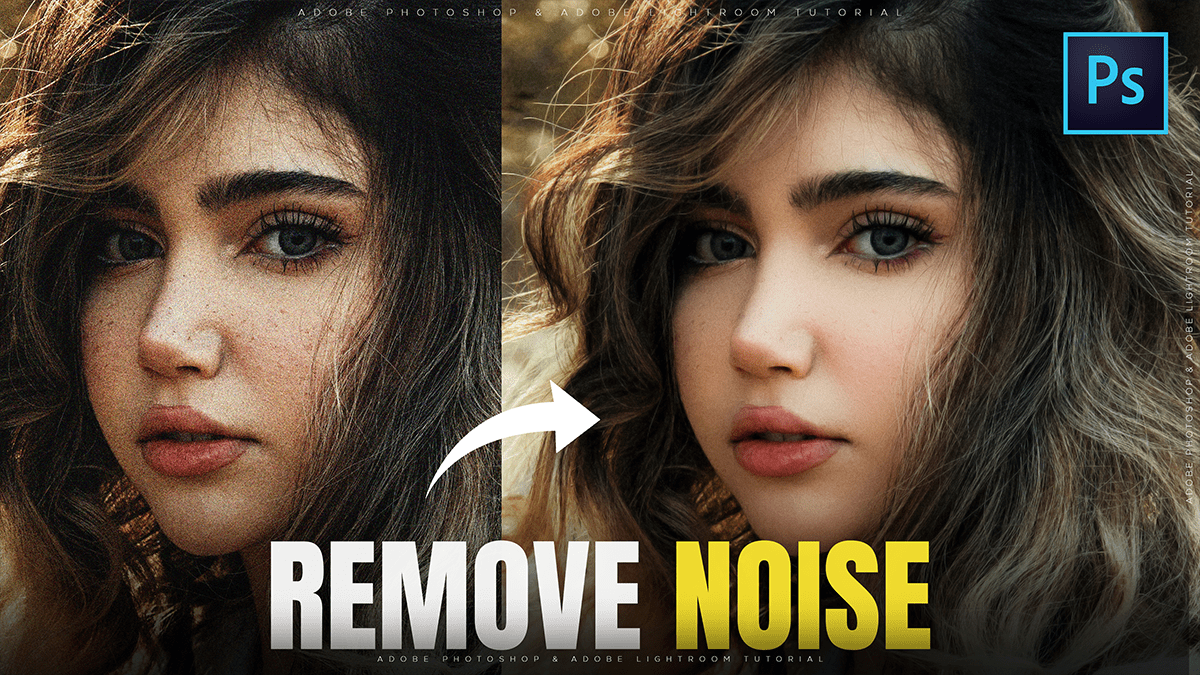
Remove Image Noise in Adobe Photoshop 2026,
Therefore, in Adobe Photoshop 2026, noise reduction has moved beyond simple sliders to more sophisticated AI-driven processes. Depending on whether you are working with a RAW file or a standard layer (JPEG/PNG), you have several powerful options.
Remove Image Noise in Adobe Photoshop 2026,

1. The Pro Choice: Camera Raw AI Denoise:
Therefore, for the best results, use the AI Denoise feature within the Camera Raw engine. This is designed to remove heavy grain while using machine learning to reconstruct lost textures.
- How to Access: Go to Filter > Camera Raw Filter (or press.
Ctrl+Shift+A). - The Workflow: 1. Therefore, open the Detail panel on the right. 2. Click the Denoise button. A preview window will appear. 3. Adjust the Amount slider. A setting between 30–50 is usually the “sweet spot” for high-ISO images. 4. Click Enhance.
- Note: In the 2026 version, this process is faster and often avoids creating a separate DNG file, though some users still prefer manual control if the AI looks too “plasticky.”
Remove Image Noise in Adobe Photoshop 2026,
2. The New AI Filters (Photoshop 2026)
Therefore, Adobe has introduced specialized AI filters that can be applied directly to layers. These are found under the main Filter menu.
- AI Denoise Filter: In other words, located under Filter > Noise > AI Denoise (Beta/New). Unlike the old “Reduce Noise” filter, this uses a neural network to identify the difference between noise and fine details like hair or fabric.
- Generative Fill Method: For localized noise (like a grainy sky), you can use the Lasso tool to select the area, click Generative Fill in the Contextual Task Bar, and leave the prompt blank. Hit Generate, and the AI will “re-imagine” the area without the noise.
3. Manual Noise Reduction (Standard Layers)
In other words, if you aren’t working with RAW data or want a quick fix without heavy processing, the traditional filter is still available.
| Tool | Best For | Key Sliders |
| Reduce Noise Filter | Quick, light grain | Strength: Overall reduction. Preserve Details: Keeps edges sharp. |
| Color Noise Slider | Removing “rainbow” speckles | Reduce Color Noise: Blend colored dots into the background. |
- Tip: In other words, always convert your layer to a Smart Object (Right-click layer > Convert to Smart Object) before applying these filters. This allows you to go back and change the settings at any time without damaging the original pixels.
Remove Image Noise in Adobe Photoshop 2026,
Summary of Best Practices:
- Zoom to 100%: You cannot accurately judge noise reduction at “Fit to Screen” view.
- Denoise Before Sharpening: Always remove noise first. Sharpening a noisy image will only make the grain more prominent and harder to remove later.
- Advanced Mode: In the
Filter > Noise > Reduce Noisemenu, use Advanced Mode to target specific color channels (Red, Green, or Blue) if the noise is heavier in one particular color.
In conclusion, would you like me to create a step-by-step guide on how to use the “Advanced Mode” to target noise in specific color channels?
