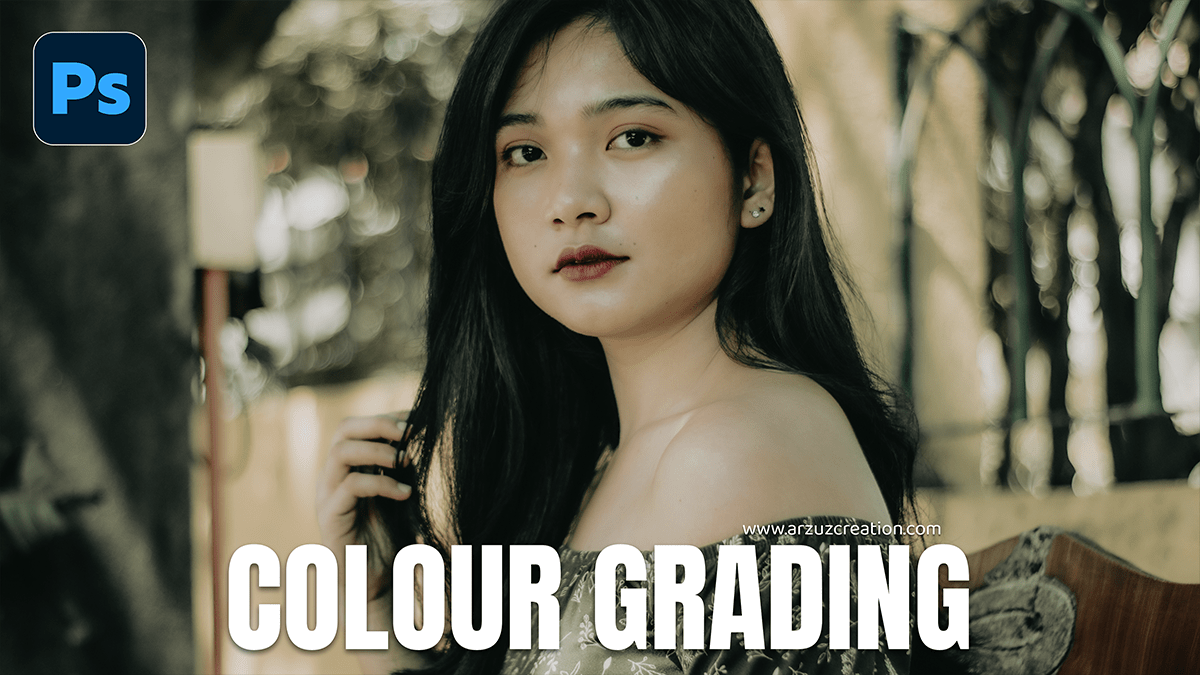
Colour Grading: Adobe Camera Raw Filter 2026,

Therefore, Color grading an outdoor portrait in Camera Raw (or Lightroom) is all about balancing the natural light with the mood you want to evoke. Whether you’re going for a warm “Golden Hour” look or a moody, cool cinematic vibe, the process follows a specific hierarchy.
Colour Grading: Adobe Camera Raw Filter 2026,
In other words, here is a professional workflow to elevate your outdoor portraits:
1. The Foundation (Basic Panel)
Therefore, before touching colors, you need a clean canvas. Outdoor shots often have harsh highlights or deep shadows from trees.
White Balance: Therefore, use the eyedropper on a neutral surface (like a white shirt or grey stone) to get a true baseline.
Highlights/Shadows: In other words, Drop Highlights (-20 to -50) to recover skin detail and sky. Boost Shadows (+10 to +30) to reveal detail in hair or clothing.
Texture & Clarity: Therefore, add a touch of Texture (+5 to +10) for detail, but be careful with Clarity on portraits, as it can make skin look rugged.
Colour Grading: Adobe Camera Raw Filter 2026,
2. Global Color Control (HSL / Color Mixer)
In other words, this is where you refine specific elements like the grass, sky, and skin.
| Color | Action | Result |
| Orange | Adjust Luminance (+) | Brightens and “cleans up” skin tones. |
| Yellow/Green | Shift Hue toward Orange | In addition, Creates a “Fall” or sunset vibe in foliage. |
| Green | Lower Saturation (-) | Prevents distracting, neon-bright grass. |
| Blue | Shift Hue toward Aqua | In addition, Gives the sky a more professional, “teal” look. |
3. The “Secret Sauce” (Color Grading Panel)
In other words, this panel allows you to apply different tints to specific brightness levels. This creates the “pro” look.
Shadows: However, apply a cool tone (Teal or Navy) to add depth.
Highlights: Apply a warm tone (Orange or Peach) to simulate sunlight hitting the skin.
Blending/Balance: However, move the Balance slider toward the right if the warm highlights are overpowering the image.
Colour Grading: Adobe Camera Raw Filter 2026,
4. Final Polish (Calibration)
However, Many professional photographers go straight to the Calibration tab at the bottom.
Blue Primary: Increasing the Saturation of the Blue Primary often makes all the colors in a portrait “pop” in a way that looks more natural than the standard Saturation slider.
Red Primary: Adjusting the Hue here can help remove unwanted redness or “sunburn” looks from the skin.
Pro Tip: The Radial Filter:
However, don’t grade the whole photo the same way. Draw a Radial Gradient over the subject’s face, invert it, and slightly drop the exposure/saturation of the background. This pulls the viewer’s eye directly to the subject.
Would you like me to generate a visual reference of these settings, or perhaps help you write a Photoshop Action script to automate this look?
