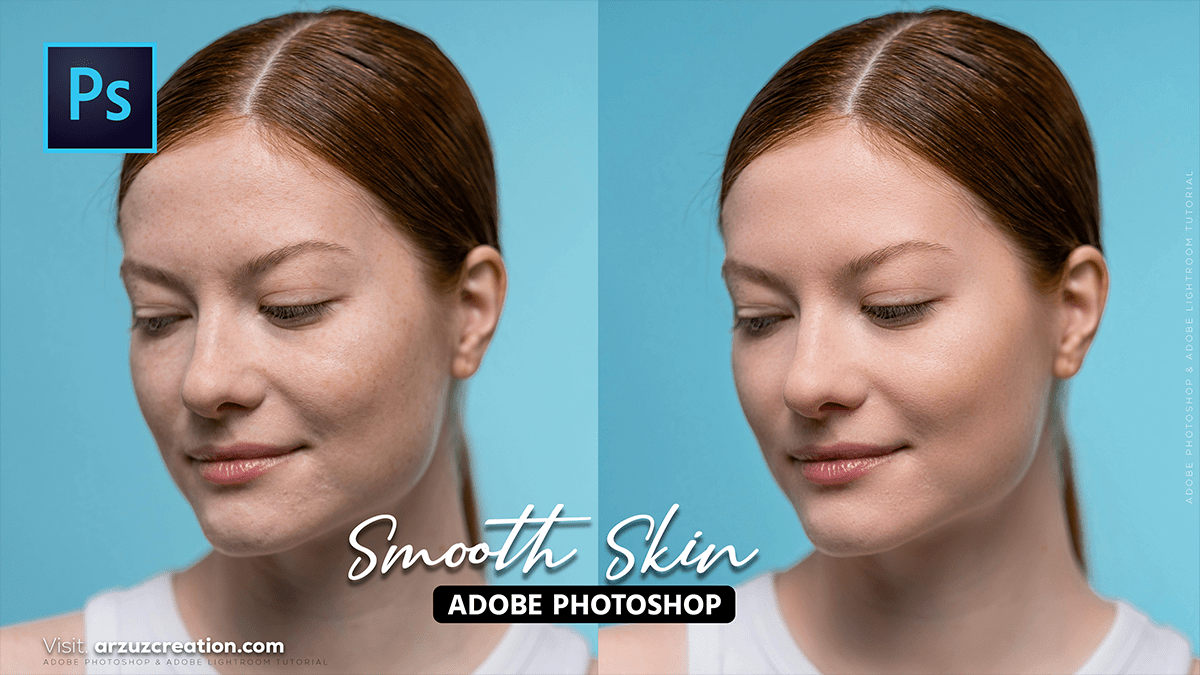
Adobe Photoshop 2026 Update: How to Skin Smooth in Photoshop,

Therefore, in Adobe Photoshop 2026, skin smoothing has become faster thanks to AI, though professional “high-end” results still rely on a mix of automated and manual techniques.
Adobe Photoshop 2026 Update: How to Skin Smooth in Photoshop,
In other words, here are the best ways to achieve smooth skin while keeping it looking natural.
1. The “One-Click” Method: Neural Filters:
Therefore, this is the fastest way to get results. It uses AI to identify the face and smooth out the texture without affecting the eyes or hair.
- Duplicate your layer ($Ctrl/Cmd + J$) so you can adjust the opacity later.
- Therefore, Go to Filter > Neural Filters.
- In other words, turn on Skin Smoothing.
- Therefore, adjust the Blur and Smoothness sliders.
- Tip: Keep Smoothness high but Blur moderate to avoid a “plastic” look.
- In other words, set the Output to “New Layer” and click OK.
Adobe Photoshop 2026 Update: How to Skin Smooth in Photoshop,
2. The Professional Standard: Frequency Separation:
Therefore, if you want to remove blemishes but keep the actual skin pores (texture) intact, this is the industry-standard method. It splits the photo into two layers: Texture (High Frequency) and Color/Tone (Low Frequency).
| Layer | Content | Tool to Use |
| High Frequency | Pores, hair, fine lines | Clone Stamp or Healing Brush |
| Low Frequency | Skin tones, shadows, redness | Mixer Brush or Lasso + Gaussian Blur |
Quick Setup:
- Duplicate your image twice. Name the top layer “Texture” and the bottom one “Color.”
- However, on the Color layer: Apply Filter > Blur > Gaussian Blur until the skin texture just disappears.
- In other words, on the Texture layer: Go to Image > Apply Image.
- Set Layer to “Color.”
- Set Blending to Subtract.
- Set Scale to 2 and Offset to 128.
- In other words, change the Texture layer’s Blend Mode to Linear Light.
- To Smooth: Use a soft Mixer Brush on the Color layer to blend uneven skin tones.
3. New in 2026: Generative Fill Retouching:
Above all, for difficult areas (like heavy acne or scars), the updated Generative Fill is now more precise about preserving skin lighting.
- However, select the Lasso Tool and draw a loose circle around the problem area.
- Above all, Click Generative Fill in the Contextual Task Bar.
- Leave the prompt empty and click Generate.
- However, Photoshop will use its AI (Firefly) to replace the area with perfectly matched, clean skin texture.
Adobe Photoshop 2026 Update: How to Skin Smooth in Photoshop,
Quick Tips for Realism:
- Don’t over-smooth: If the skin looks too “fake,” lower the Opacity of your retouching layer to about 70–80%.
- Remove blemishes first: Use the Remove Tool (the band-aid icon with sparkles) for spots before you start smoothing the overall texture.
- Check your zoom: Always check your work at 100% zoom to ensure you haven’t lost the “pores” of the skin.
Would you like me to walk you through how to create an “Action” so you can do Frequency Separation with just one click in the future?