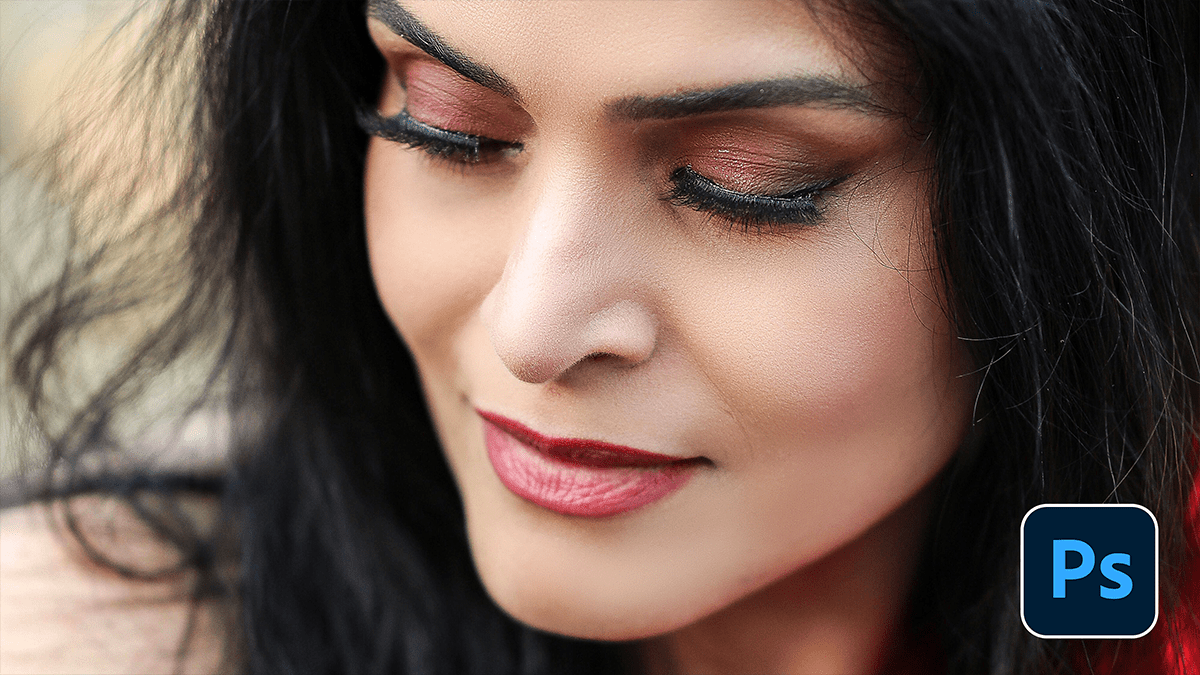
Professional Wedding Photo Skin Retouching in Adobe Photoshop,

Therefore, retouching wedding photos is a balancing act. You want the couple to look like the best version of themselves without making them look like “porcelain dolls.” The goal is to remove temporary imperfections (blemishes, redness, stray hairs) while preserving the natural skin texture (pores and fine lines).
Professional Wedding Photo Skin Retouching in Adobe Photoshop,
In other words, here is the professional workflow used by wedding photographers in Adobe Photoshop.
1. The “Clean-Up” Layer (Non-Destructive)
Therefore, before doing any complex smoothing, you must remove “temporary” distractions.
Create a new blank layer and name it “Spot Healing.”
Tool: Therefore, Use the Spot Healing Brush Tool or Healing Brush Tool.
Setting: Ensure “Sample All Layers” is checked in the top menu.
Action: Therefore, Zoom in to 100% and click on pimples, small scars, or stray hairs. The Healing Brush is better for areas near edges (like the jawline) because it lets you manually pick a source area (Alt+Click).
2. Frequency Separation (The Pro Secret)
Therefore, this is the industry standard for skin smoothing. It separates the Texture (fine details) from the Tone/Color (blotchiness/shadows) so you can edit them independently.
| Layer | Content | How to Edit |
| High Frequency | Pores, fine lines, hair | Use the Clone Stamp to fix texture issues without changing the color. |
| Low Frequency | Skin tones, shadows, redness | Use the Mixer Brush or Gaussian Blur to blend uneven colors and blotchiness. |
Professional Wedding Photo Skin Retouching in Adobe Photoshop,
Quick Tip: In other words, Many pros use “Actions” (pre-recorded steps) to set this up in one click, as doing it manually for 500 wedding photos is too slow.
3. Dodge & Burn (Contouring & Depth)
In other words, instead of just “blurring” skin, professionals use Dodge and Burn to sculpt the face and remove dark circles under the eyes subtly.
Dodge (Lighten): Brighten the center of the forehead, bridge of the nose, and tops of cheekbones.
Burn (Darken): Slightly deepen the jawline or the hollows of the cheeks.
Method: Create two Curves Adjustment Layers—one pulled up (Bright), and one pulled down (Dark). Invert the masks to black and paint the effect in with a very soft white brush at 1-3% Opacity.
Professional Wedding Photo Skin Retouching in Adobe Photoshop,
4. Modern AI Tools (The 2026 Workflow)
In other words, Adobe has integrated AI to speed up the tedious parts of wedding editing:
Neural Filters: Go to Filter > Neural Filters > Skin Smoothing. This is great for a quick “base” layer, but keep the “Smoothness” slider moderate to avoid a plastic look.
Generative Fill: Perfect for removing larger distractions, like an exit sign behind the bride or a stray guest in the background.
Select Subject: Use Select > Subject to quickly mask the couple so you can sharpen them while keeping the background soft.
5. Final Polishing:
Eye & Teeth Brightening: Use a Sponge Tool (set to Desaturate) to remove yellowing from teeth, and a slight Dodge on the whites of the eyes.
Reduce Redness: If the groom is “flushed” from the heat, use a Hue/Saturation layer, target the Reds, and shift the Hue slightly toward Yellow.
Would you like me to walk you through the specific steps to set up a Frequency Separation action, or are you looking for tips on batch-processing a large number of photos?