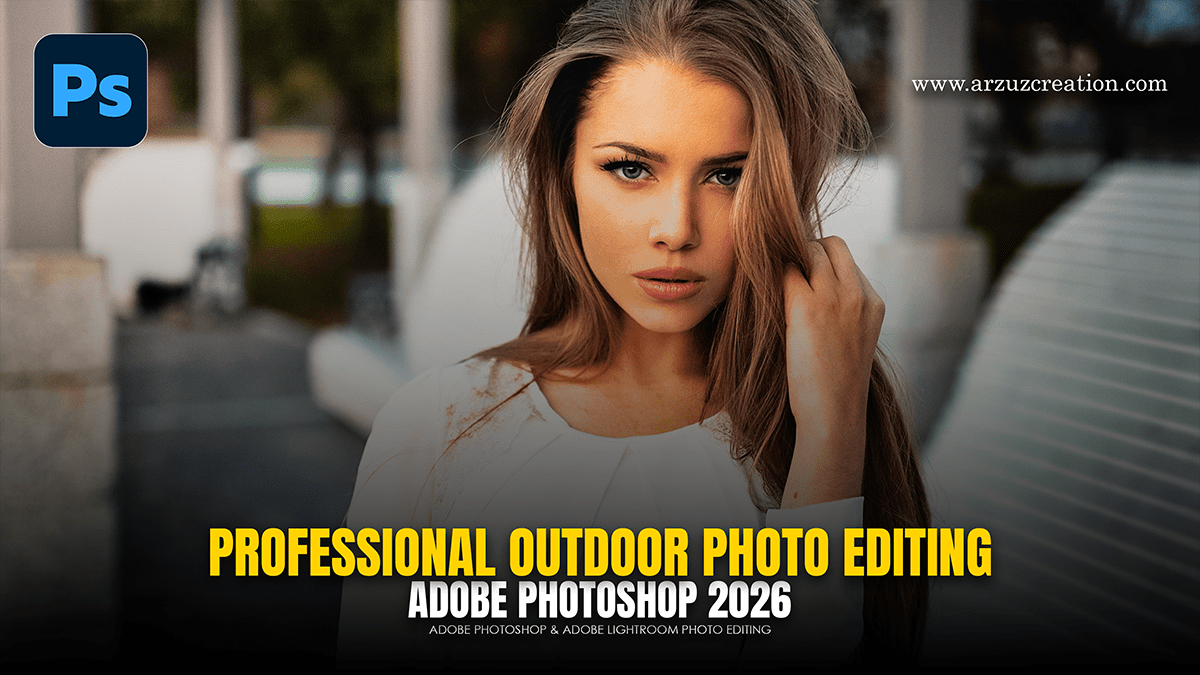
Adobe Photoshop Professional Outdoor Portrait Photo Editing 2026,

Therefore, to edit an outdoor portrait in Adobe Photoshop using adjustment layers, follow this workflow to maintain a non-destructive process. In other words, this approach allows for fine-tuning at any stage without permanently altering the original pixels.
Adobe Photoshop Professional Outdoor Portrait Photo Editing 2026,
1. Exposure and Contrast:
Therefore, the first step often involves balancing the light, especially for outdoor shots where shadows or highlights may be harsh.
Curves Adjustment Layer: In other words, click the Curves icon in the Adjustments panel. Create an “S-Curve” by slightly pulling the top half of the line up (highlights) and the bottom half down (shadows). This adds depth and pop to the portrait.
Levels: Therefore, use this to set the black and white points if the image looks washed out from natural sunlight.
2. Color Balance and Tone:
In other words, Outdoor lighting can sometimes lean too blue (shade) or too yellow (direct sun).
Color Balance: However, use this layer to add cyan or blue to the shadows for a cinematic look, or warmth to the midtones to enhance skin tones.
Selective Color: However, this is powerful for foliage. Target the Greens or Yellows to shift the grass and leaves to a more aesthetic hue, like a deep forest green or a warm autumnal gold.
Adobe Photoshop Professional Outdoor Portrait Photo Editing 2026,
3. Skin Tone Refinement:
Hue/Saturation: However, create a Hue/Saturation layer, select the Reds or Cyans from the dropdown, and use the eyedropper to pick a skin tone. Slightly adjust the Hue or lower the Saturation if the subject’s skin appears too “burnt” or red from the sun.
Photo Filter: Adding a “Warming Filter (85)” at a low opacity (around 10% to 15%) can give a natural, sun-kissed glow to the skin.
4. Enhancing the Background (Global vs. Local)
For instance, since these are adjustment layers, they come with built-in Layer Masks.
Above all, apply a Brightness/Contrast layer and lower the brightness significantly to make the background moodier.
For instance, Press Ctrl+I (Windows) or Cmd+I (Mac) to invert the mask to black (hiding the effect).
Above all, use a soft white Brush to paint the effect back onto the background, effectively making the subject stand out.
Adobe Photoshop Professional Outdoor Portrait Photo Editing 2026,
Essential Keyboard Shortcuts:
| Action | Shortcut (Win/Mac) |
| New Adjustment Layer | Layer > New Adjustment Layer |
| Invert Mask | Ctrl+I / Cmd+I |
| Brush Tool | B |
| Default Foreground/Background Colors | D |
In conclusion, would the user like instructions on how to use a Gradient Map adjustment layer specifically for color grading the outdoor portrait?
