Cinematic photo editing Photoshop, Photoshop photo editing tutorial for beginners,

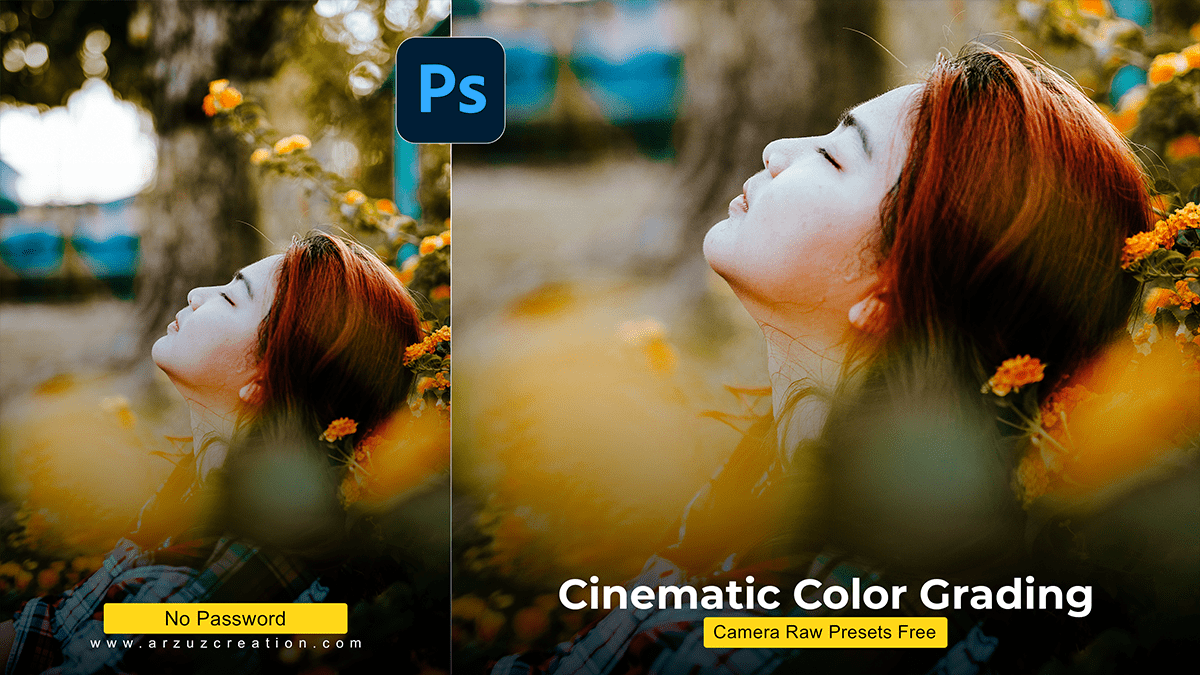
In this Photoshop tutorial, you learn, How to create the cinematic look in Photoshop. Today I will tell you, step by step this cinematic color grading and how to create using Adobe Photoshop camera raw filter plugin.
Photoshop Camera Raw Presets Free Download,
Therefore, This cinematic color look camera raw presets are now shared with you & you download these presets for free.
Click This Button To Download The Preset File,
I using Photoshop 2023 version for this photo editing. If you want any Photoshop version this photo edit.
Color Grading Photoshop,
Photo editing in Photoshop involves techniques that mimic the look and feel of movies, such as adding depth, dimension, and motion blur. Here are some steps to achieve a cinematic look in your photos:
Cinematic Photo Editing Photoshop,
In other words, Adjust the color and contrast: Start by adjusting the color and contrast of your image using the Curves tool or Levels adjustment layer. This will help to create a more cinematic look by enhancing the shadows, midtones, and highlights.
Photoshop Lightroom cc,
However, Add depth: To add depth to your image, use layer masks and the Dodge and Burn tools to create shadows and highlights. This will help to create a three-dimensional effect that makes your image look more realistic and cinematic.
For instance, Add motion blur: To add motion blur, use the Lens Blur filter or the Motion Blur tool to create a sense of movement in your image. This is particularly effective for action shots or scenes with moving objects.
Click This Button To Watch This Video Tutorial,
Above all, Use vignetting: Vignetting is a technique used to darken the edges of an image, creating a cinematic look that draws the viewer’s eye to the center of the frame. Use the Vignette tool or create a vignette using layer masks and adjustment layers.
Photoshop,
Camera Raw Filter,
Color Grading Photoshop Tutorial,
In addition, Add grain: Grain adds texture and depth to your image, giving it a more cinematic look. Use the Noise tool or add grain using layer masks and adjustment layers.
Camera Raw Filter Photoshop Plugin,
Use selective color: Selective color is a technique used to desaturate certain colors in your image while leaving others vibrant and saturated. This creates a more cinematic look by emphasizing certain colors and making others stand out.
Adobe Photoshop Lightroom Photo Editing Tutorial, Similarly,
Use film stocks: Film stocks are textures that mimic the look of different types of film, such as Kodak or Fuji. These textures can be added using layer masks and adjustment layers to give your image a more cinematic feel.

By following these steps, you can achieve a cinematic look in your photos using Photoshop. Remember to experiment with different techniques and find what works best for your specific image!
