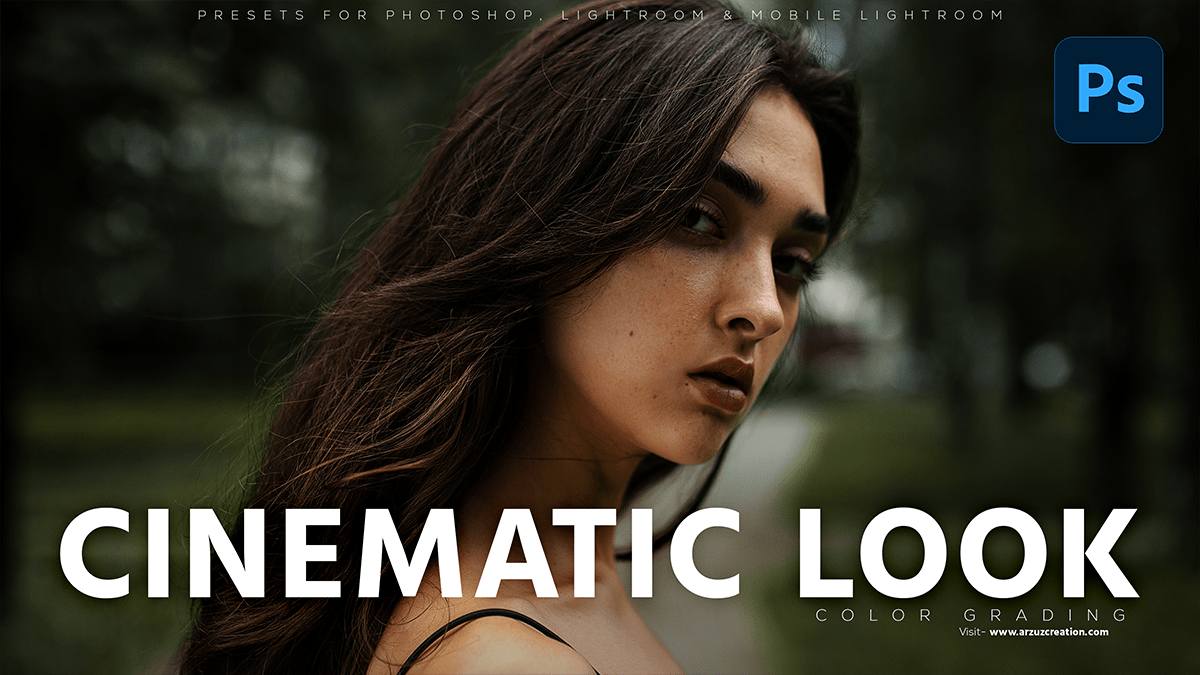
Best colour grading in Photoshop, Professional outdoor photo editing tutorial for beginners.

In this Photoshop tutorial, you learn, How to edit outdoor portrait Cinematic Look color grading using Adobe Photoshop camera raw filter preset file. I will show you, How to to download this color grading camera raw preset file & use this.
Therefore, I will share with you, this Cinematic Look color grading camera raw preset file download link in this tutorial. If want this this preset file please read my article.
Best Colour Grading in Photoshop,
In other words, To give your photos a cinematic look using Adobe Photoshop, follow these steps:
However, Open your photo in Photoshop and duplicate the layer by pressing Ctrl + J (Windows) or Command + J (Mac).
On the duplicated layer, go to Filter > Blur > Gaussian Blur. Set the radius to around 2-3 pixels, depending on the size of your image.
Click This Button To Download The Preset File,
For instance, Change the blending mode of the duplicated layer to “Screen” by clicking on the drop-down menu at the top of the Layers panel and selecting “Screen”.
Add a vignette effect by creating a new layer and using a soft-edged brush to paint black around the edges of the image. Lower the opacity of this layer to around 50%.
Click This Button To Watch This Video Tutorial,
Adjust the color and contrast of your image by using Adjustment Layers such as Levels, Curves, and Color Balance. These can be found under the Adjustments panel on the right-hand side of the screen.
Above all, Add some graininess to your image by going to Filter > Noise > Add Noise. Set the amount to around 10-20% and choose “Gaussian” for the distribution type.
Finally, add some film grain by going to Filter > Filter Gallery > Film Grain. Adjust the settings until you achieve the desired effect.
In addition, Merge all your layers by selecting all layers and pressing Ctrl + E (Windows) or Command + E (Mac). This will create a new layer with all your edits combined.
Save your photo as a JPEG or PNG file, depending on your preference, and enjoy your cinematic masterpiece!
