Color Correction Outdoor Presets Photoshop. How to Color Correction Outdoor Portrait Photography in Adobe Photoshop. Adobe Camera Raw Filter.

In this Photoshop tutorial, you learn, How to color-correct outdoor portrait photos in Adobe Photoshop. Learn here step-by-step professional photo editing.
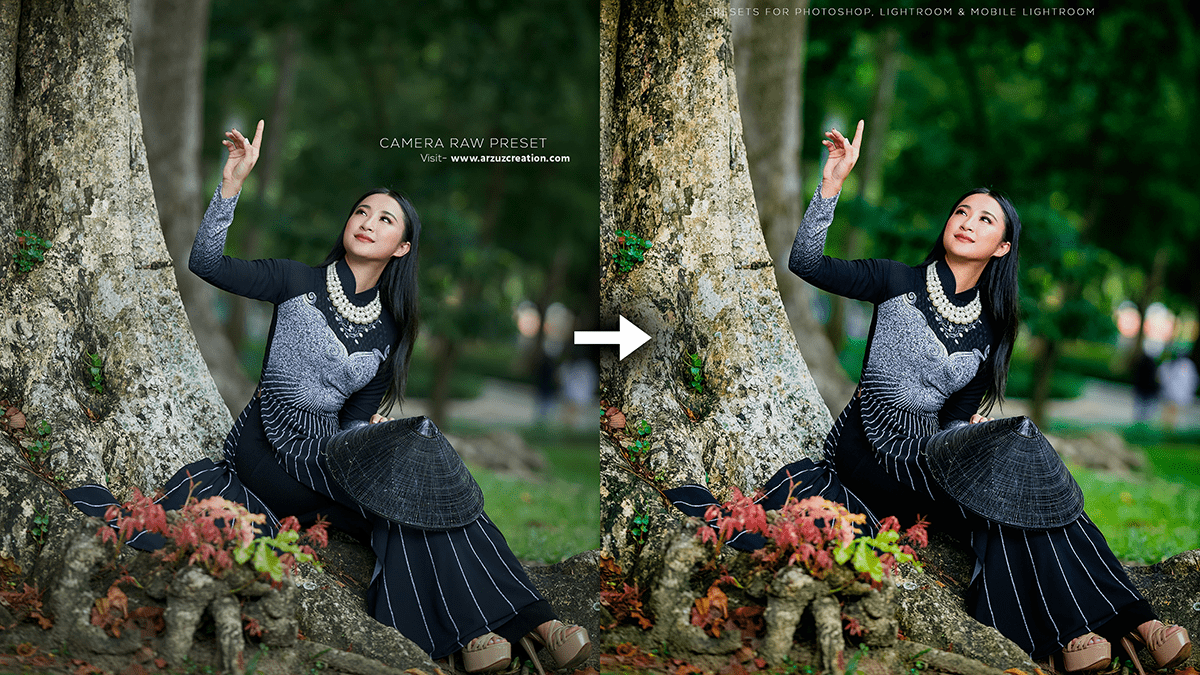
Color correction for an outdoor portrait in Photoshop involves several steps to enhance the image’s overall appearance, adjusting elements such as skin tones, lighting, and colors. Here’s a step-by-step guide to help you achieve this:
Open the Image in Photoshop: Launch Adobe Photoshop and open the outdoor portrait you wish to edit.
Color Correction Outdoor Presets Photoshop,
Duplicate the Background Layer: Click on the “Background” layer in the Layers panel, then go to Layer > Duplicate Layer. Rename the new layer to “Color Correction” and click OK. This will allow you to work on the color correction without affecting the original image.
Convert the Image to Lab Color Mode: Go to Image > Mode > Lab Color. This color mode separates the image into three channels – Lightness (L), A (Red-Green), and B (Blue-Yellow). It helps in color correction without affecting the saturation.
Click here to download this preset file,
Apply Curves Adjustment to the ‘A‘ Channel: Click on the “Color Correction” layer in the Layers panel, then go to Layer > New Adjustment Layer > Curves. In the Curves dialog box, select the ‘A‘ channel from the Channel drop-down menu. Adjust the curve to correct the skin tones and overall color balance of the image. You can use the eyedropper tool to sample neutral colors (like skin) and adjust the curve accordingly.
Adobe Lightroom Photo Editing,
Apply Curves Adjustment to the ‘B‘ Channel: Repeat step 4 for the ‘B‘ channel to adjust the blue-yellow tones in the image.
Apply Levels Adjustment to the ‘L‘ Channel: Click on the “Color Correction” layer, then go to Layer > New Adjustment Layer > Levels. Select the ‘L’ channel from the Channel drop-down menu in the Levels dialog box. Adjust the levels to enhance the overall brightness and contrast of the image.
Click here to watch this video tutorial,
Apply Curves Adjustment to the RGB Channel: Add another Curves adjustment layer (Layer > New Adjustment Layer > Curves) without selecting a specific channel. This will affect the entire image. Adjust the curve to fine-tune the overall brightness, contrast, and tonality of the portrait.
Adjust the Lighting: If needed, add a new layer above the “Color Correction” layer and fill it with a soft white color (#ffffff) using the Paint Bucket tool. Set the blending mode of this layer to “Screen” to add a subtle fill light to the portrait.
Learn, Professional Photo Editing,
Save the Changes: Once you are satisfied with the color correction, merge the “Color Correction” layer with the background layer by right-clicking on the “Color Correction” layer and selecting “Merge Down.”
Convert the Image Back to RGB Mode: Go to Image > Mode > RGB Color. This will prepare your image for further editing or exporting.
Remember, color correction is subjective, and it’s essential to maintain the natural look of the portrait while enhancing it. Always work non-destructively by using adjustment layers and save your progress regularly.
