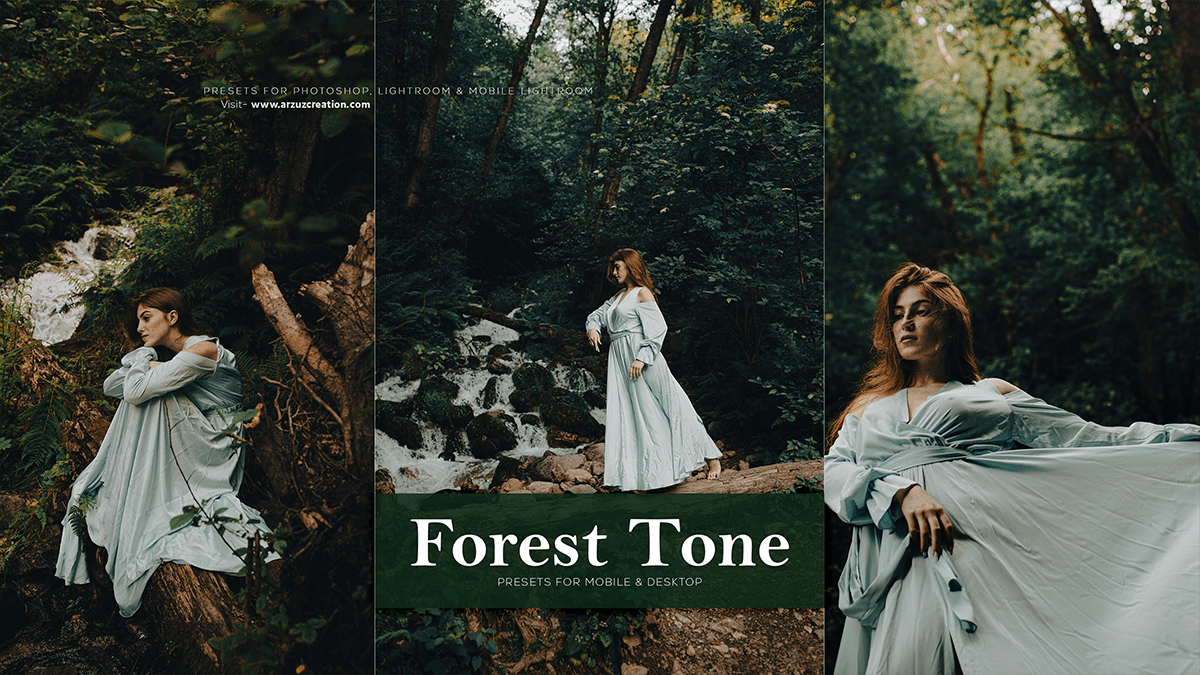
Forest Tones Photoshop Presets Pack, Adobe Photoshop Photo Editing Tutorial.
Forest Tones Photoshop Presets Pack, How to Create Forest Tone Color Grading Look in Adobe Photoshop Camera Raw Filter. However, Step by step you learn this color grading work here. For instance, Photoshop Camera Raw Filter Photo Editing Tutorial.

Therefore, In this Photoshop tutorial, you learn, How to edit Forest color tone look in Photoshop presets. Photoshop presets are free to download. Camera Raw Presets Free Download. In other words, Learn here about professional photo editing work.
Forest Tones Photoshop Presets Pack,
To change the color tone of a forest image in Photoshop, follow these steps:
Open the image in Photoshop.
Duplicate the background layer by right-clicking the layer and selecting “Duplicate Layer.” Above all, Rename the new layer to something like “Color Tone.”
Click on the “Color Tone” layer to select it.
Click here to download this preset file,
Go to the menu bar and click on “Image” > “Adjustments” > “Hue/Saturation.” This will open the Hue/Saturation dialog box.
Adjust the hue, saturation, and lightness sliders to your preference. For a forest scene, you may want to increase the saturation slightly to make the colors more vibrant and adjust the hue to shift the color tone. For example, if you want a cooler, bluish-green tone, move the hue slider toward the blue side. Similarly, If you prefer a warmer, yellowish-green tone, move the hue slider towards the yellow side.
Click here to watch this video tutorial,
Click “OK” to apply the changes.
After that, If you’re satisfied with the color tone, you can merge the “Color Tone” layer with the background layer by right-clicking the “Color Tone” layer and selecting “Merge Down.” In addition, If you want to keep the original colors as well, leave the layers separate.
Learn, Professional Photo Editing,
To further enhance the image, you can adjust the contrast, brightness, and other aspects using different adjustment layers or tools like Curves, Levels, or Brightness/Contrast.
Remember to save your work regularly and export the final image in the desired format.
