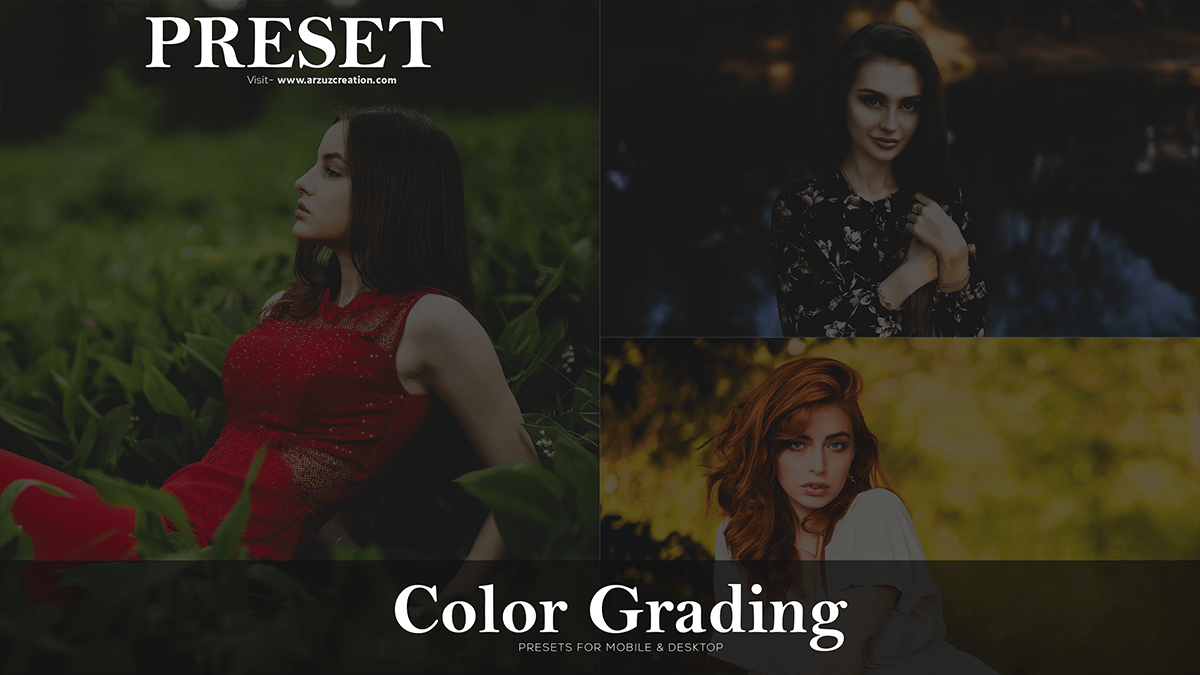
Color Grading Camera Raw Filter, How to Photos Color Grading in Adobe Photoshop Camera Raw Filter. Photoshop Presets. Professional Editing.

Color grading in Photoshop Camera Raw Filter involves adjusting an image’s colors, tones, and overall appearance to achieve a desired aesthetic. Here’s a step-by-step guide on how to do it:
Therefore, Open your image in Adobe Photoshop.
Go to the “File” menu and select “Open” to browse and choose your image file.
Color Grading Camera Raw Filter,
Once the image is open, go to the “Filter” menu and click “Camera Raw Filter.”
After that, The Camera Raw editor will open, displaying your image.
Now, let’s proceed with the color grading process:
Adjust White Balance: Click on the “White Balance” tool (the eye-dropper icon) and click on a neutral area in your image (like a white or gray object). This will help you set the correct white balance for your photo.
Click here to download this preset file,
Tweak the Tone Curve: Click on the “Point Curve” tab and adjust the curve to modify the tonal range of your image. You can either use the “Parametric” curve or the “Point” curve, depending on your preference.
Apply Color Grading: To add a color tint to your image, go to the “HSL/Grayscale” panel. Here, you can adjust the “Master” saturation and luminance sliders to control the overall color intensity. To target specific colors, use the individual color sliders (e.g., Hue, Saturation, and Luminance) for each color channel.
Click here to watch this video tutorial,
Use Split Toning: For a more artistic look, apply split toning. In the “Split Toning” panel, adjust the “Highlights” and “Shadows” sliders to add a specific color tint to the bright and dark areas of your image, respectively. You can also modify the “Hue” and “Saturation” to fine-tune the color.
Fine-tune Contrast and Clarity: In the “Basic” panel, adjust the “Contrast,” “Clarity,” and “Vibrance” sliders to enhance the overall look of your image.
Learn, Professional Photo Editing,
Adjust Exposure and Blacks: In the same “Basic” panel, adjust the “Exposure” and “Blacks” sliders to control the overall brightness and contrast of your image.
Once you’re satisfied with your adjustments, click “OK” to apply the changes to your image in Photoshop. If needed, You can refine the image using other Photoshop tools and techniques.
