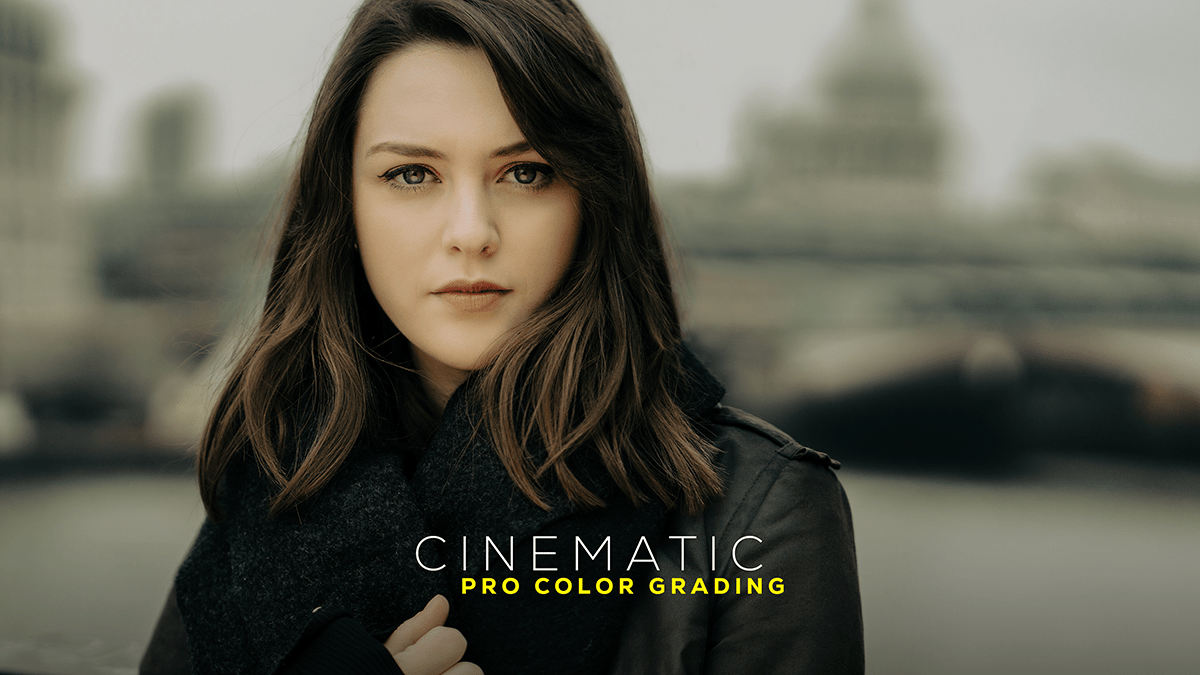
Cinematic photo editing tutorial. How to Create a Professional cinematic color grading look in Adobe Photoshop camera raw filter. Photoshop presets. Cinematic color grading Photoshop tutorial.

Therefore, In this Photoshop tutorial, you learn, How to create a cinematic look in Adobe Photoshop.
Title: Mastering Cinematic Photo Editing: A Comprehensive Tutorial
Introduction:
However, Welcome to this comprehensive tutorial on cinematic photo editing. In this guide, we will explore various techniques and tools to help you create stunning, visually appealing, and cinematic images. Whether you are a beginner or an experienced photographer, this tutorial will provide valuable insights to enhance your photo editing skills.
Cinematic Photo Editing Tutorial,
Step 1: Choose the Right Image
In other words, Selecting the right image is the first step in creating a cinematic photo. Look for photos that have a strong composition, interesting subject matter, and a balanced color palette. The image should also have good lighting and depth, as these factors contribute to the overall cinematic feel.
Click here to download this preset file,
Step 2: Color Grading
For instance, Color grading plays a crucial role in achieving a cinematic look. To begin, open your chosen image in an editing software like Adobe Lightroom or Photoshop. Adjust the white balance, contrast, and saturation levels to create a moody and atmospheric color scheme. Experiment with different color tones such as cooler blues or warmer oranges to achieve the desired effect.
Step 3: Adjust Contrast and Tone Curves
Above all, To enhance the image’s contrast and create a more dramatic look, use the tone curve tool. Adjust the curve by increasing the highlights and shadows to bring out more detail in the image. This will help create a sense of depth and dimension, which is essential for a cinematic feel.
Click here to watch this video tutorial,
Step 4: Add Vignetting
After that, Vignetting is a technique used to darken the edges of an image, drawing attention to the center. This effect can be achieved using the adjustment brush tool in Lightroom or by adding a layer mask in Photoshop. Apply a subtle vignette to your image to create a more cinematic look.
Cinematic Photo Editing Tutorial,
Step 5: Utilize Layer Styles and Blending Modes
Similarly, Photoshop offers various layer styles and blending modes that can be used to add depth and texture to your image. Experiment with different styles and modes to find the perfect combination that enhances your cinematic vision. You can also use overlay textures or grain effects to add an extra layer of depth to your photo.
Step 6: Use Selective Editing Techniques
Selective editing involves focusing on specific areas of the image to enhance certain aspects. For instance, you can use the dodge and burn tool to add highlights and shadows to specific parts of the image, further enhancing the depth and contrast.
Learn, Professional Photo Editing,
Step 7: Final Touches
Before finalizing your cinematic photo edit, make sure to check the overall composition and balance. Adjust any elements that may seem out of place or require further enhancement. Finally, save your image in a high-quality format for optimal display.
Conclusion:
Cinematic photo editing is an art form that requires patience, creativity, and attention to detail. By following these steps and experimenting with various techniques, you can create stunning, visually appealing images that capture the essence of a cinematic style. Keep practicing and refining your skills to continue improving your cinematic photo editing abilities.
