Moody color grading presets Photoshop, How to create a moody color grading look in Adobe Photoshop. Color grading presets. Photoshop tutorial for beginners.
Therefore, In this Photoshop tutorial, you learn, How to make a moody color grading in Photoshop camera raw filter. In other words, Photoshop presets are free to download. However, Photoshop presets. For instance, Presets free download 2024.

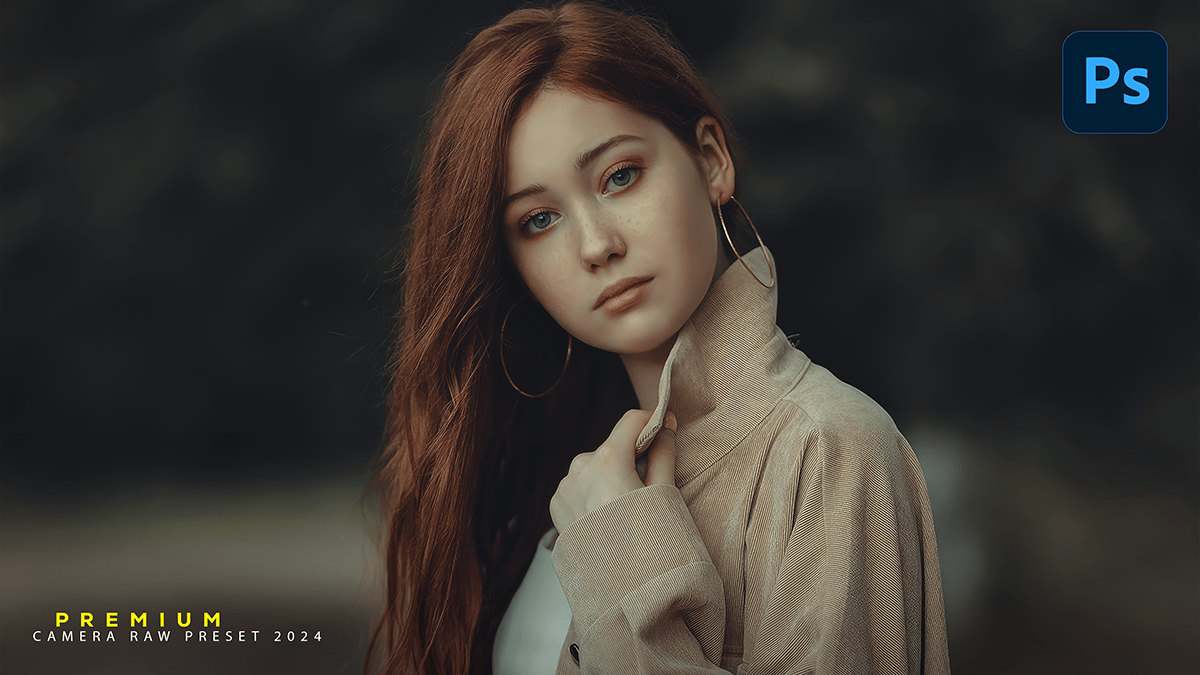
Moody Color Grading Presets Photoshop,
Above all, Apologies if my previous response wasn’t clear enough. Here’s a more detailed step-by-step guide to help you achieve a moody color grading effect in Photoshop:
Open your image in Photoshop.
In addition, Duplicate the background layer by right-clicking the layer and selecting “Duplicate Layer.” Name the new layer “Color Grading.”
Click on the “Color Grading” layer to make it active.
Now, let’s start working on the color grading:
Create a Selective Color adjustment layer by going to “Layer” > “New Adjustment Layer” > “Selective Color.” This will open the Selective Color dialog box.
In the Selective Color dialog box, select “Neutrals” from the drop-down menu if it’s not already selected.
Adjust the following settings to create a moody atmosphere:
- Increase “Blacks” by +10 to +20 to darken the shadows.
- Increase “Darks” by +10 to +20 to further darken specific dark areas of the image.
- Increase “Colorants” by +10 to +20 to enhance the overall color saturation.
Moody Color Grading Presets Photoshop,
To add a specific moody color tone to your image, select the desired color channel from the drop-down menu in the Selective Color dialog box. For example, if you want to add a cool, moody tone, select “Cyan” and increase the “Cyan” value by +10 to +20. You can also experiment with other color channels to achieve different moody effects.
Click “OK” to apply the Selective Color adjustment.
Now, let’s add some mood by using a Gradient Map adjustment layer:
Go to “Layer” > “New Adjustment Layer” > “Gradient Map.” This will open the Gradient Editor.
In the Gradient Editor, choose a moody gradient that suits your image. For example, you can select a gradient with cool blue and cyan colors for a cool, moody atmosphere.
Click “OK” to apply the Gradient Map adjustment layer.
Click here to download this preset file,
At this point, your image should have a moody color grading effect. However, you may want to make some additional adjustments to fine-tune the result:
If the image appears too dark or contrast is lost, create a new “Levels” adjustment layer by going to “Layer” > “New Adjustment Layer” > “Levels.” This will create a mask on the “Color Grading” layer.
Click here to watch this video tutorial,
Paint with a black brush on the mask of the Levels adjustment layer to reveal the moody color grading effect in specific areas of the image that need more brightness or contrast. You can adjust the opacity of the brush and mask as needed.
Learn, Professional Photo Editing,
Save your work and enjoy your moody color-graded image. Remember that experimentation is key when it comes to color grading. Feel free to try different adjustments and effects to achieve the desired mood for your specific image.
