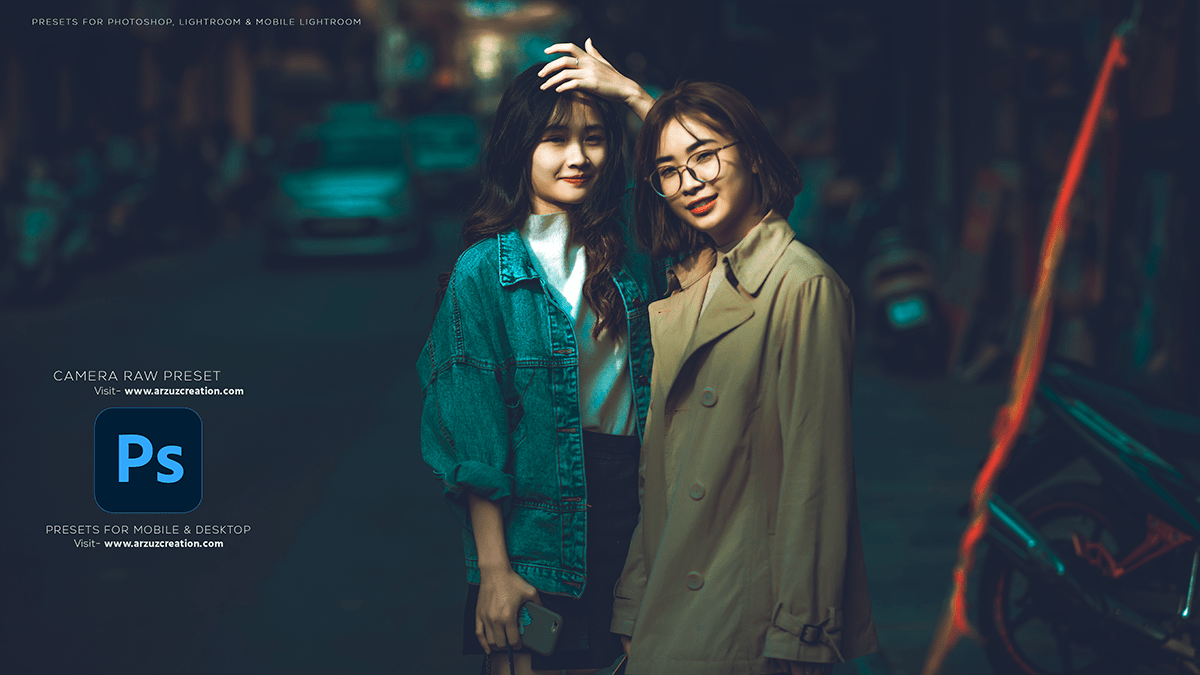
Professional Color Grading Tutorial. How to Color Grading in Adobe Photoshop Camera Raw Filter. Photoshop Camera Raw Presets. Professional Photo Editing Tutorial For Beginners.
Therefore, In this Photoshop tutorial, you learn, How to Edit Professional Photo Editing in Adobe Photoshop.

Professional Color Grading Tutorial,
Color grading in Photoshop’s Camera Raw Filter is a powerful tool that allows you to enhance your images’ colors, tones, and overall appearance. In other words, To color grade using the Camera Raw Filter in Photoshop, follow these steps:
However, Open your image in Photoshop.
Above all, Go to the “Filter” menu and select “Camera Raw Filter.” The Camera Raw editor will open, displaying your image.
Adjust the color settings by using the various sliders available. Some common adjustments for color grading include:
Temperature: This controls the warmth or coolness of your image. Increasing the temperature will make your image appear warmer (more orange), while decreasing it will make it appear cooler (more blue).
Click here to download this preset file,
Tint: This adjusts the green or magenta tint in your image. Increasing the tint will add more green while decreasing it will add more magenta.
Tone Curve: This allows you to adjust the overall tonal range of your image. You can use the “Parametric” or “Point” curve options to control the brightness and contrast of different tonal ranges.
Click here to watch this video tutorial,
Color Grading: This feature offers a set of sliders that let you adjust the hue, saturation, and luminance of various color ranges in your image. This is a powerful tool for fine-tuning the colors in your image.
Split Toning: This allows you to apply a different color tone to the highlights and shadows of your image, creating a unique mood and atmosphere.
Experiment with these settings to achieve your desired color grade. You can also use the “Basic” panel to adjust exposure, contrast, white balance, and other essential settings.
Learn, Professional Photo Editing,
Once you’re satisfied with the changes, click “OK” to apply them to your image.
Remember that practice is key when it comes to color grading. Experiment with different settings and techniques to develop your unique style.
