Outdoor Portrait Color Correction in Adobe Photoshop 2024. How to Edit Professional Photos in Adobe Photoshop. Photoshop Presets. Camera Raw Presets.
Therefore, In this Photoshop tutorial, you learn, How to edit outdoor portrait photography in Camera Raw Filter.

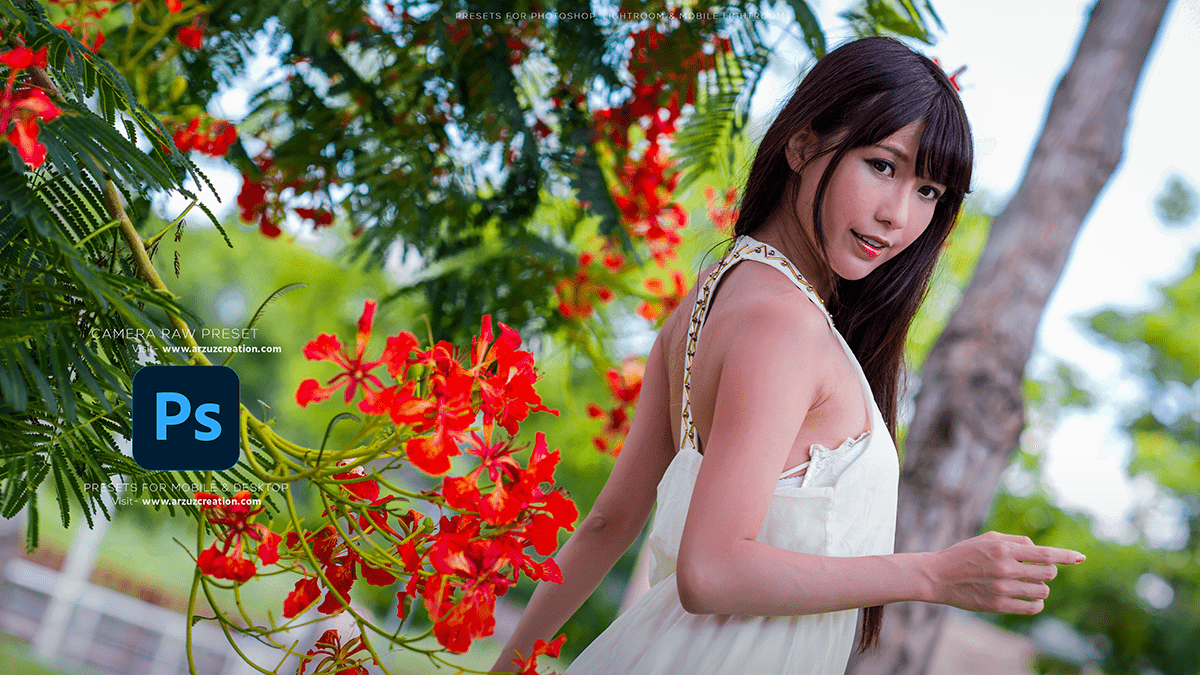
Outdoor Portrait Color Correction in Adobe Photoshop 2024,
In other words, To edit outdoor photos in Adobe Photoshop, follow these steps:
However, Open Adobe Photoshop and import your outdoor photo by clicking on “File” > “Open” and selecting the image from your computer.
For instance, Duplicate the background layer by right-clicking on the layer in the “Layers” panel and choosing “Duplicate Layer.” This will allow you to work on an editable copy without modifying the original image.
Apply basic adjustments:
a. To enhance colors and contrast, go to “Image” > “Adjustments” > “Photo Filter.” Choose a filter that complements the colors in your photo (e.g., for a warmer effect, select “Warming Filter (85)”).
b. To adjust brightness and contrast, go to “Image” > “Adjustments” > “Brightness/Contrast.” Make the necessary adjustments to improve the overall image appearance.
Click here to download this preset file,
Adjust color balance: Go to “Image” > “Adjustments” > “Color Balance.” Use the sliders to adjust the colors in your photo. For outdoor photos, you may want to increase the warmth by shifting the sliders towards “Yellow” and “Red” for highlights, midtones, and shadows.
Adobe Photoshop Photo Editing,
Enhance sky: Above all, If the sky in your photo needs improvement, create a new layer above the background copy layer by clicking on the “Create new layer” icon at the bottom of the “Layers” panel. Fill this new layer with a color that complements the sky in your photo (e.g., blue for a clear sky). Set the blend mode of this layer to “Color” to blend the color with the original sky. You can then use a soft-edged brush to paint in the clouds or adjust the opacity of the layer to blend it better.
Click here to watch this video tutorial,
Adjust shadows and highlights: Go to “Image” > “Adjustments” > “Shadows/Highlights.” Use the sliders to recover details in the shadows and highlights while preserving the midtones.
Sharpen the image: In addition, Go to “Filter” > “Sharpen” > “Unsharp Mask.” Adjust the amount, radius, and threshold to your liking. Be cautious not to over-sharpen the image, as it can lead to an unnatural appearance.
Learn, Professional Photo Editing,
Save your edited image by going to “File” > “Save As.” Choose the desired file format and location, and click “Save.”
Remember, these are general steps and may need to be adjusted based on your specific photo. Always practice non-destructive editing by keeping adjustments on separate layers and making use of smart objects when possible.
