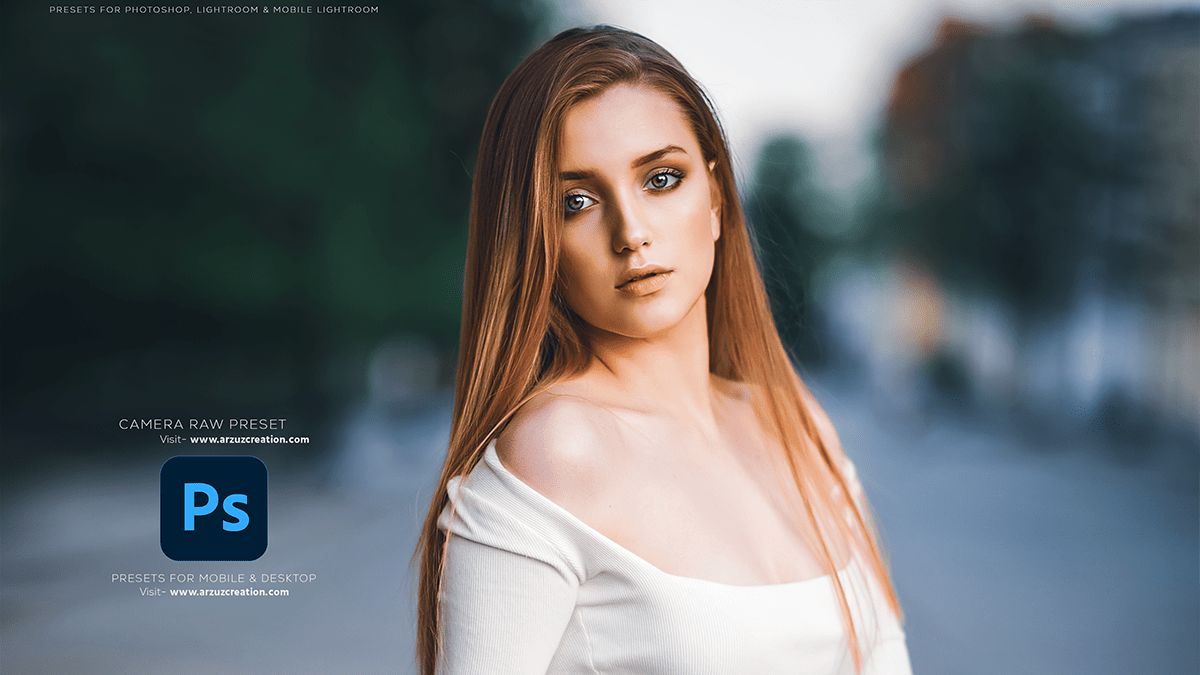
Lightroom Photo Color Grading Tutorial For Beginners. In other words, Adobe Photoshop Lightroom Color Grading & Color Correction Tutorial. However, Color Grading Presets Free Download. Lightroom Photo Editing.
Therefore, In this Lightroom tutorial, you learn, How to edit outdoor photo color grading in Lightroom.

Lightroom Photo Color Grading Tutorial For Beginners,
Adobe Lightroom is a powerful photo editing software that allows users to enhance, organize, and showcase their images. It offers various tools and features for editing, such as adjusting color, tone, exposure, and cropping.
Additionally, Lightroom provides advanced options like presets, which can save time and create a consistent look across multiple photos.
To use Adobe Lightroom for photo editing, you can either subscribe to Adobe Creative Cloud for access to the desktop version or use the mobile app for on-the-go editing.
Remember to practice responsible editing, preserving the original essence and integrity of your photos.
In Adobe Lightroom, color grading refers to the process of adjusting and enhancing the colors in your photos to achieve a desired mood, style, or aesthetic. To perform color grading in Lightroom, follow these steps:
Open your photo in Lightroom and navigate to the “Develop” module.
Begin by adjusting the overall tone and contrast of the image using the “Tone Curve” panel. You can use the “Parametric” or “Point” curve options to make targeted adjustments.
Next, work on color balance by adjusting the “White Balance” sliders under the “Color” panel. You can also use the “White Balance Tool” by clicking on a neutral area in your photo.
To enhance specific colors in your image, utilize the “HSL/Color/B&W” panel. Here, you can adjust the “Hue,” “Saturation,” and “Luminance” of each color channel individually. This allows you to selectively boost or reduce the intensity of colors in your photo.
Apply color grading presets or create custom presets to save time and maintain consistency across multiple images.
Finally, consider using the “Split Toning” tool under the “Color” panel to add a tint to your highlights and shadows separately. This can help create a unique and artistic look.
Remember to make subtle adjustments and evaluate your changes regularly to achieve a natural and visually appealing color grade.