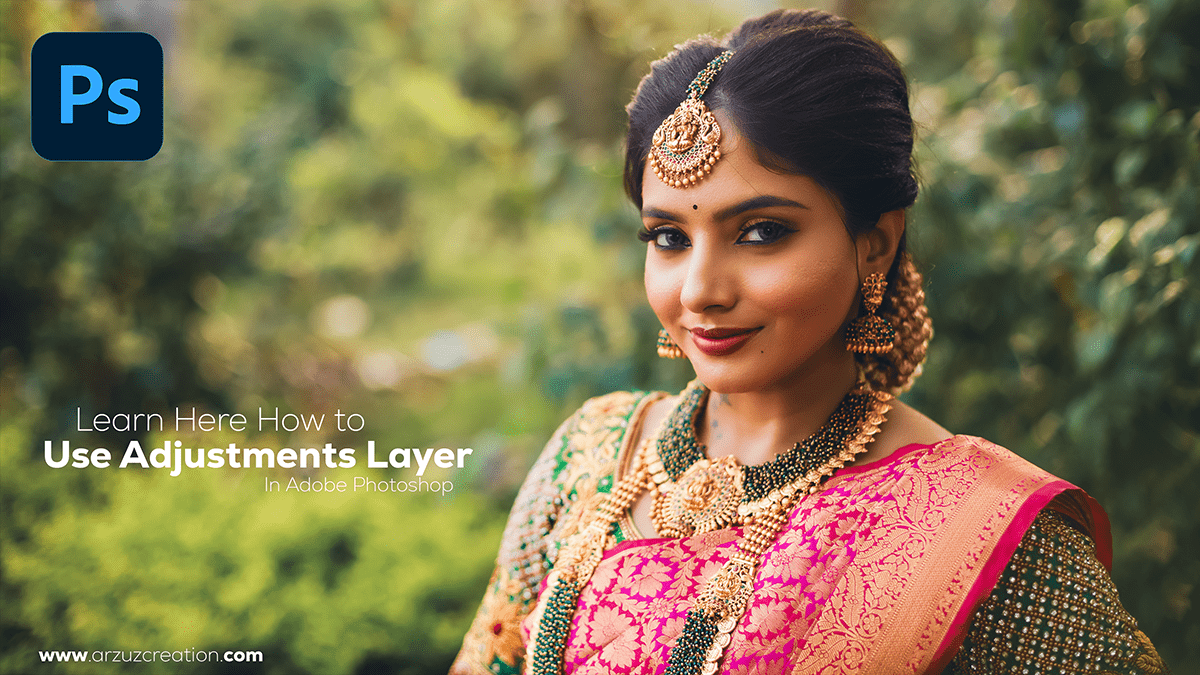
Photoshop Curve Photo Editing & Color Grading. Color Grading Professional Editing Tutorial.
Photoshop Curve is a powerful tool for photo editing and color grading. It allows you to adjust the tonal range and color balance of your images, giving you more control over the final look. Here’s a step-by-step guide on how to use the Curve adjustment in Photoshop:
Open your image in Photoshop: After that, Start by opening the photo you want to edit in Adobe Photoshop.

Photoshop Curve Photo Editing & Color Grading,
Create a Curves Adjustment Layer: Click on the “Adjustments” tab in the layers panel, then click on “Curves.” This will create a new Curves adjustment layer above your background image layer. Adjustment layers are non-destructive, meaning you can always go back and edit them or turn them off without affecting your original image.
Adjust the tonal range: The Curve graph represents the relationship between the input levels (the darker areas of your image) and the output levels (the lighter areas). By adjusting the curve, you can change the brightness and contrast of your image. To lighten shadows, click on the lower left part of the curve and gently pull it upward. To increase contrast, create an “S” shape by raising the mid-tones and lowering the highlights and shadows.
Camera Raw Presets Free Download,
Adjust color balance: The Curve adjustment also allows you to edit the color balance of your image. To do this, click on the small color circles at the bottom of the Curves dialog box. These circles represent the three primary colors: red, green, and blue. By adjusting these points, you can change the overall color balance of your image. For example, if you want to add more warmth to your photo, gently pull the red curve upwards.

Fine-tune your adjustments: Once you’ve made your initial adjustments, take a moment to assess the changes in your image. If necessary, continue to fine-tune your curve by making small adjustments to specific points or by using the eyedropper tool to sample colors directly from your image.
Professional Photo Editing,
Save your work: When you’re satisfied with the results, click “OK” to close the Curves dialog box and apply your adjustments. Your changes will be visible in the preview window.
Adjust opacity and blend if needed: If the effect of the Curve adjustment is too strong, you can reduce its intensity by lowering the opacity of the adjustment layer. You can also experiment with blending modes to achieve different visual effects.
Remember, when working with the Curve tool, it’s essential to make gradual adjustments and.
