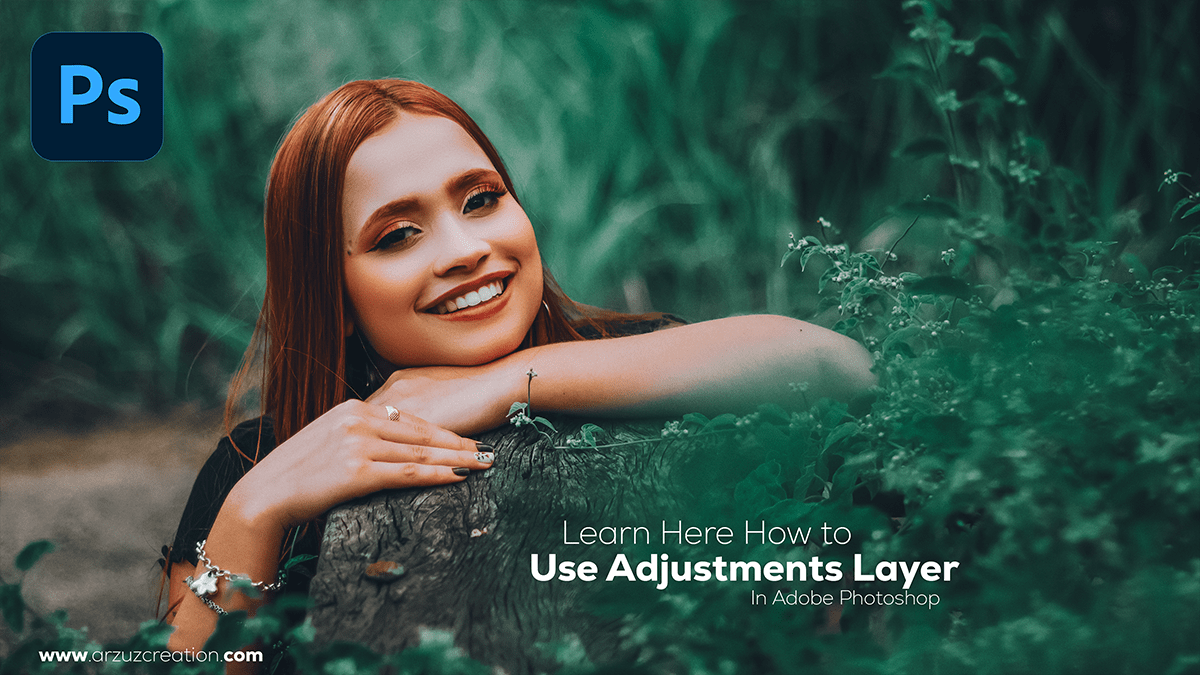
Photoshop Adjustment Layer Photo Editing Tutorial For Beginners.
Photoshop adjustment layers are a powerful tool in photo editing, allowing users to make non-destructive adjustments to their images. Therefore, These layers enable editors to modify brightness, contrast, color balance, and more without permanently altering the original photo.

To add an adjustment layer in Photoshop, follow these steps:
In other words, Open your image in Photoshop.
In the “Layers” panel on the right side of the screen, click the “Create new fill or adjustment layer” icon, which looks like a half-black, half-white circle at the bottom of the panel.
Photoshop Adjustment Layer Photo Editing Tutorial For Beginners,
A menu will appear, listing various adjustment options such as Brightness/Contrast, Levels, Curves, and others. Select the desired adjustment.
An adjustment layer will be added above the background layer, and a properties panel will appear on the right side of the screen. Here, you can fine-tune the adjustment settings.
You can also reposition the adjustment layer by clicking and dragging it up or down in the “Layers” panel to change the order of the adjustments’ influence on the image.
Photoshop Adjustment Layer Photo Editing Tutorial For Beginners,
Adjustment layers allow you to easily experiment with different settings and refine your edits without affecting the original image. This method also allows for greater flexibility, as you can always modify, delete, or hide an adjustment layer if needed.

The Color Balance adjustment layer in Photoshop is a useful tool for adjusting the overall color tones in your image. It allows you to selectively change the hues and saturation of colors within specific color ranges (shadows, mid-tones, and highlights). After that, Here’s how to use the Color Balance adjustment layer:
Open your image in Photoshop.
In the “Layers” panel on the right side of the screen, click the “Create new fill or adjustment layer” icon (a half-black, half-white circle) at the bottom of the panel.
From the menu that appears, select “Color Balance.” A new adjustment layer will be added above the background layer.
Adobe Photoshop Lightroom Photo Editing,
The Color Balance properties panel will appear on the right side of the screen. This panel consists of three sections: “Shadows,” “Midtones,” and “Highlights.”
In each section, you’ll find three color sliders: Cyan/Red, Magenta/Green, and Yellow/Blue. Adjusting these sliders will change the color balance in the corresponding color range of your image.
Click and drag the sliders towards the desired color to adjust the color balance. For example, if you want to add more warmth to your image, you might drag the Yellow/Blue slider in the “Shadows” section towards the yellow side.
Preview your changes by pressing the “X” key on your keyboard to switch between the Before and After views. This helps you assess the impact of your adjustments on the image.
Once you’re satisfied with the color balance, click outside the Color Balance properties panel to confirm the changes.
Remember that you can always adjust the opacity of the Color Balance adjustment layer in the “Layers” panel to fine-tune the effect it has on your image. Additionally, you can create multiple Color Balance adjustment layers to experiment with different color adjustments and blend them as needed.
